
How to Prepare an Interior Design Project for Professional Photography
In this guide
By business type
Interior designers · Architects · Design & build · Kitchens & joinery · Furniture & material brands
Planning the shoot
Permissions · Project readiness & styling · Shoot-day planning · Stills & motion · PR & awards · Joint commissions & licensing · Image delivery
A successful interior or architectural photoshoot starts long before the camera comes out.
But preparation is not simply about clearing surfaces, adjusting cushions or making sure every room looks pristine.
For a professional project, the more important question is:
What do the photographs need to prove?
An interior designer may need to communicate the complete design language of a home. An architect may need to reveal volume, circulation and the relationship between old and new. A contractor may need to demonstrate transformation and quality of execution. A joinery company may need to show why a bespoke installation is worth considerably more than an off-the-shelf alternative.
A furniture or material brand may care most about how its product sits within a finished interior while preserving the accuracy of its colour, texture and finish.
Those are different briefs.
They require different photographs — and different preparation.
Before any professional project is photographed, it is worth asking:
Are you selling the room, the architecture, the product, the craftsmanship, the lifestyle — or several of those at once?
That question should shape the shoot from the beginning.
Start with what the images need to achieve
Professional project photography should not begin with a room count.
It should begin with purpose.
The photographs may need to support:

a website portfolio
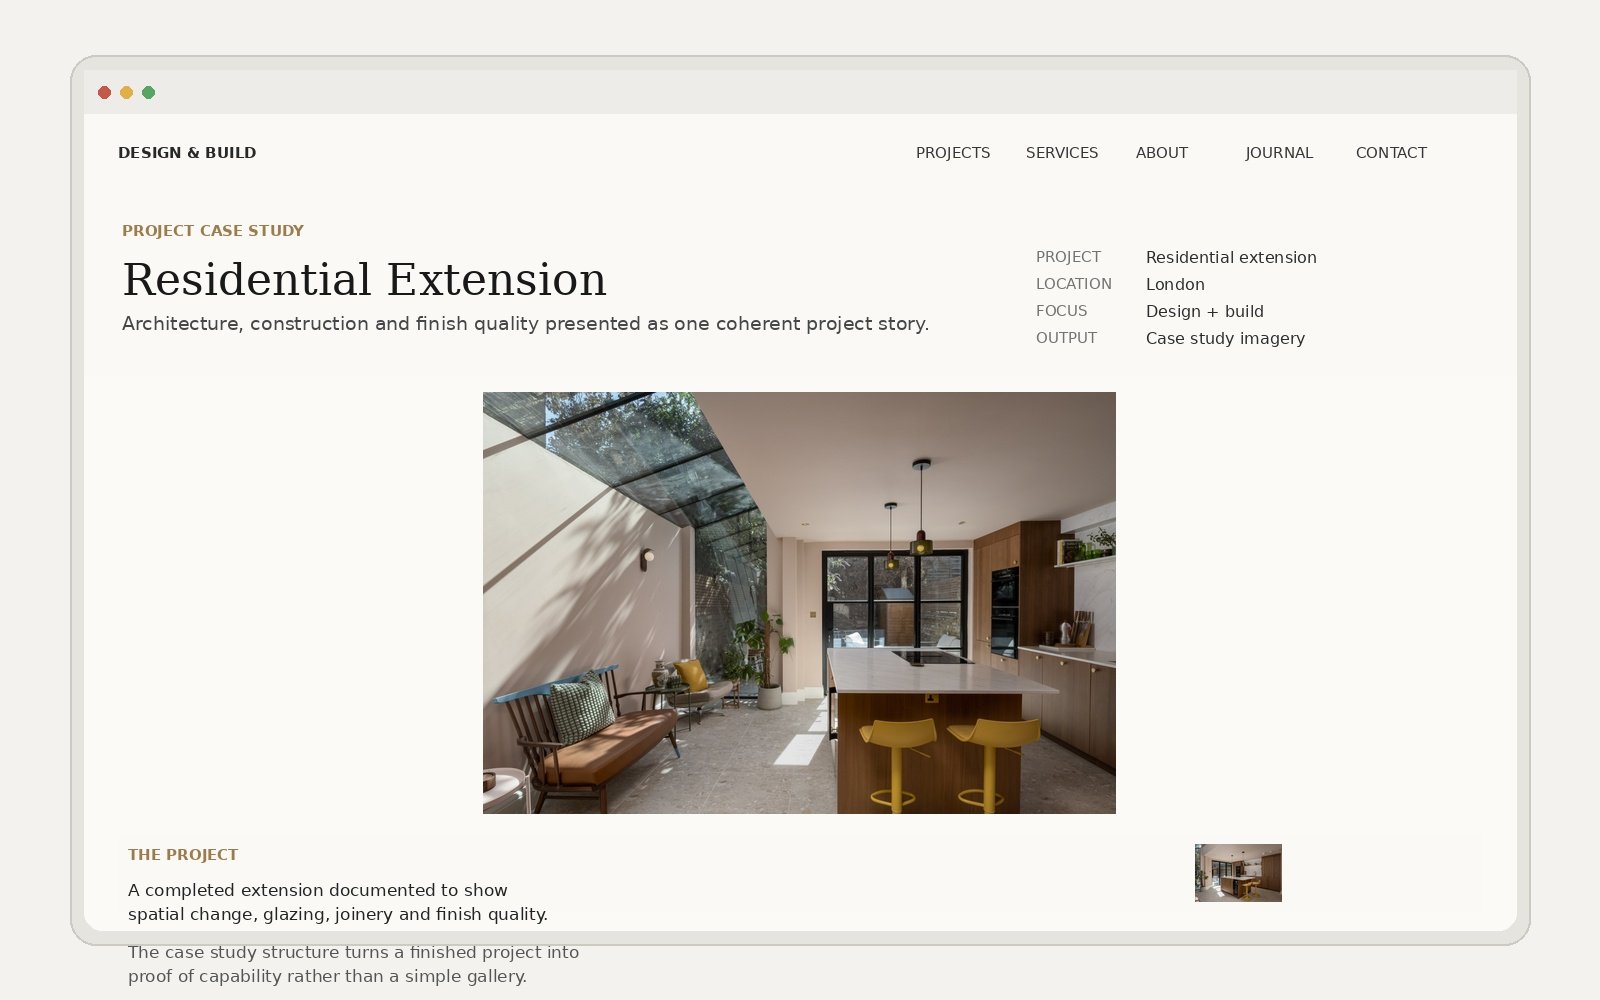
project case studies
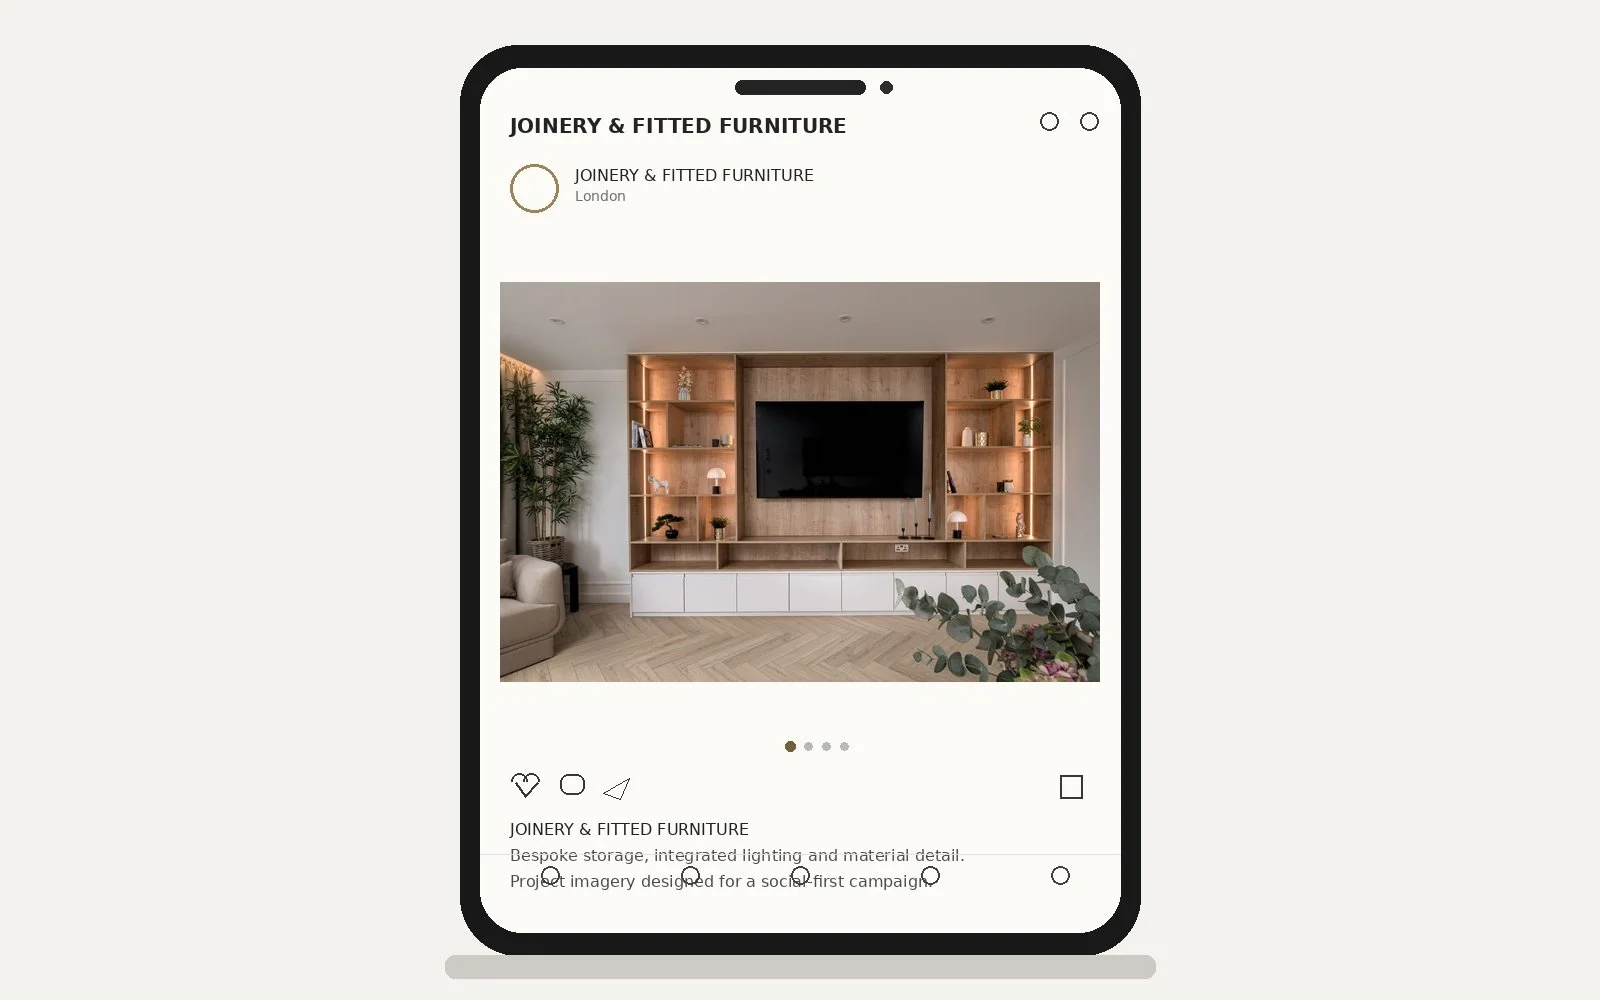
social media
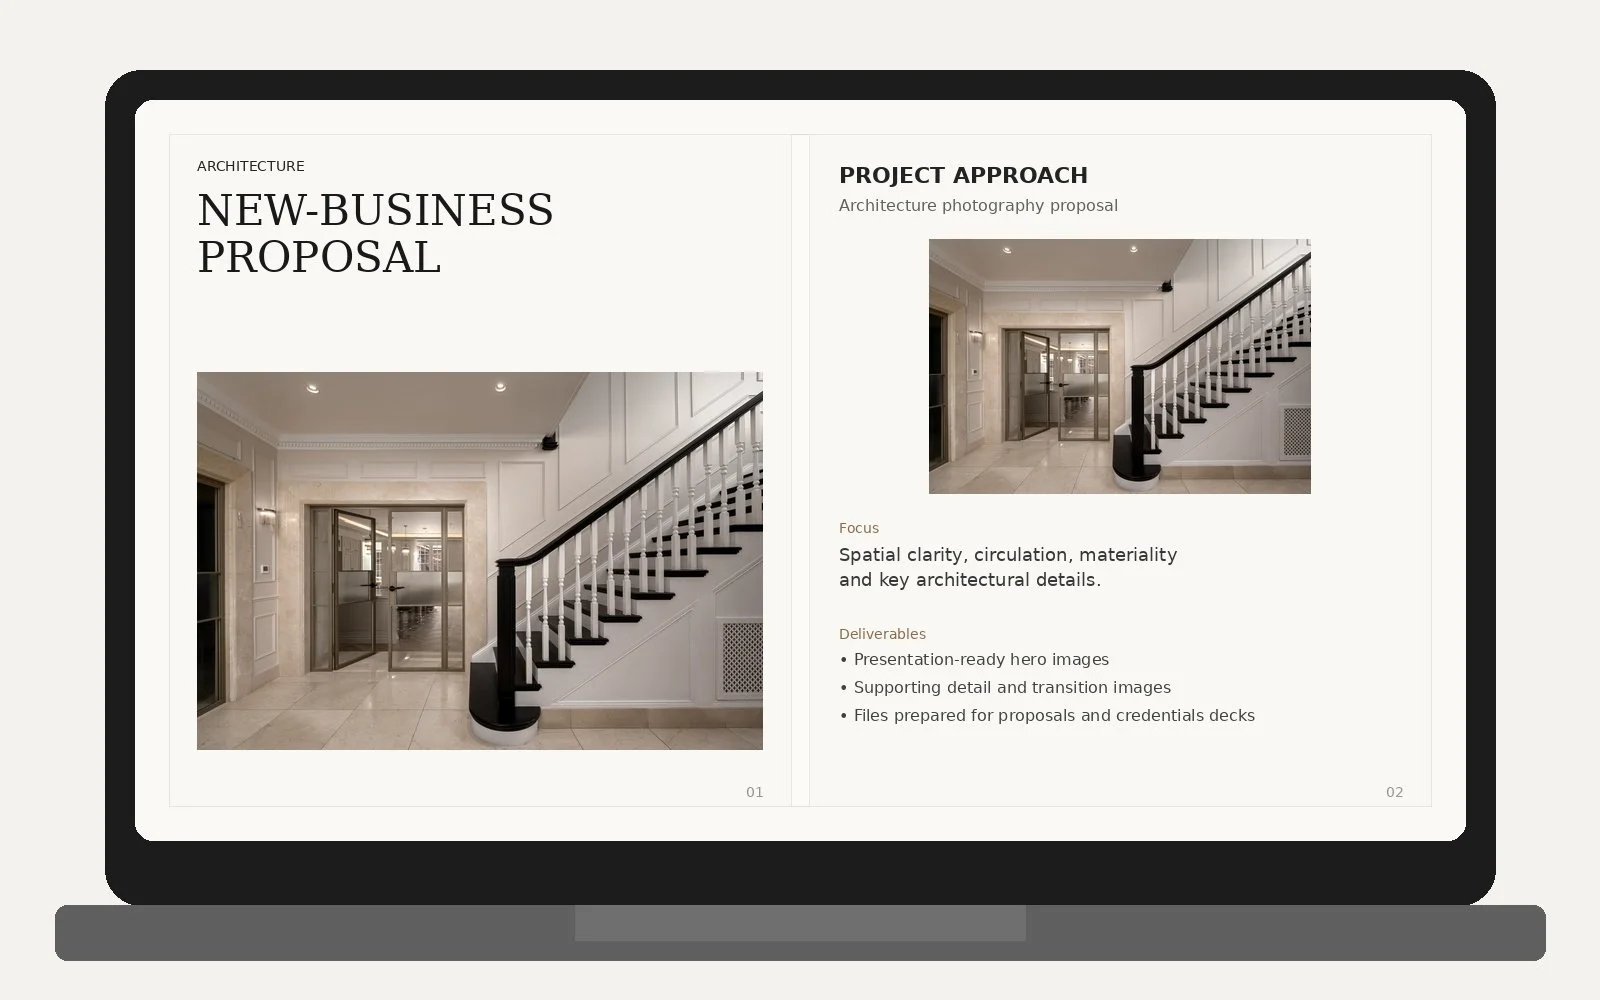
new-business proposals
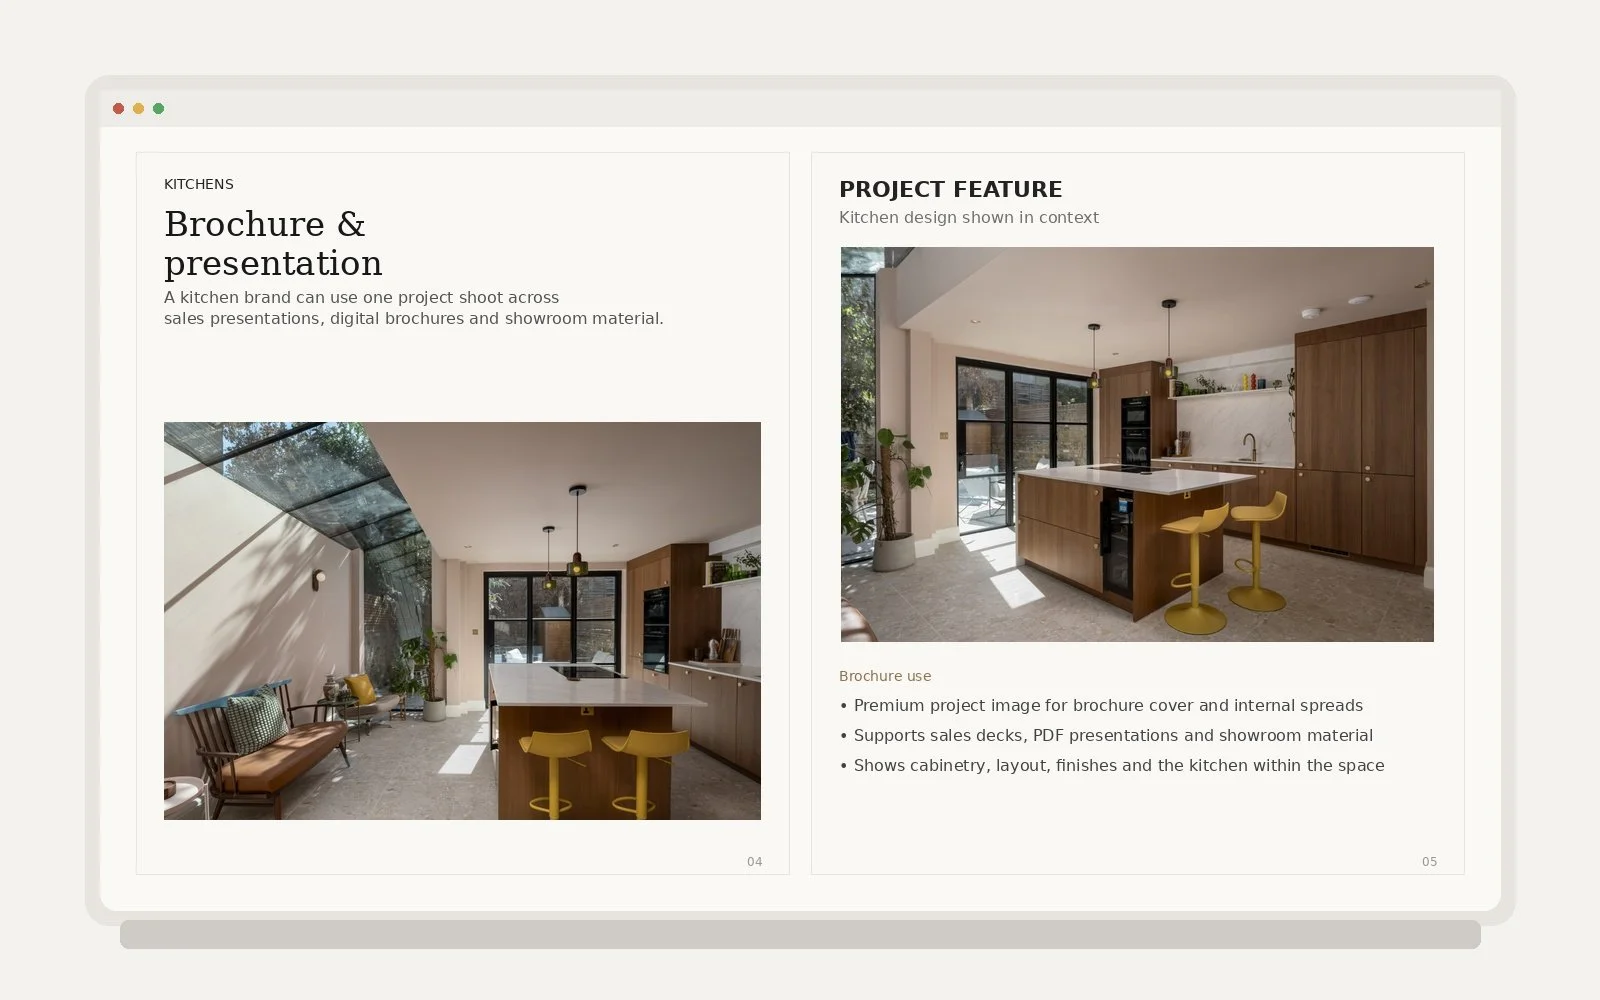
brochures and presentations
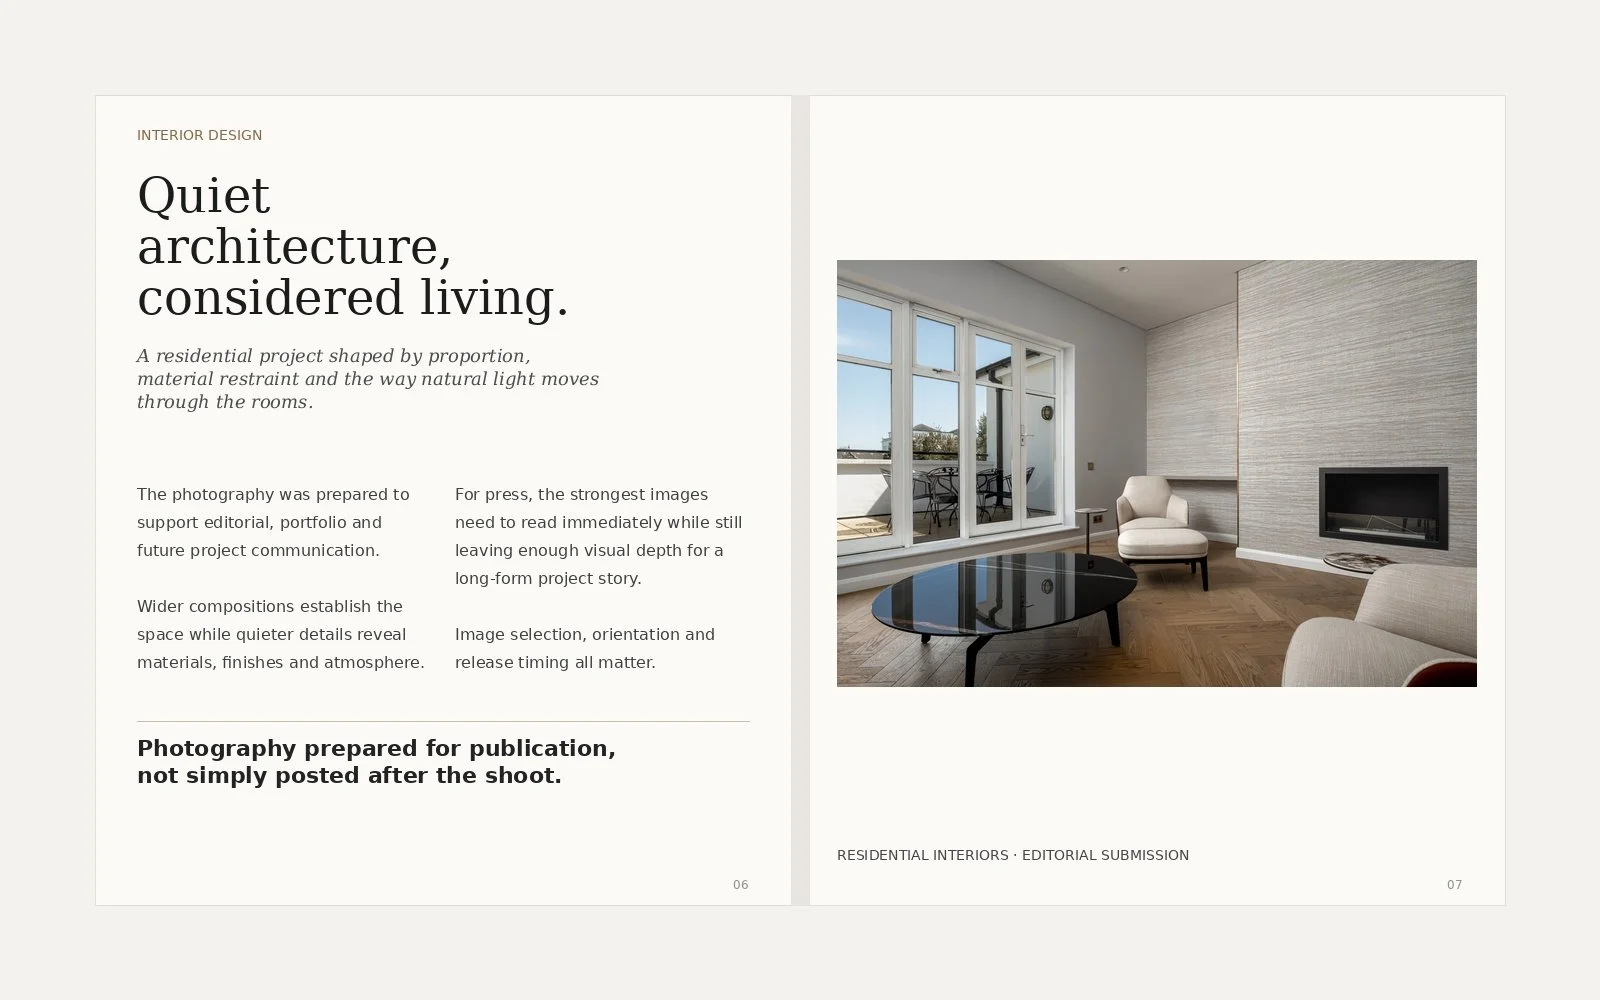
PR and editorial submissions
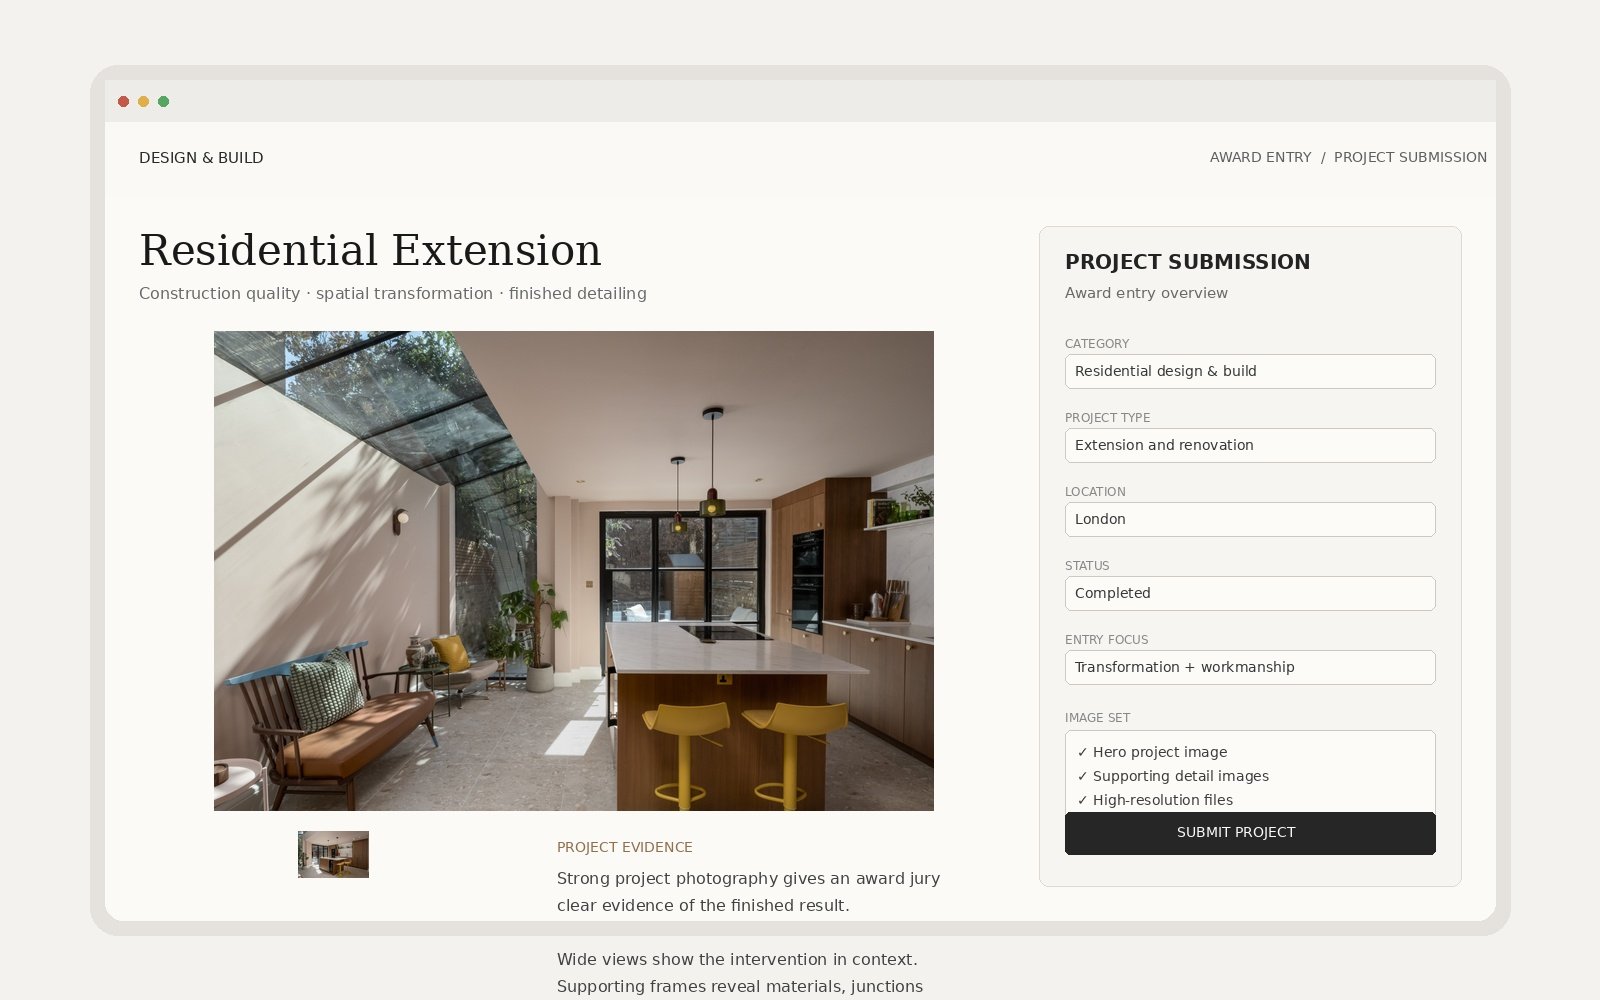
award entries
“One project shoot can become far more than a portfolio update.”
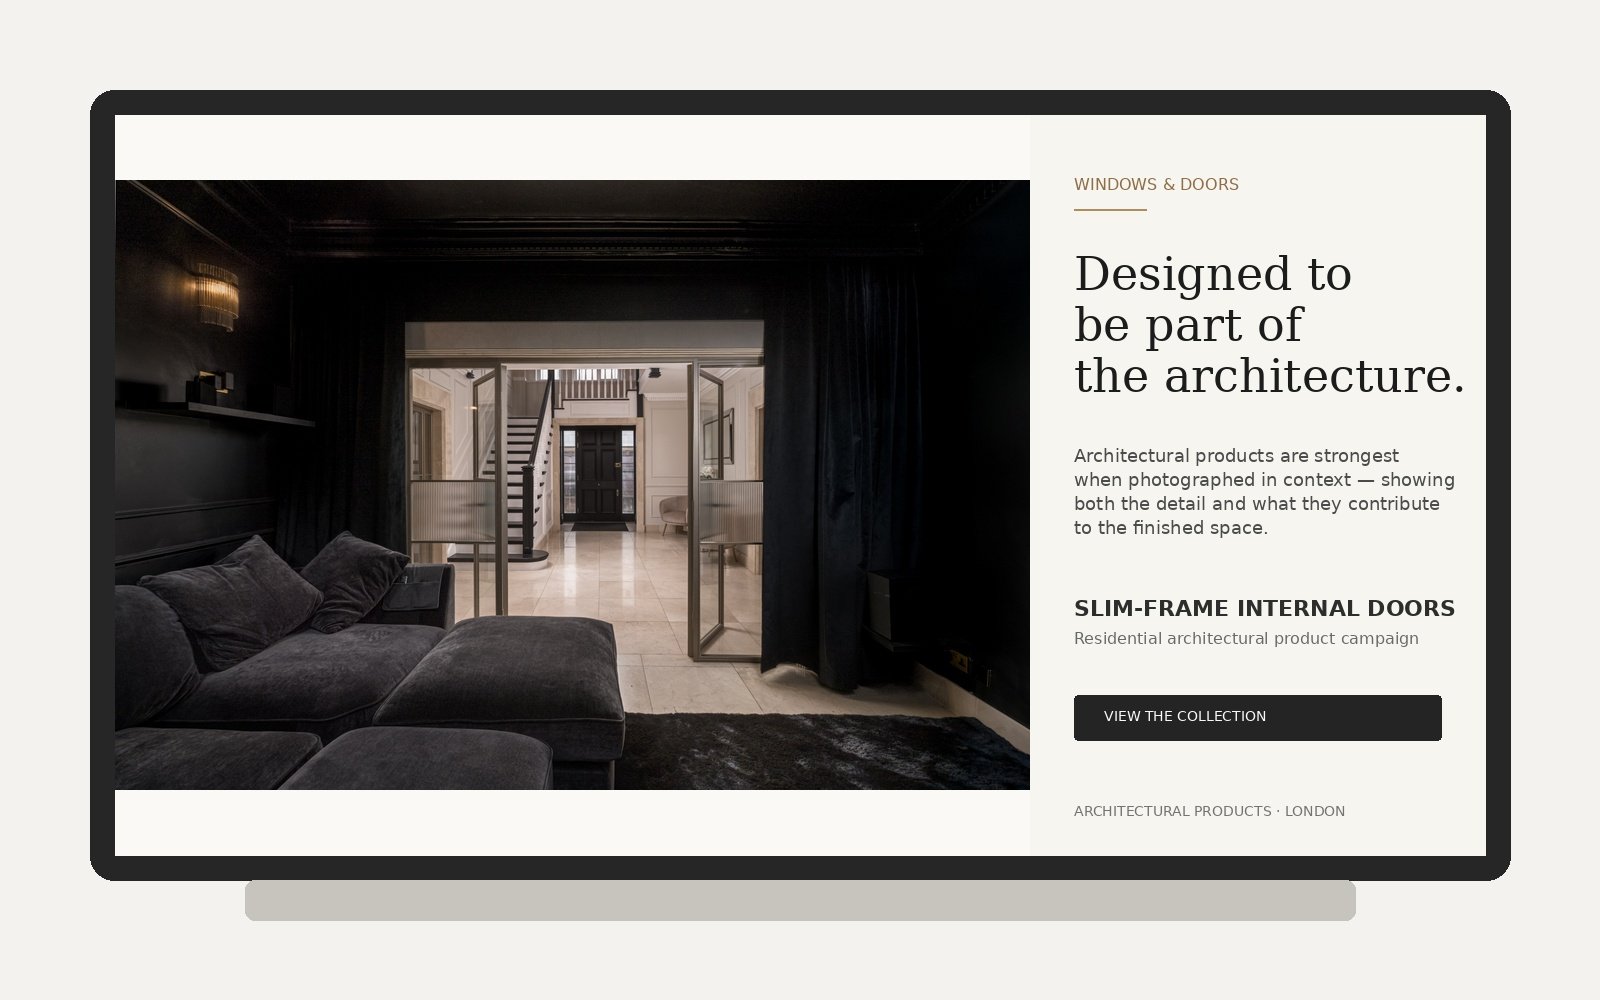
advertising
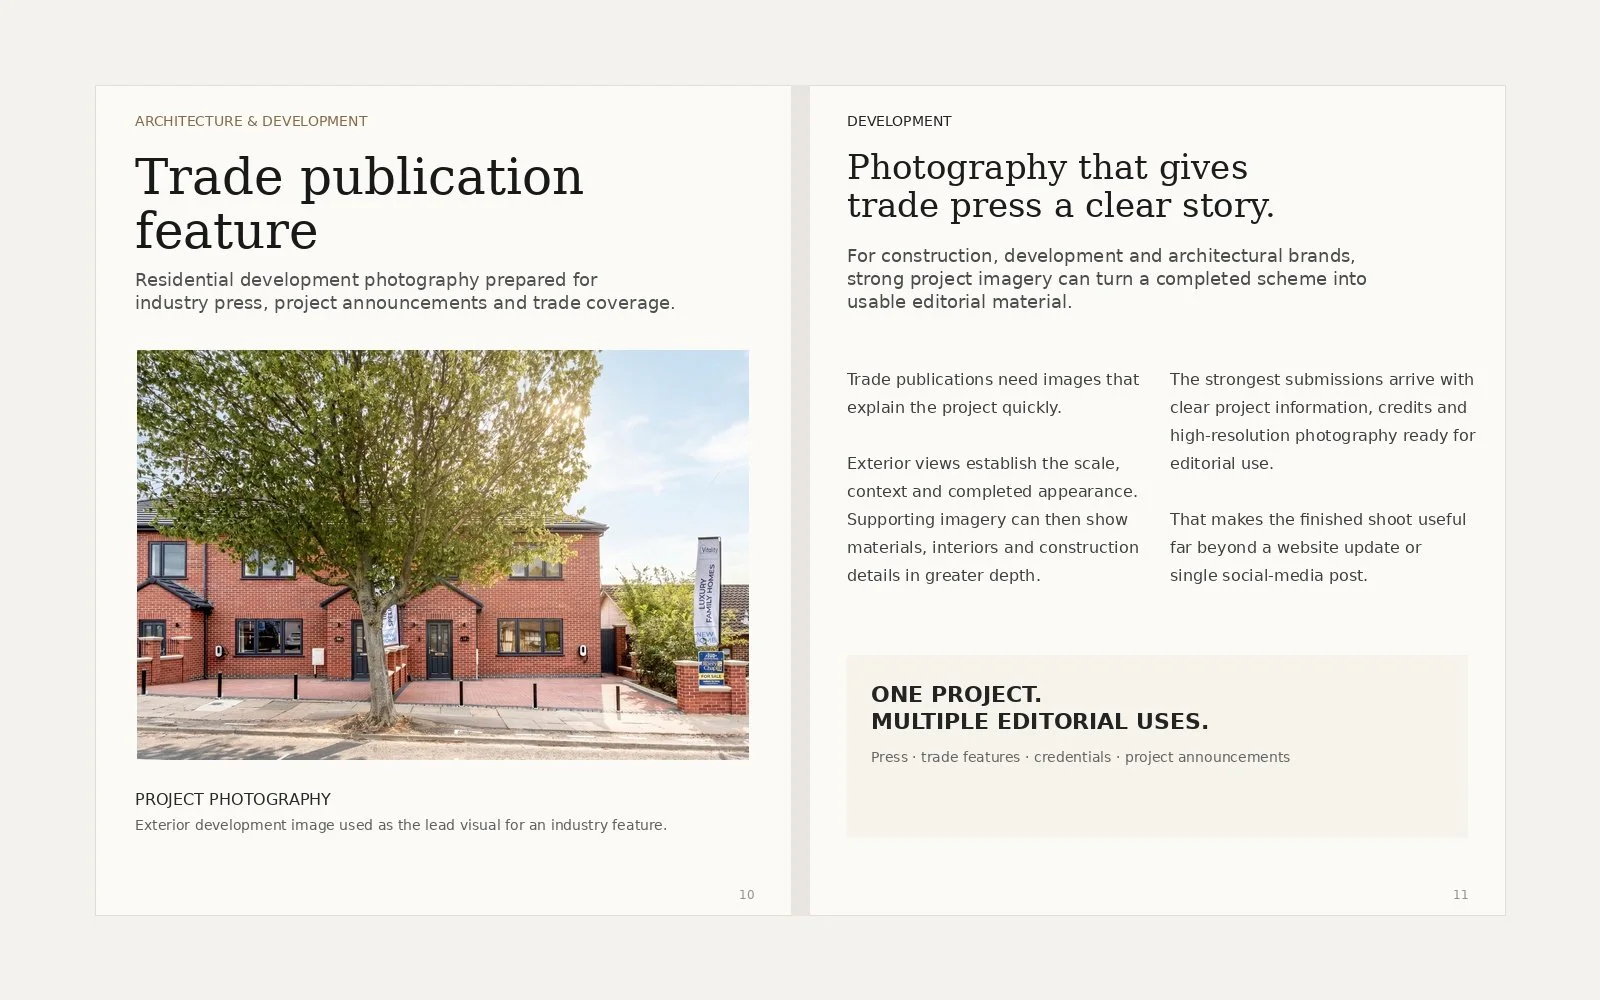
trade publications
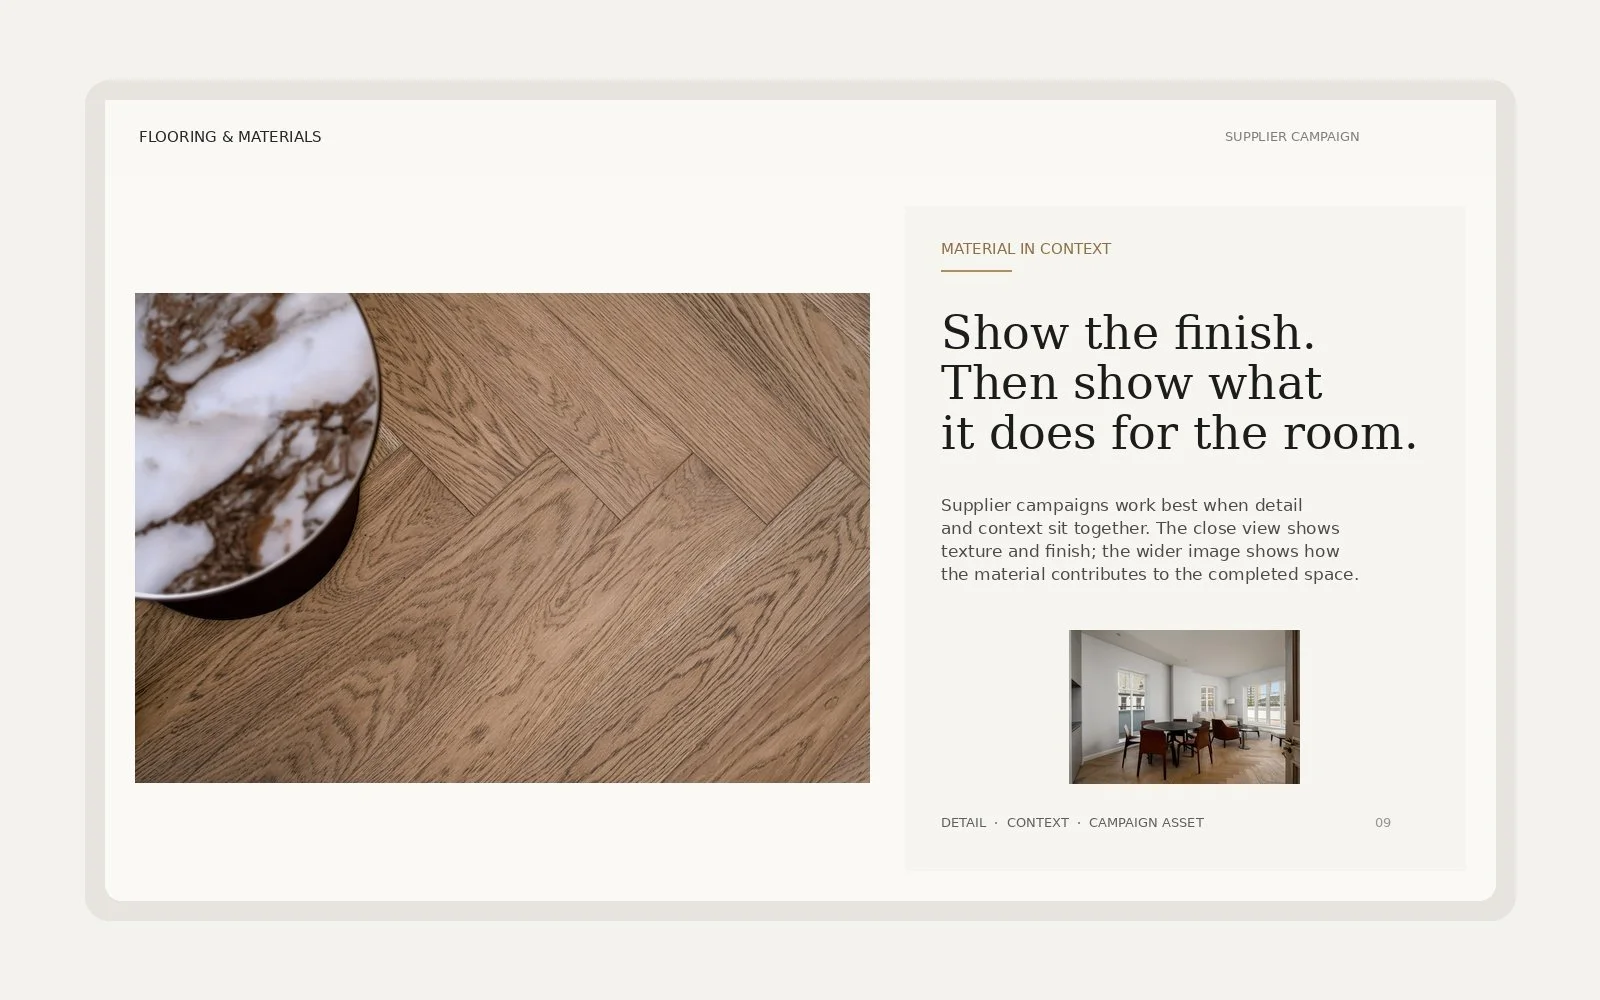
supplier campaigns
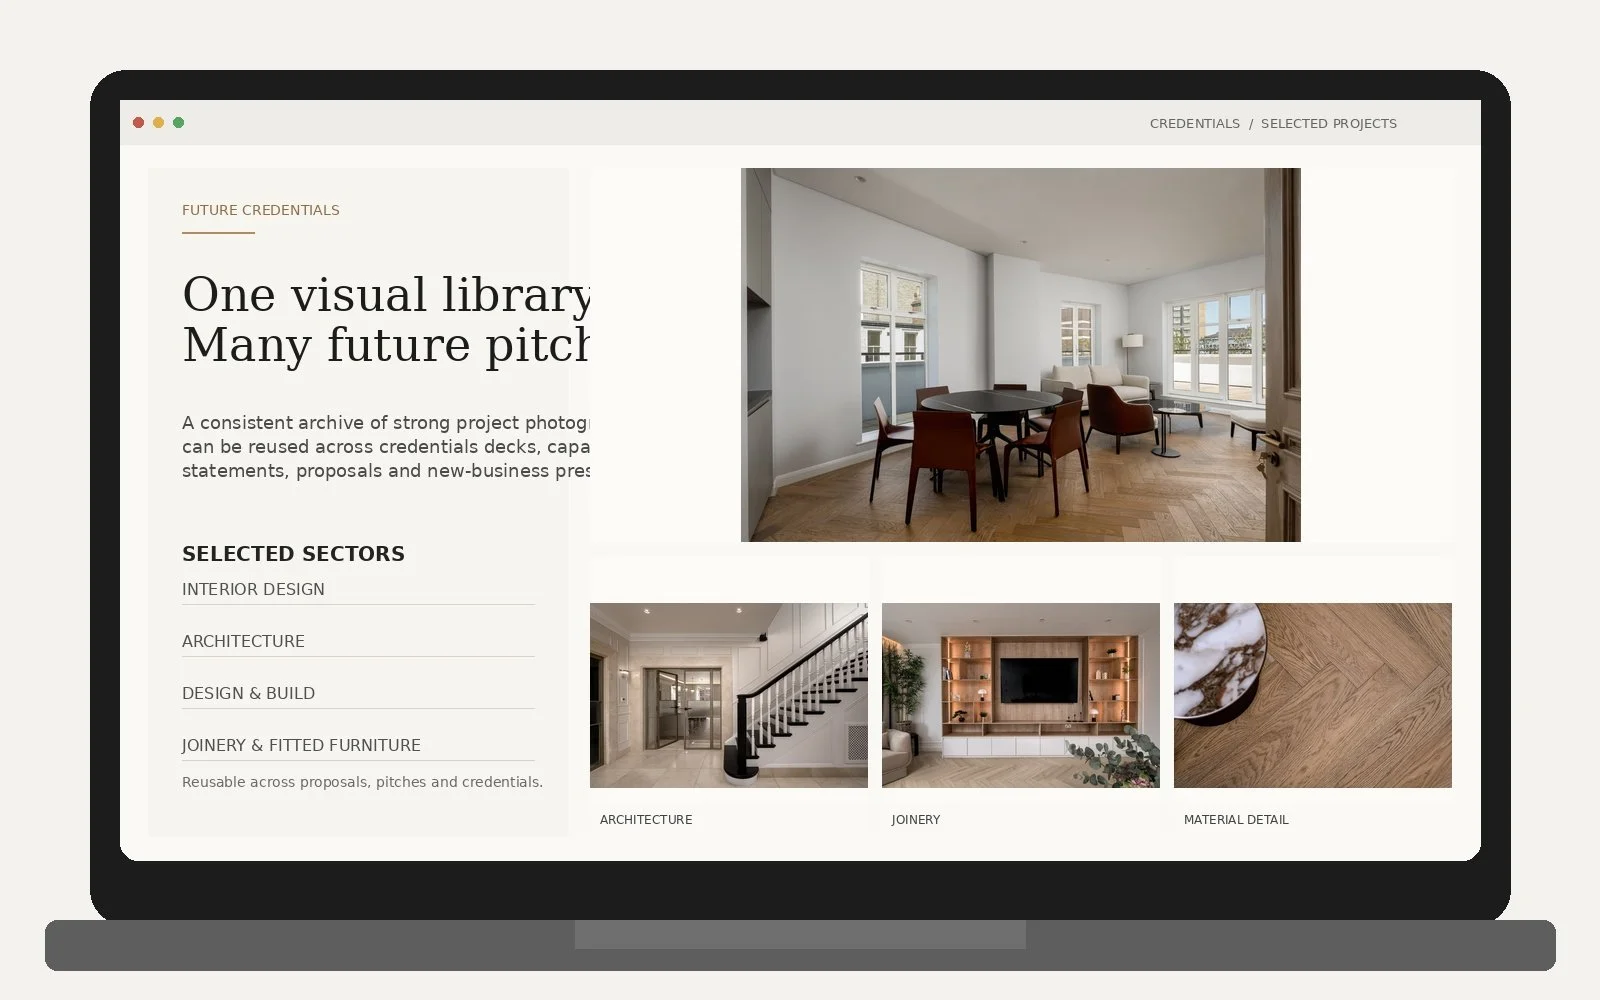
future credentials
That intended use changes what should be photographed.
An interior designer may need a coherent visual story across the complete project.
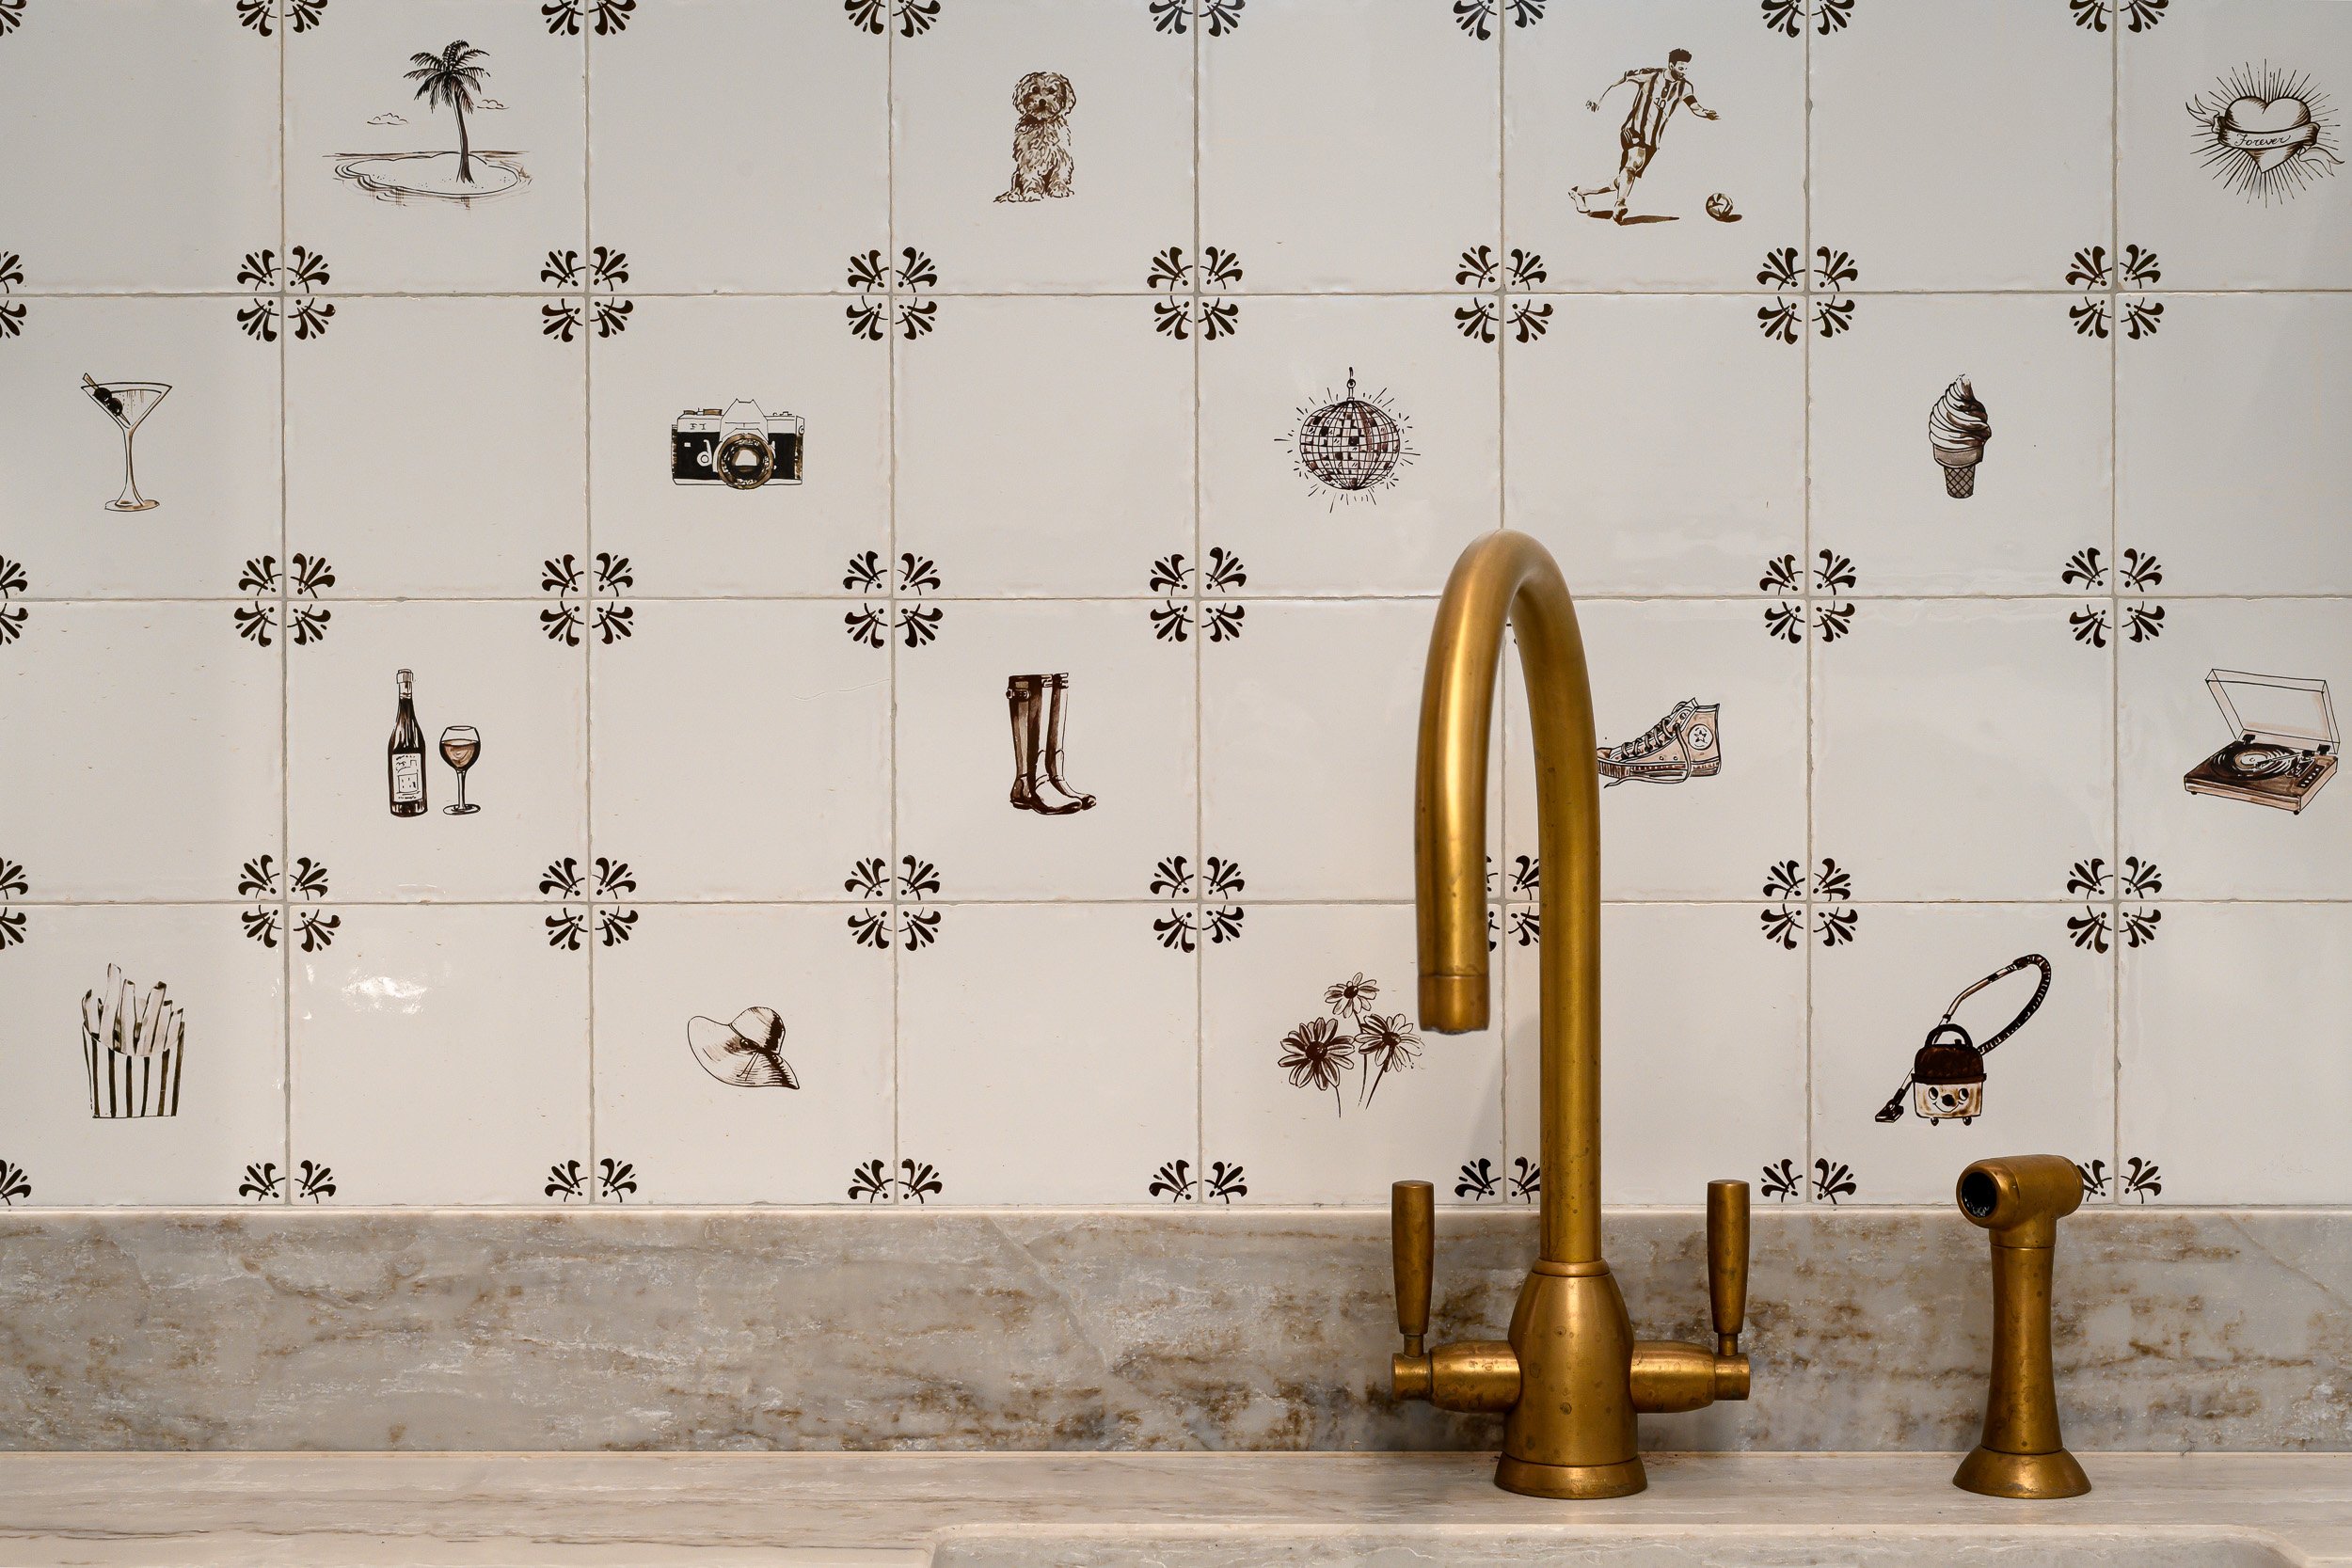
A joinery manufacturer may need close details of hardware, mechanisms and material junctions.
An architect may value a composition showing how a new extension relates to the original building more than a decorative still life.
A contractor may need photographs that immediately demonstrate the complexity and quality of an intervention.
The aim is not simply to leave the shoot with attractive images.
It is to create a body of work that explains the value of the project to the people you want to work with next.
Prepare the project for what your business needs the photographs to prove
The same space should not be photographed in exactly the same way for every business involved.
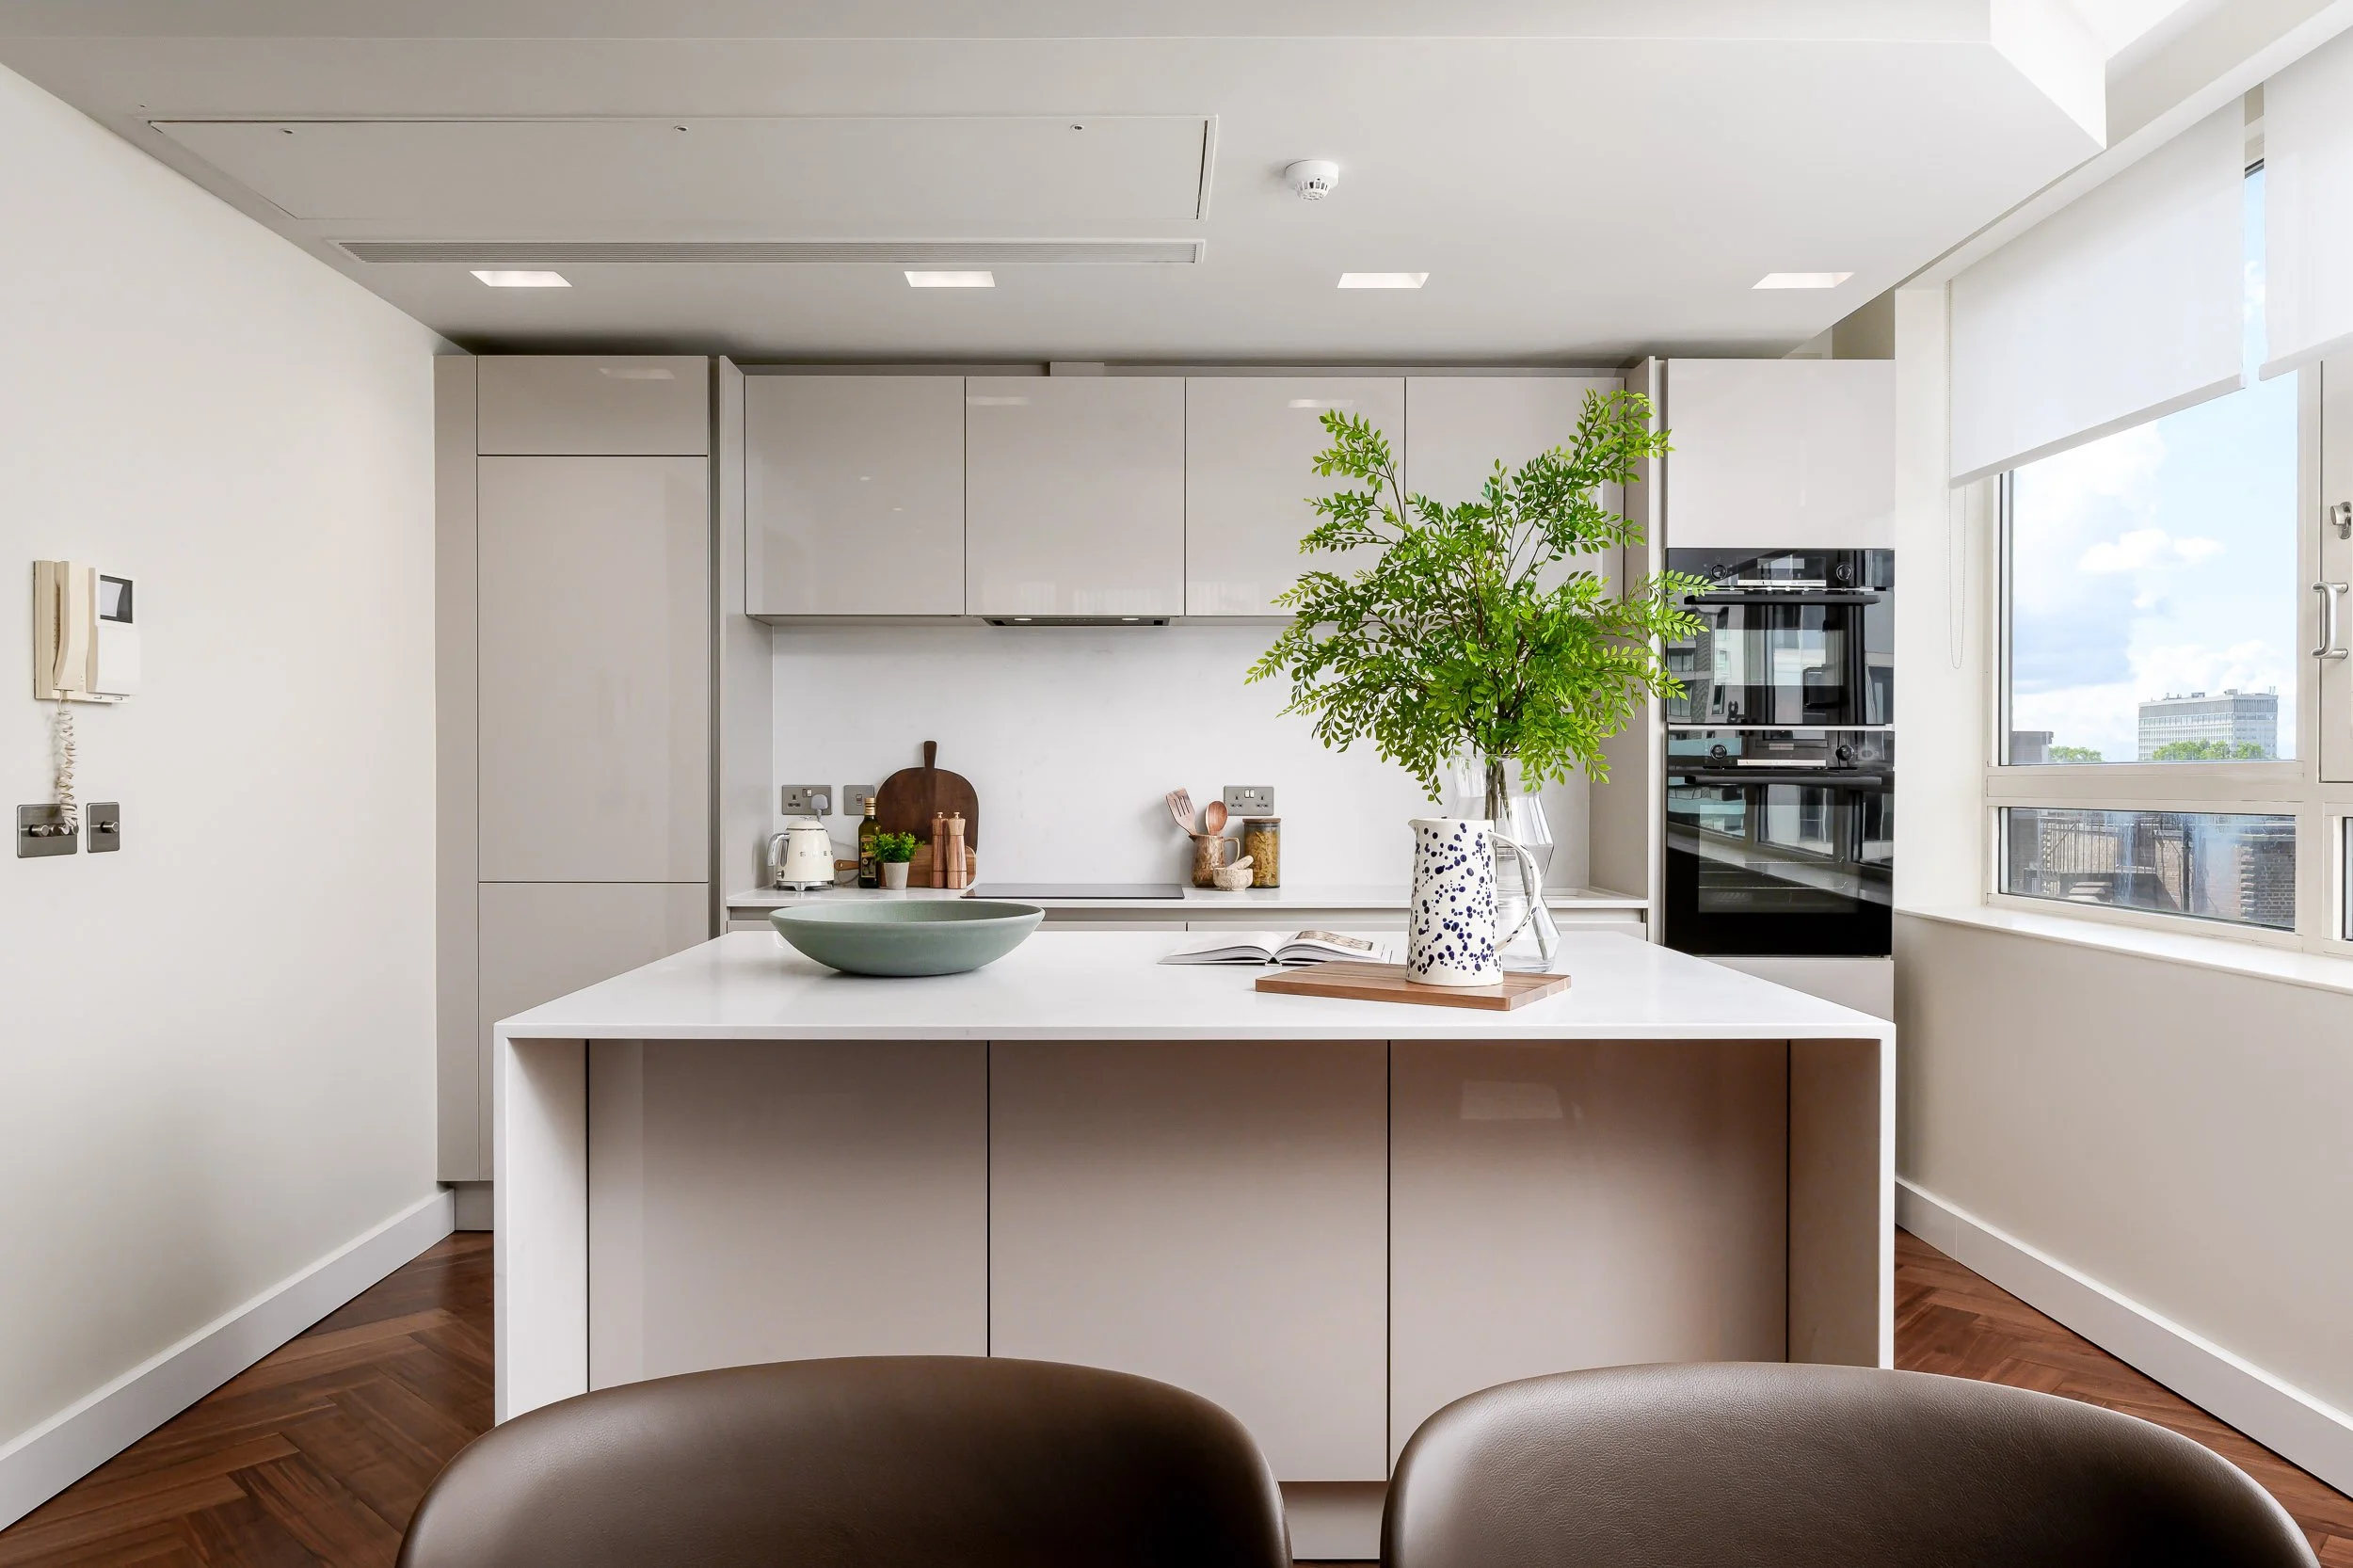
For interior designers: communicate the complete design language
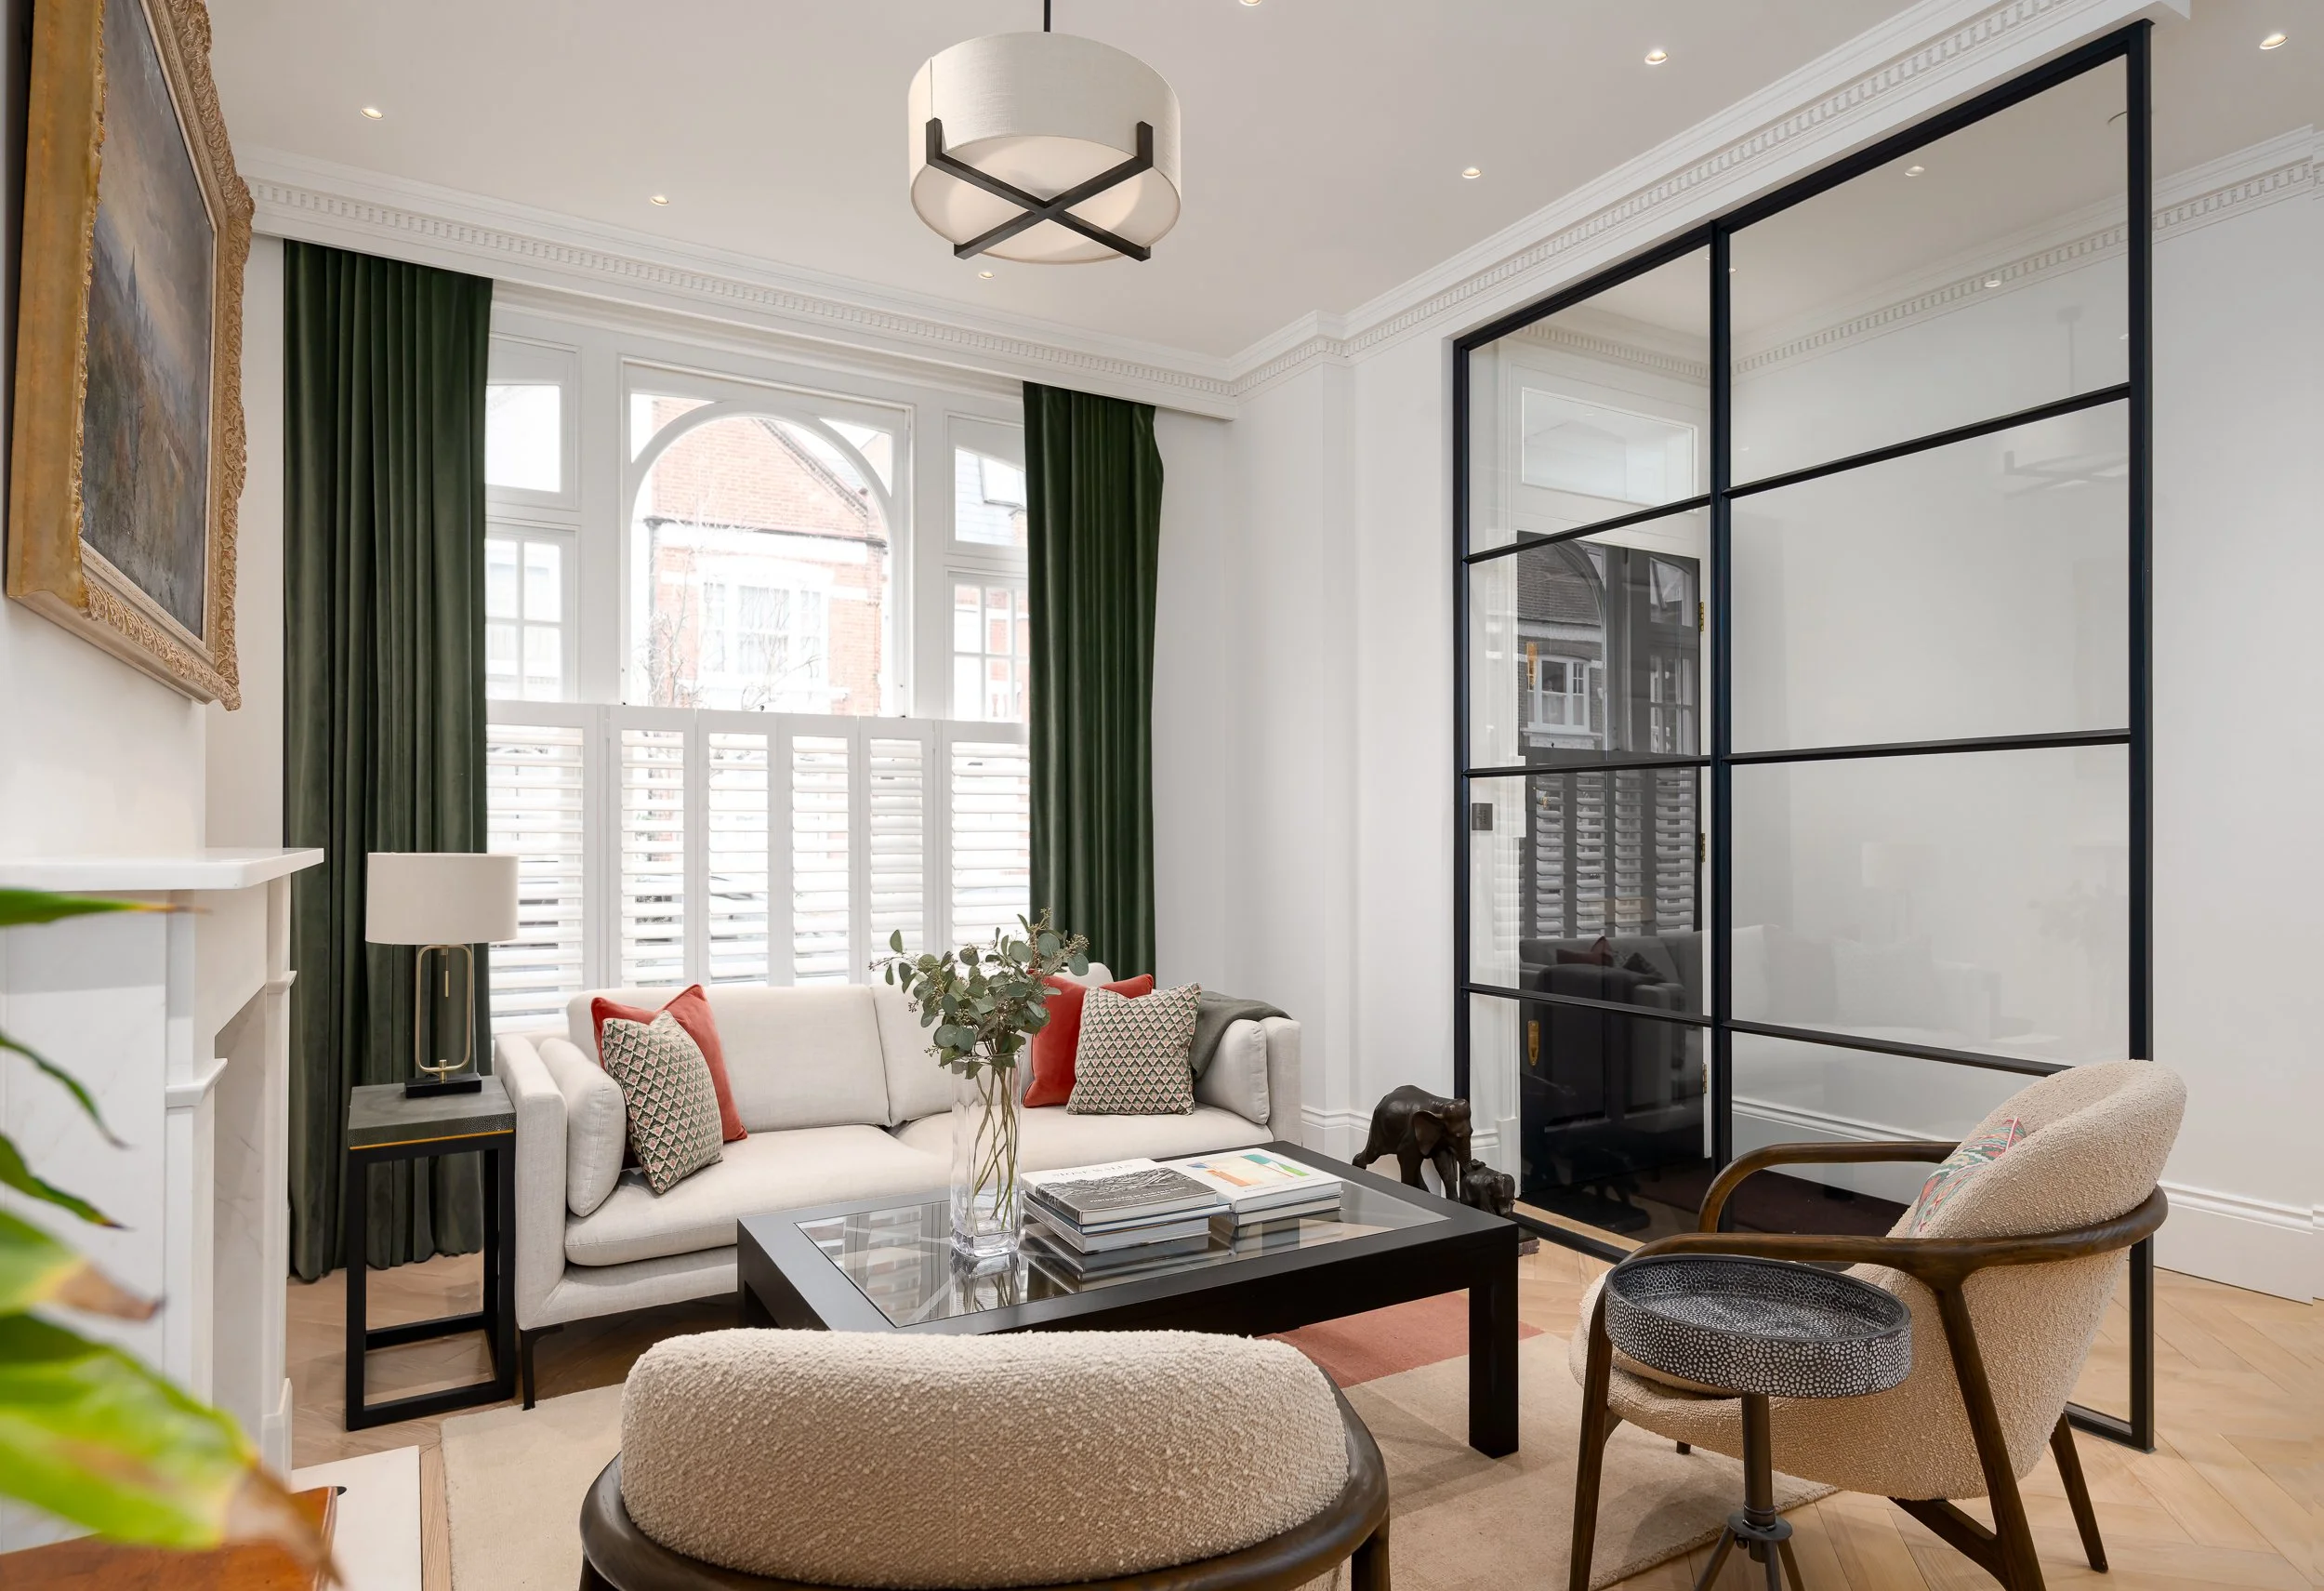
For an interior designer, the photography often needs to show how the whole scheme works together:
colour, materials, furniture, lighting, textiles, artwork, styling, spatial flow and atmosphere.
A prospective client should be able to look through the photographs and understand something about how you think.
That means balancing wider images that establish the room with tighter compositions that reveal the decisions within it.
Transitions between spaces can be as important as individual hero rooms.
If the project may later be pitched to press, entered into awards or presented as a case study, it is useful to prepare the information behind the design too.
What was the concept?
Which pieces were bespoke?
Which materials or finishes matter?
What problem did the design solve?
Who contributed to the project?
Those details may affect what deserves attention during the shoot.
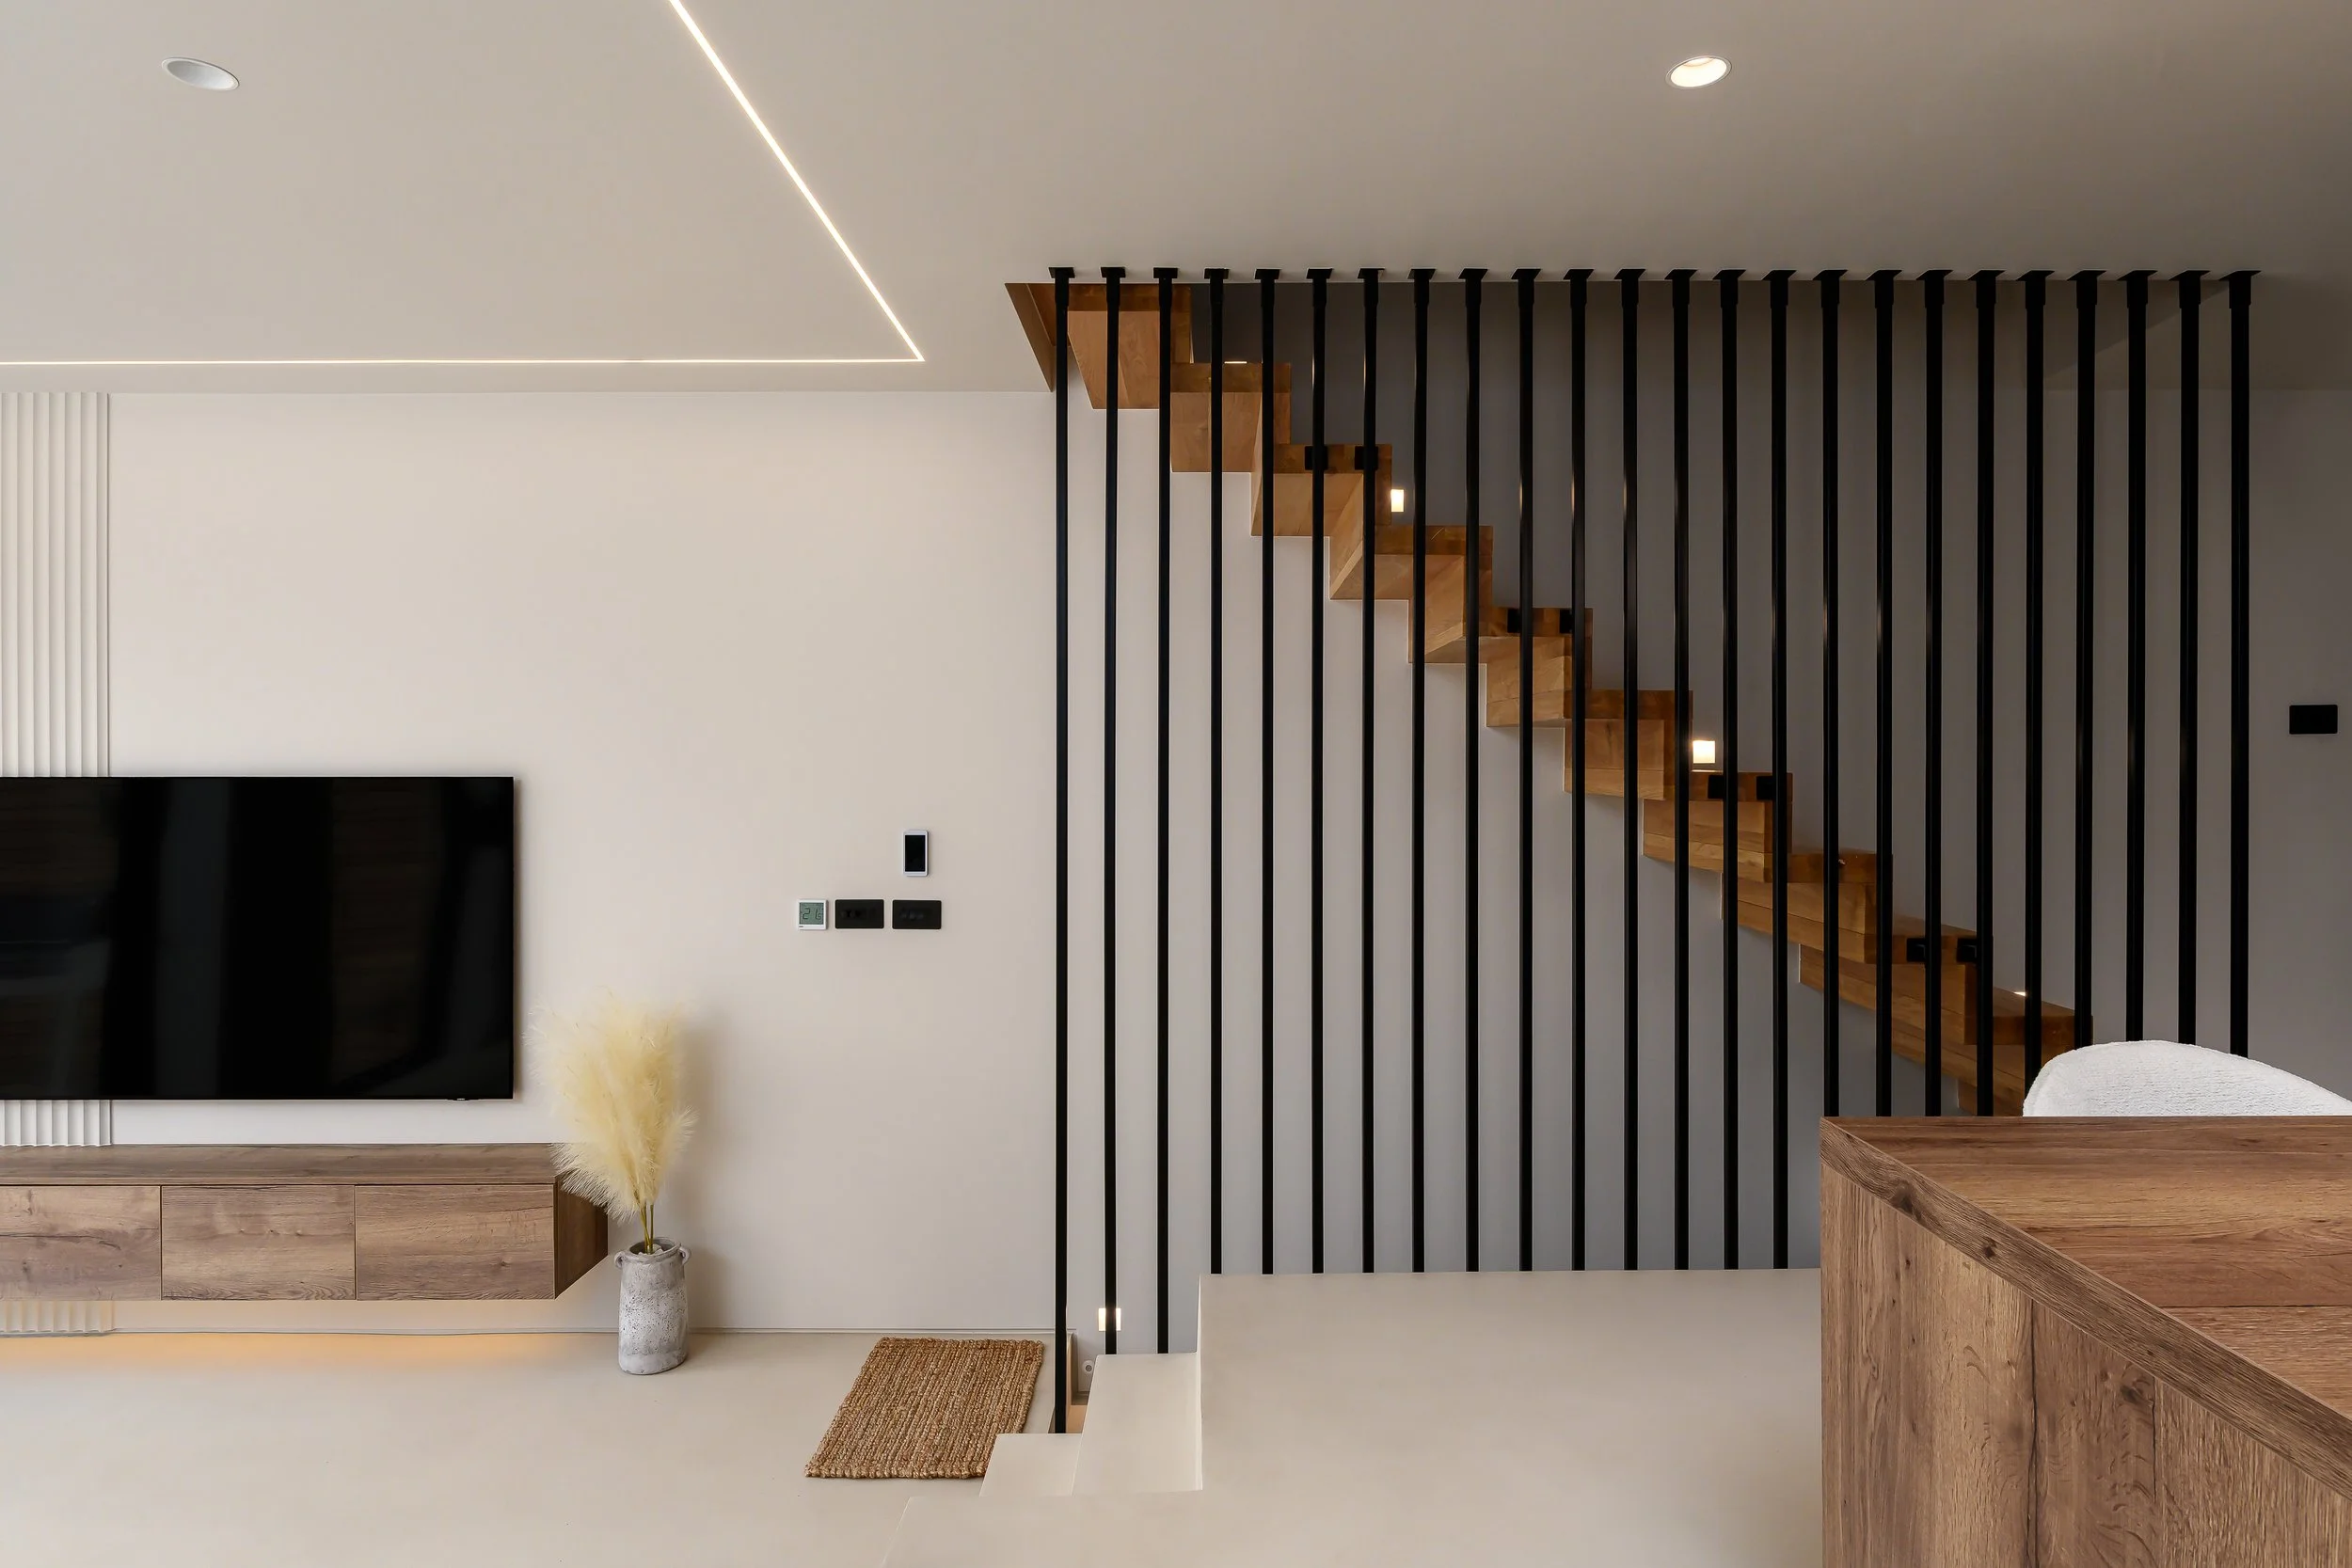
For architects: reveal the architecture, not simply the decoration
Architectural photography asks different questions.
The styling may still matter, but the images need to help the viewer understand the building itself.
That may mean showing:
scale
volume
circulation
structure
daylight
thresholds and transitions
material relationships
the relationship between old and new
the connection between interior and landscape
how people move through and use the space
the wider context of the property
Preparation therefore extends beyond the room.
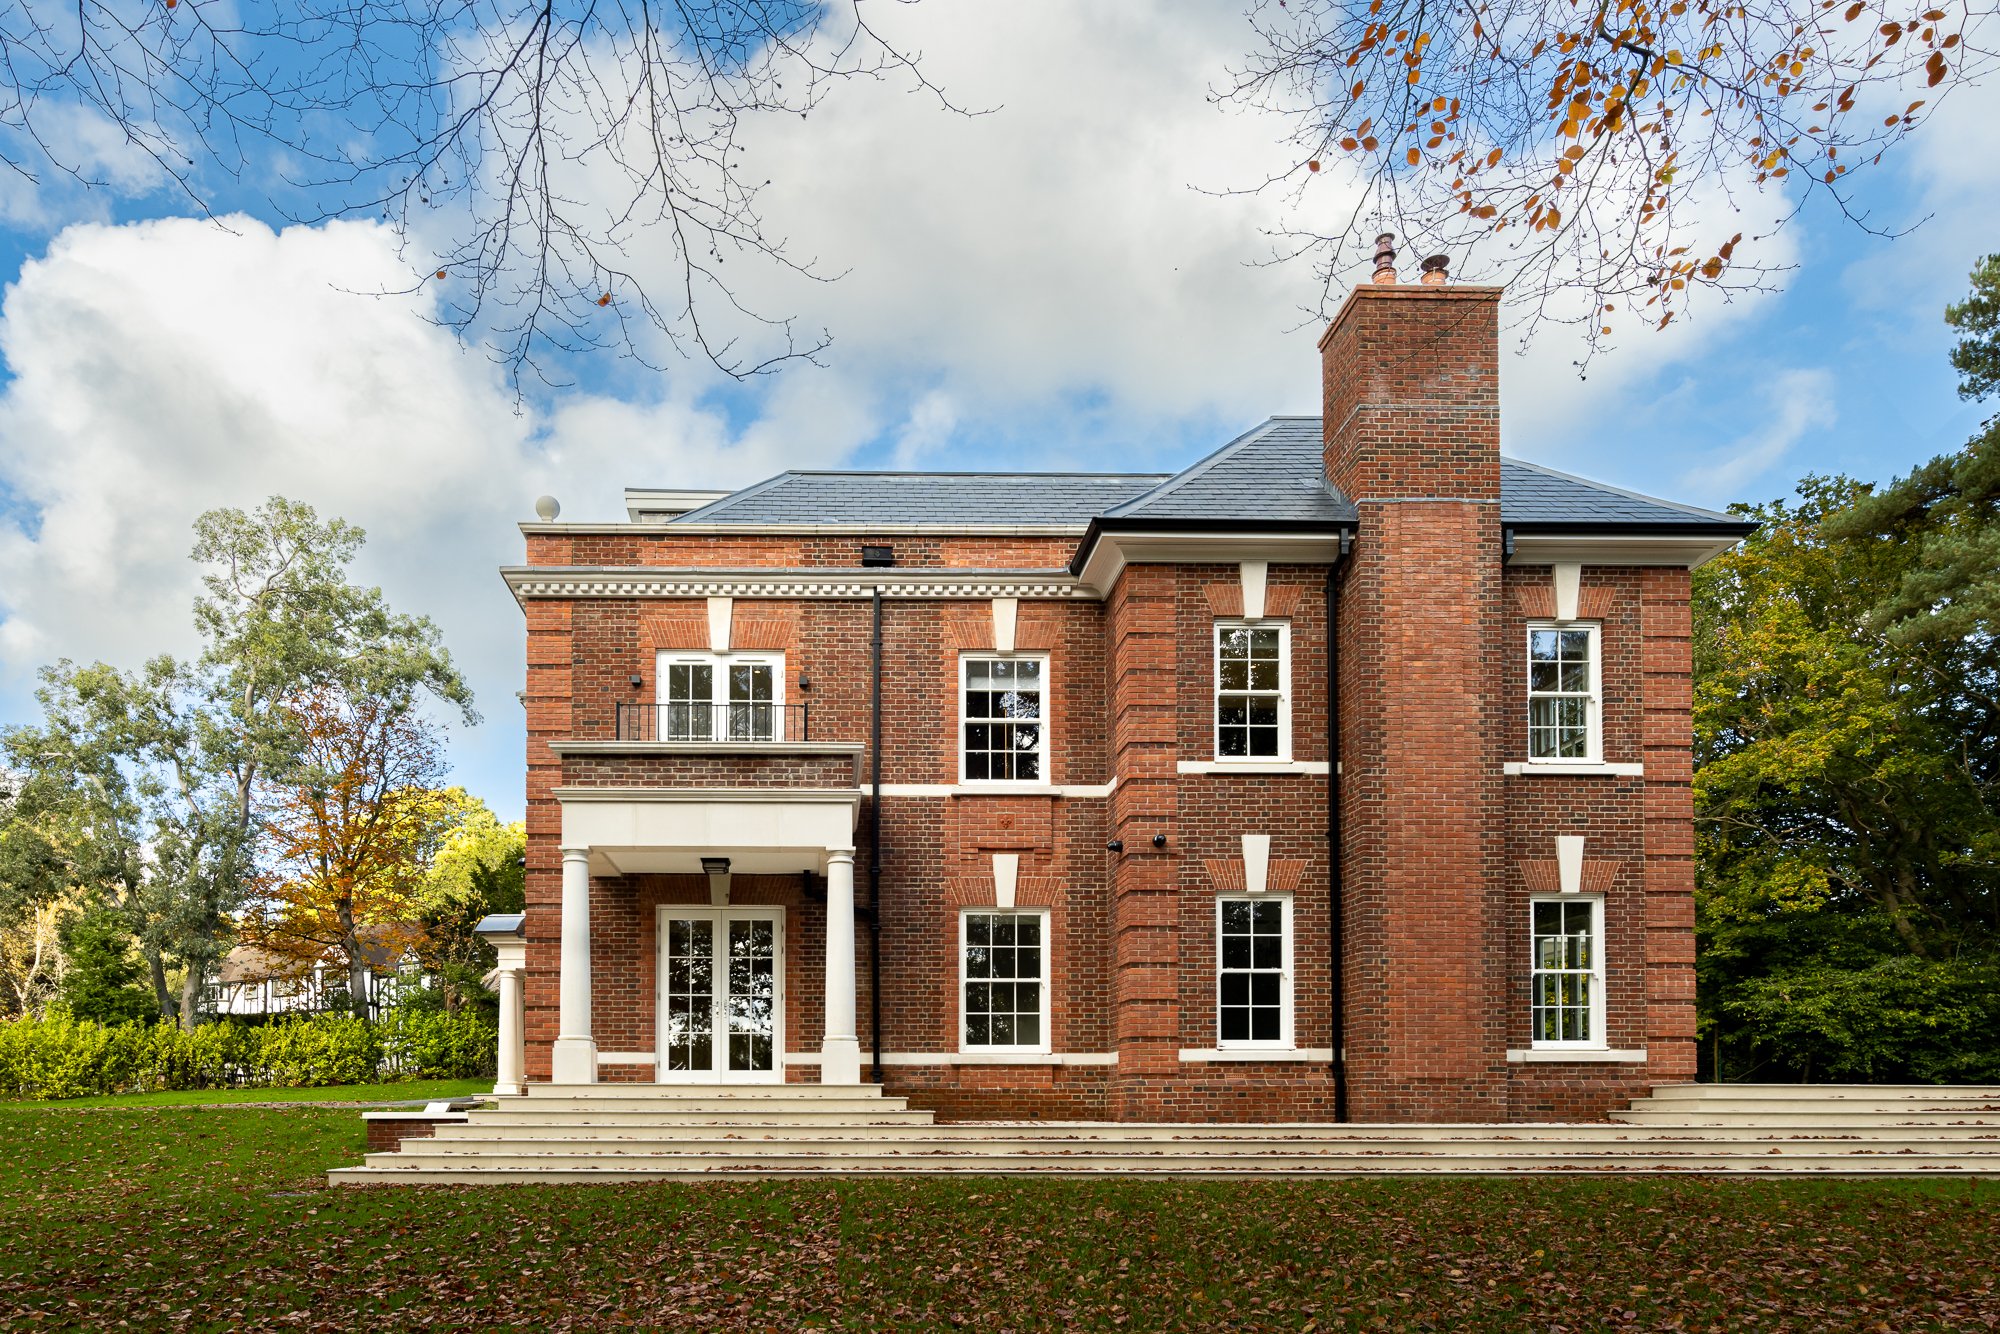
If an elevation is important, are there cars, bins, scaffolding or temporary materials obscuring it?
If the garden is part of the architectural story, is it ready?
Can doors, blinds and shutters be operated?
Is access available to the viewpoint needed to explain the building properly?
Do we know when sunlight reaches a key elevation?
Human presence can also be useful.
A person crossing a threshold, sitting within a large volume or moving through a circulation space can explain scale and use in a way an empty room sometimes cannot.
But people should appear because they add information or atmosphere — not simply because every image needs to feel “lifestyle”.
The purpose of good architectural photography is not only to record the building.
It is to make the architectural idea legible.
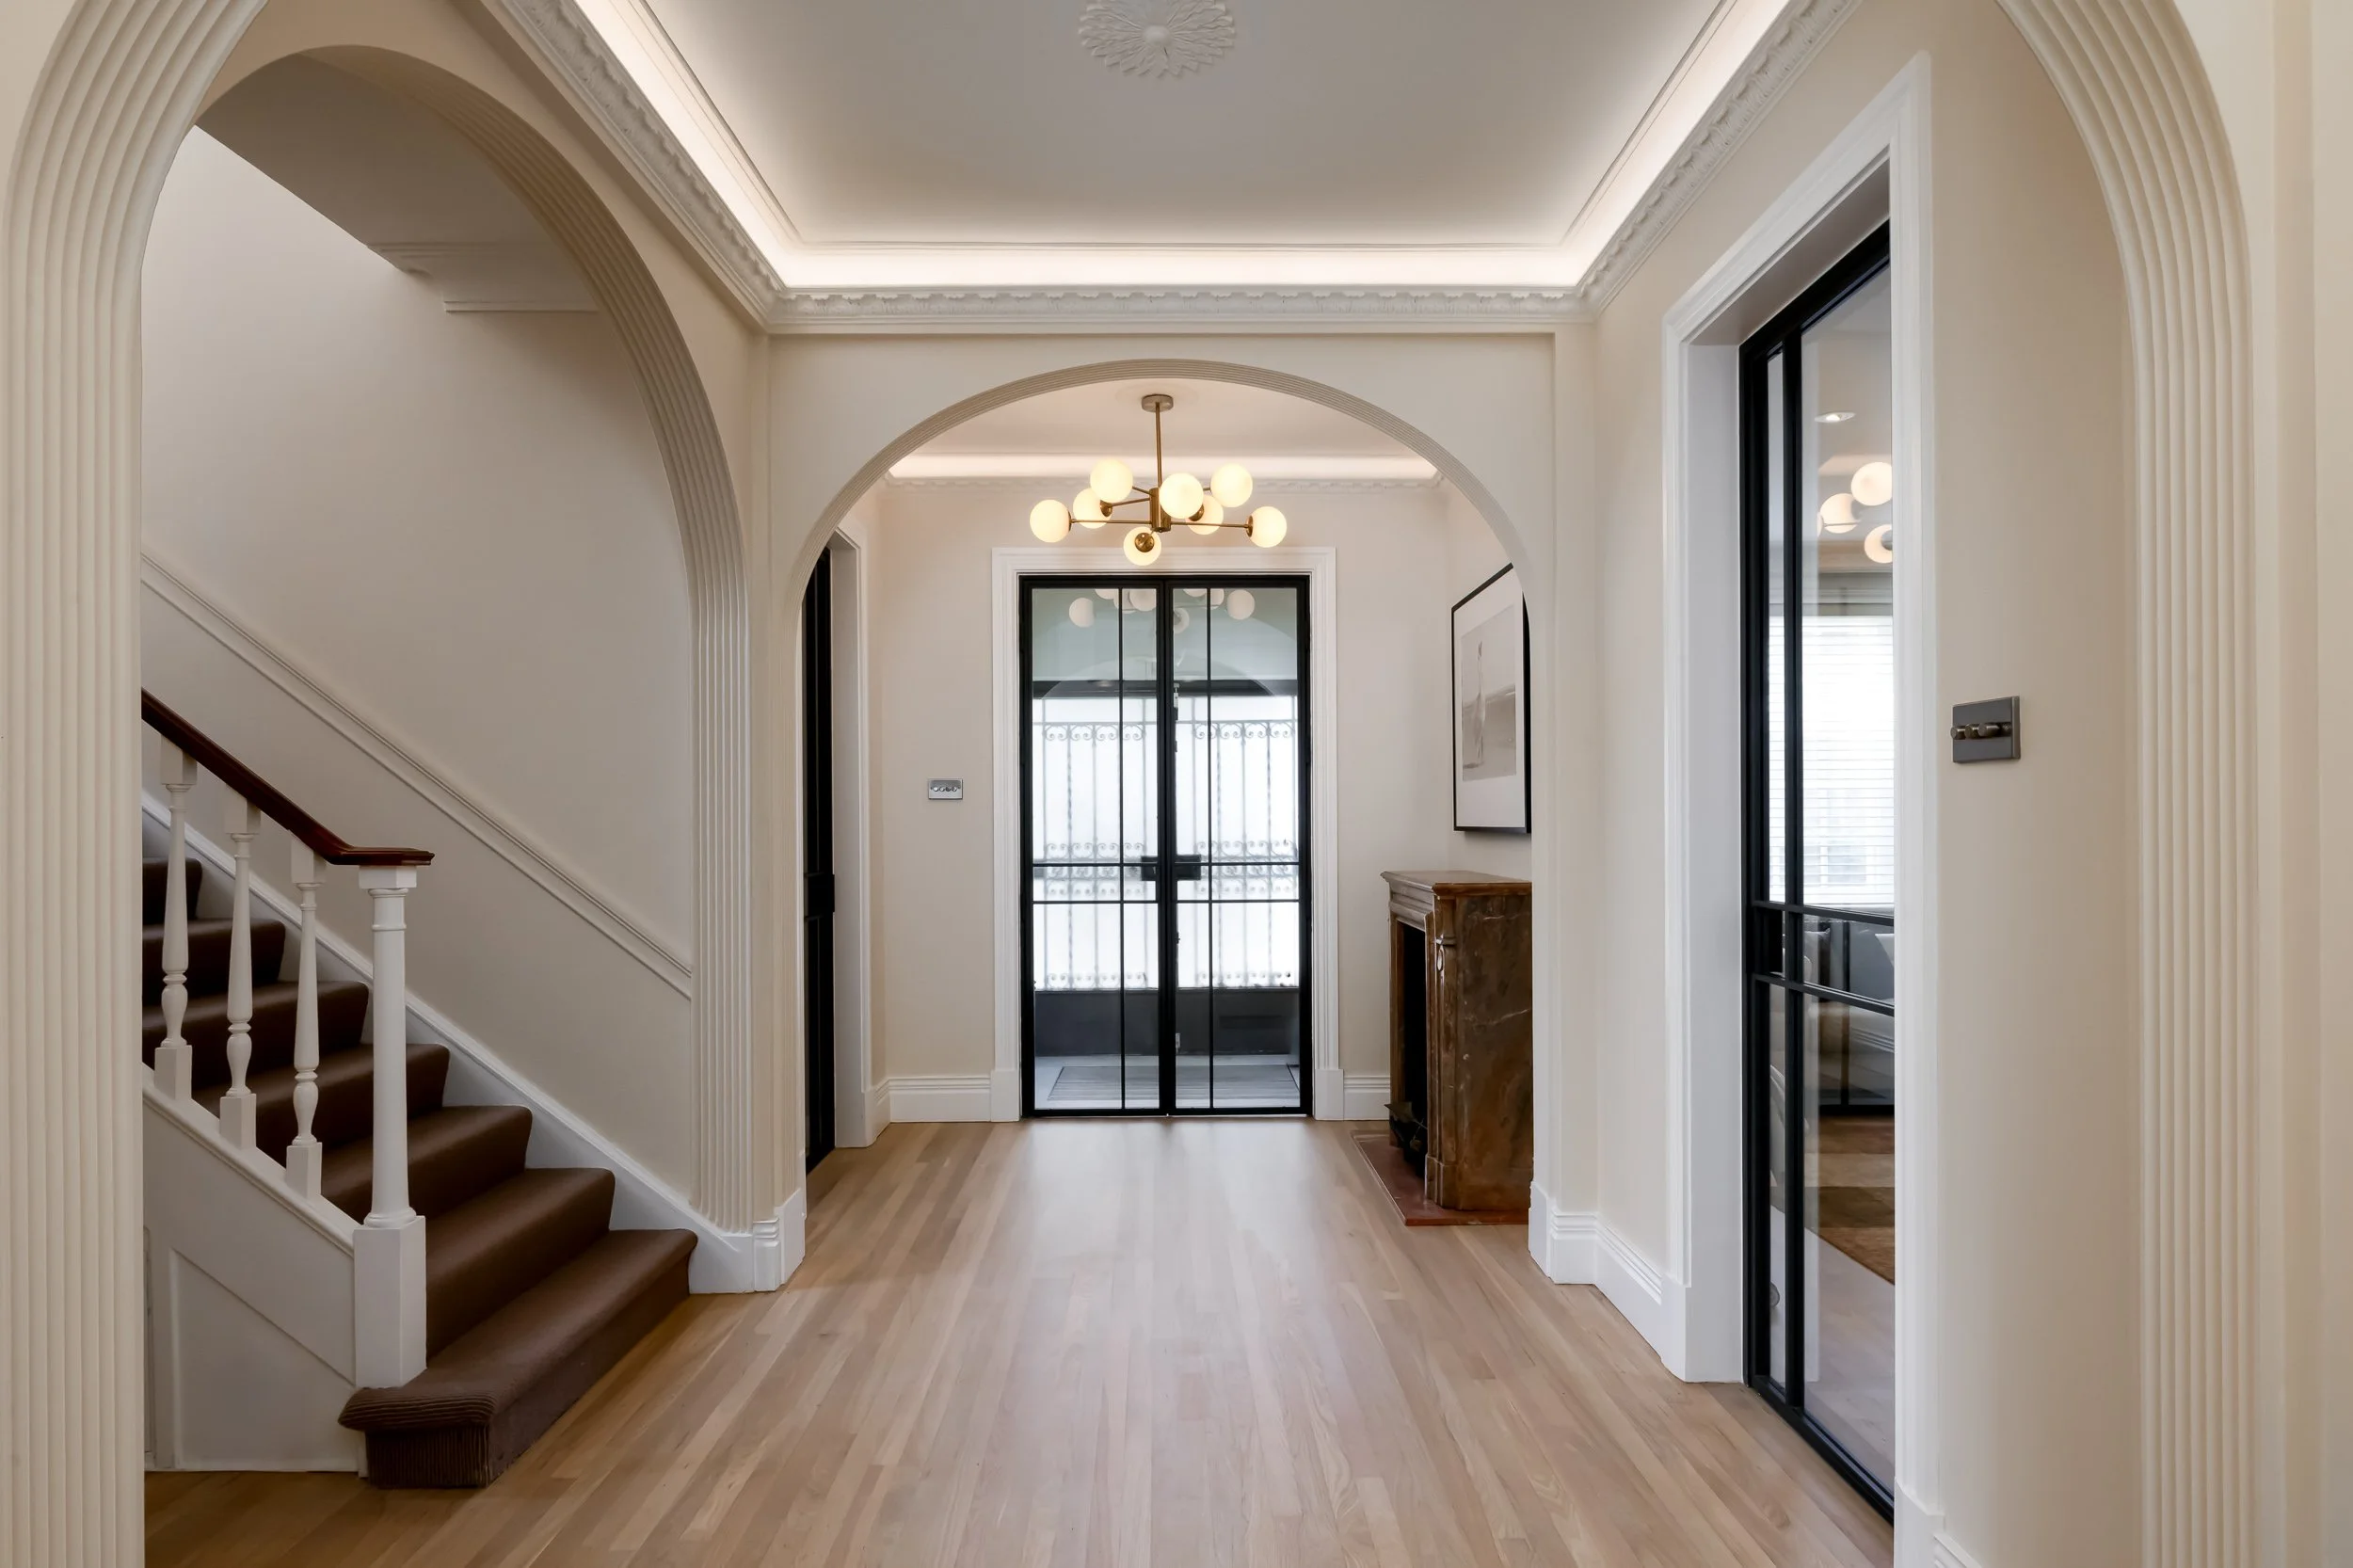
For contractors and design-and-build companies: prove the quality of the work
A contractor does not necessarily need the finished house to resemble an interiors editorial.
The photography needs to make the quality of the work immediately understandable.
That may include:
an extension and its relationship to the original building
structural alterations
glazing
new openings
floor transitions
difficult junctions
bespoke construction details
finish quality
precision
workmanship
before-and-after transformation
This is where project readiness needs to be judged differently.
A contractor should not automatically postpone useful photography because the homeowner has not styled every bedroom.
If the commercially important work is complete, the project can often be photographed selectively.
A finished extension, kitchen installation or architectural intervention does not become less valuable because an unrelated area of the house is still waiting for furniture.
The photography should concentrate on the work that is ready and the evidence future clients actually need to see.
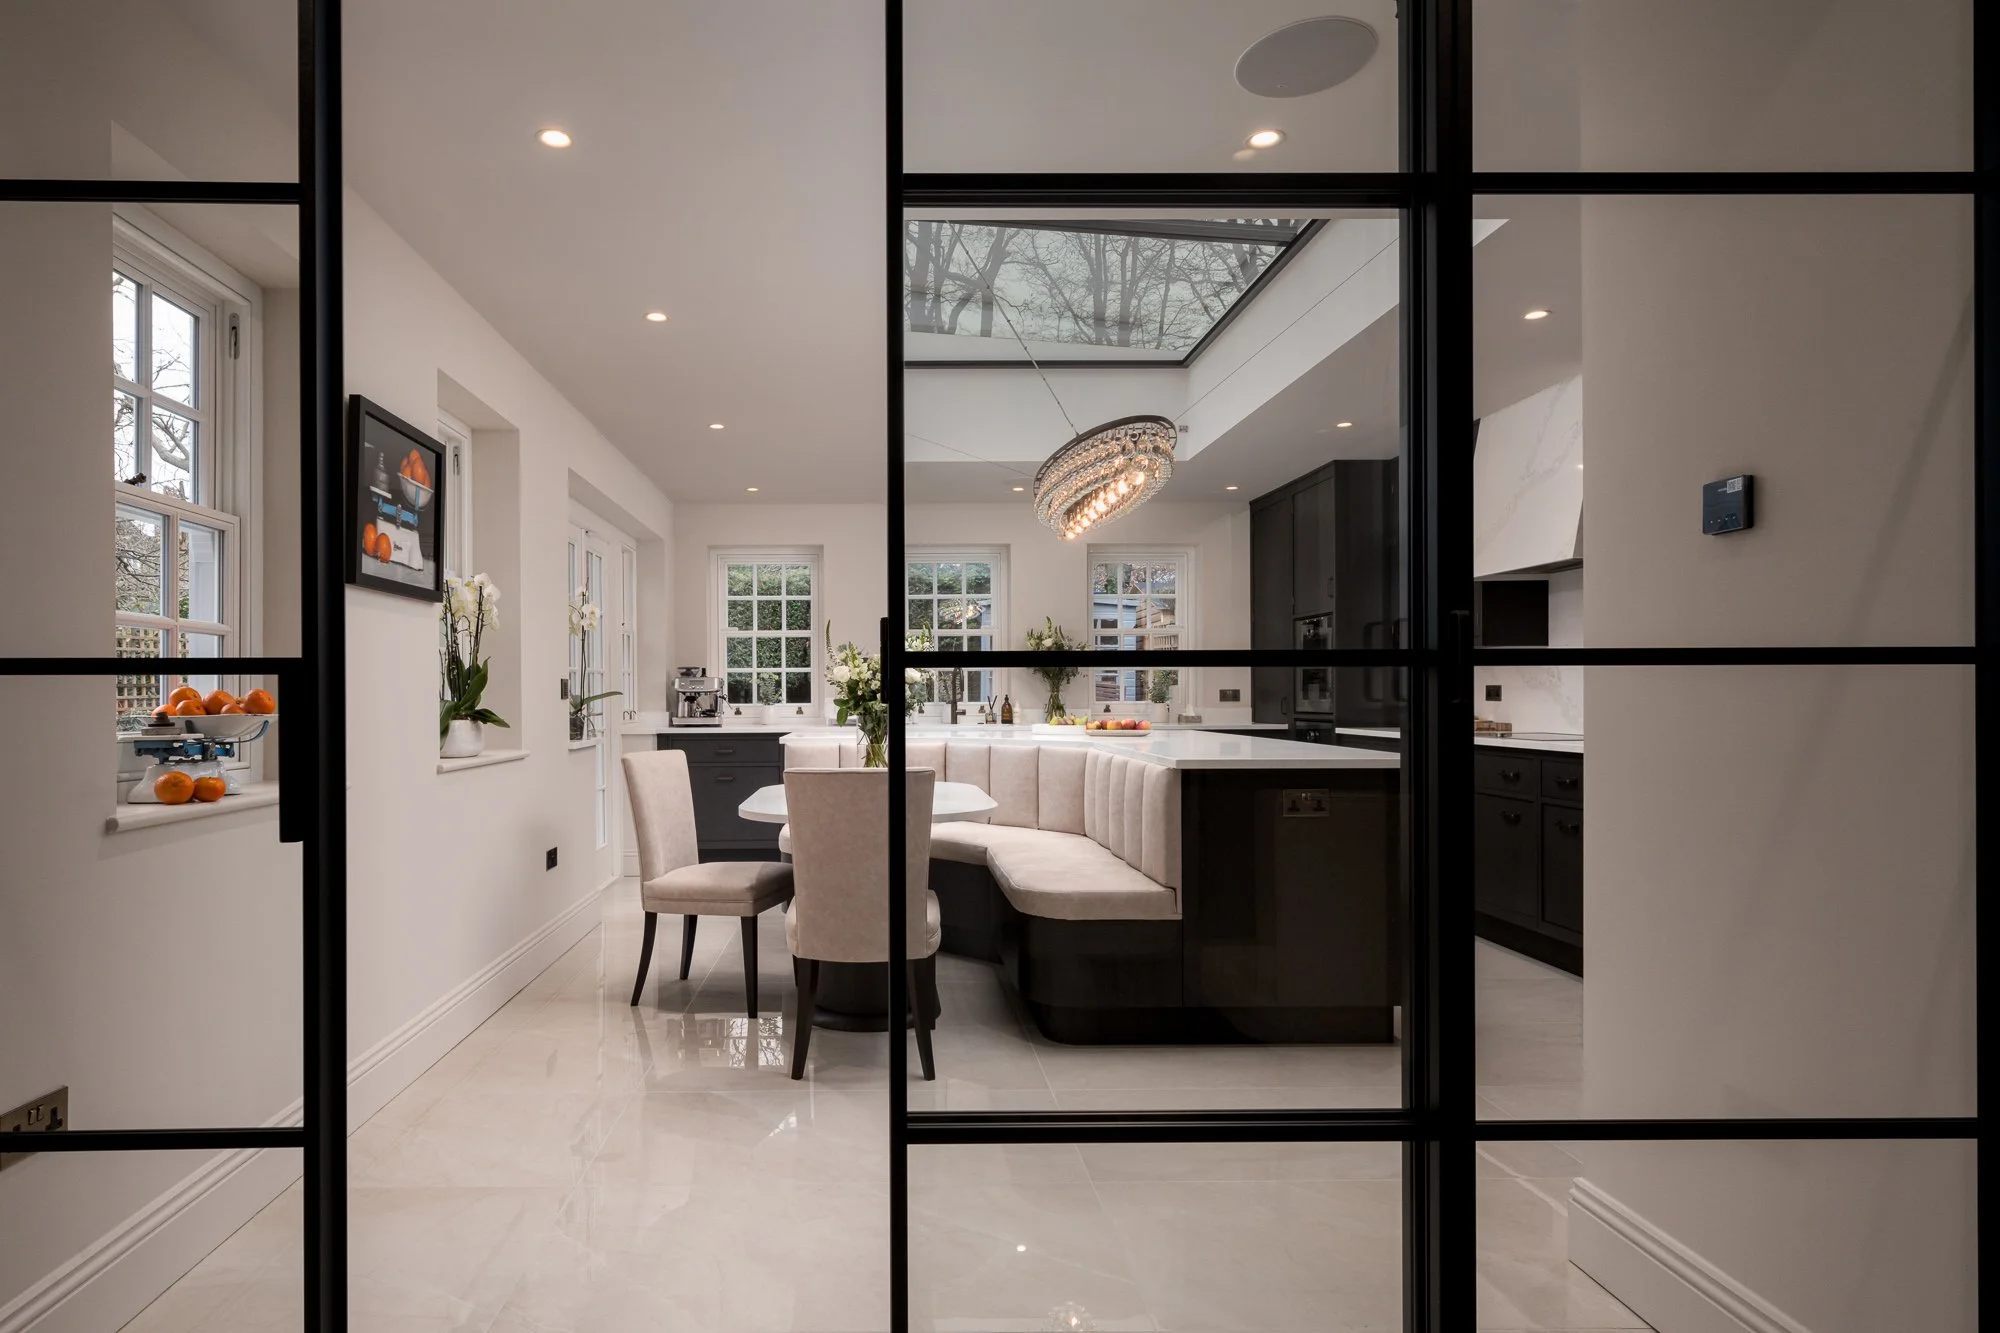
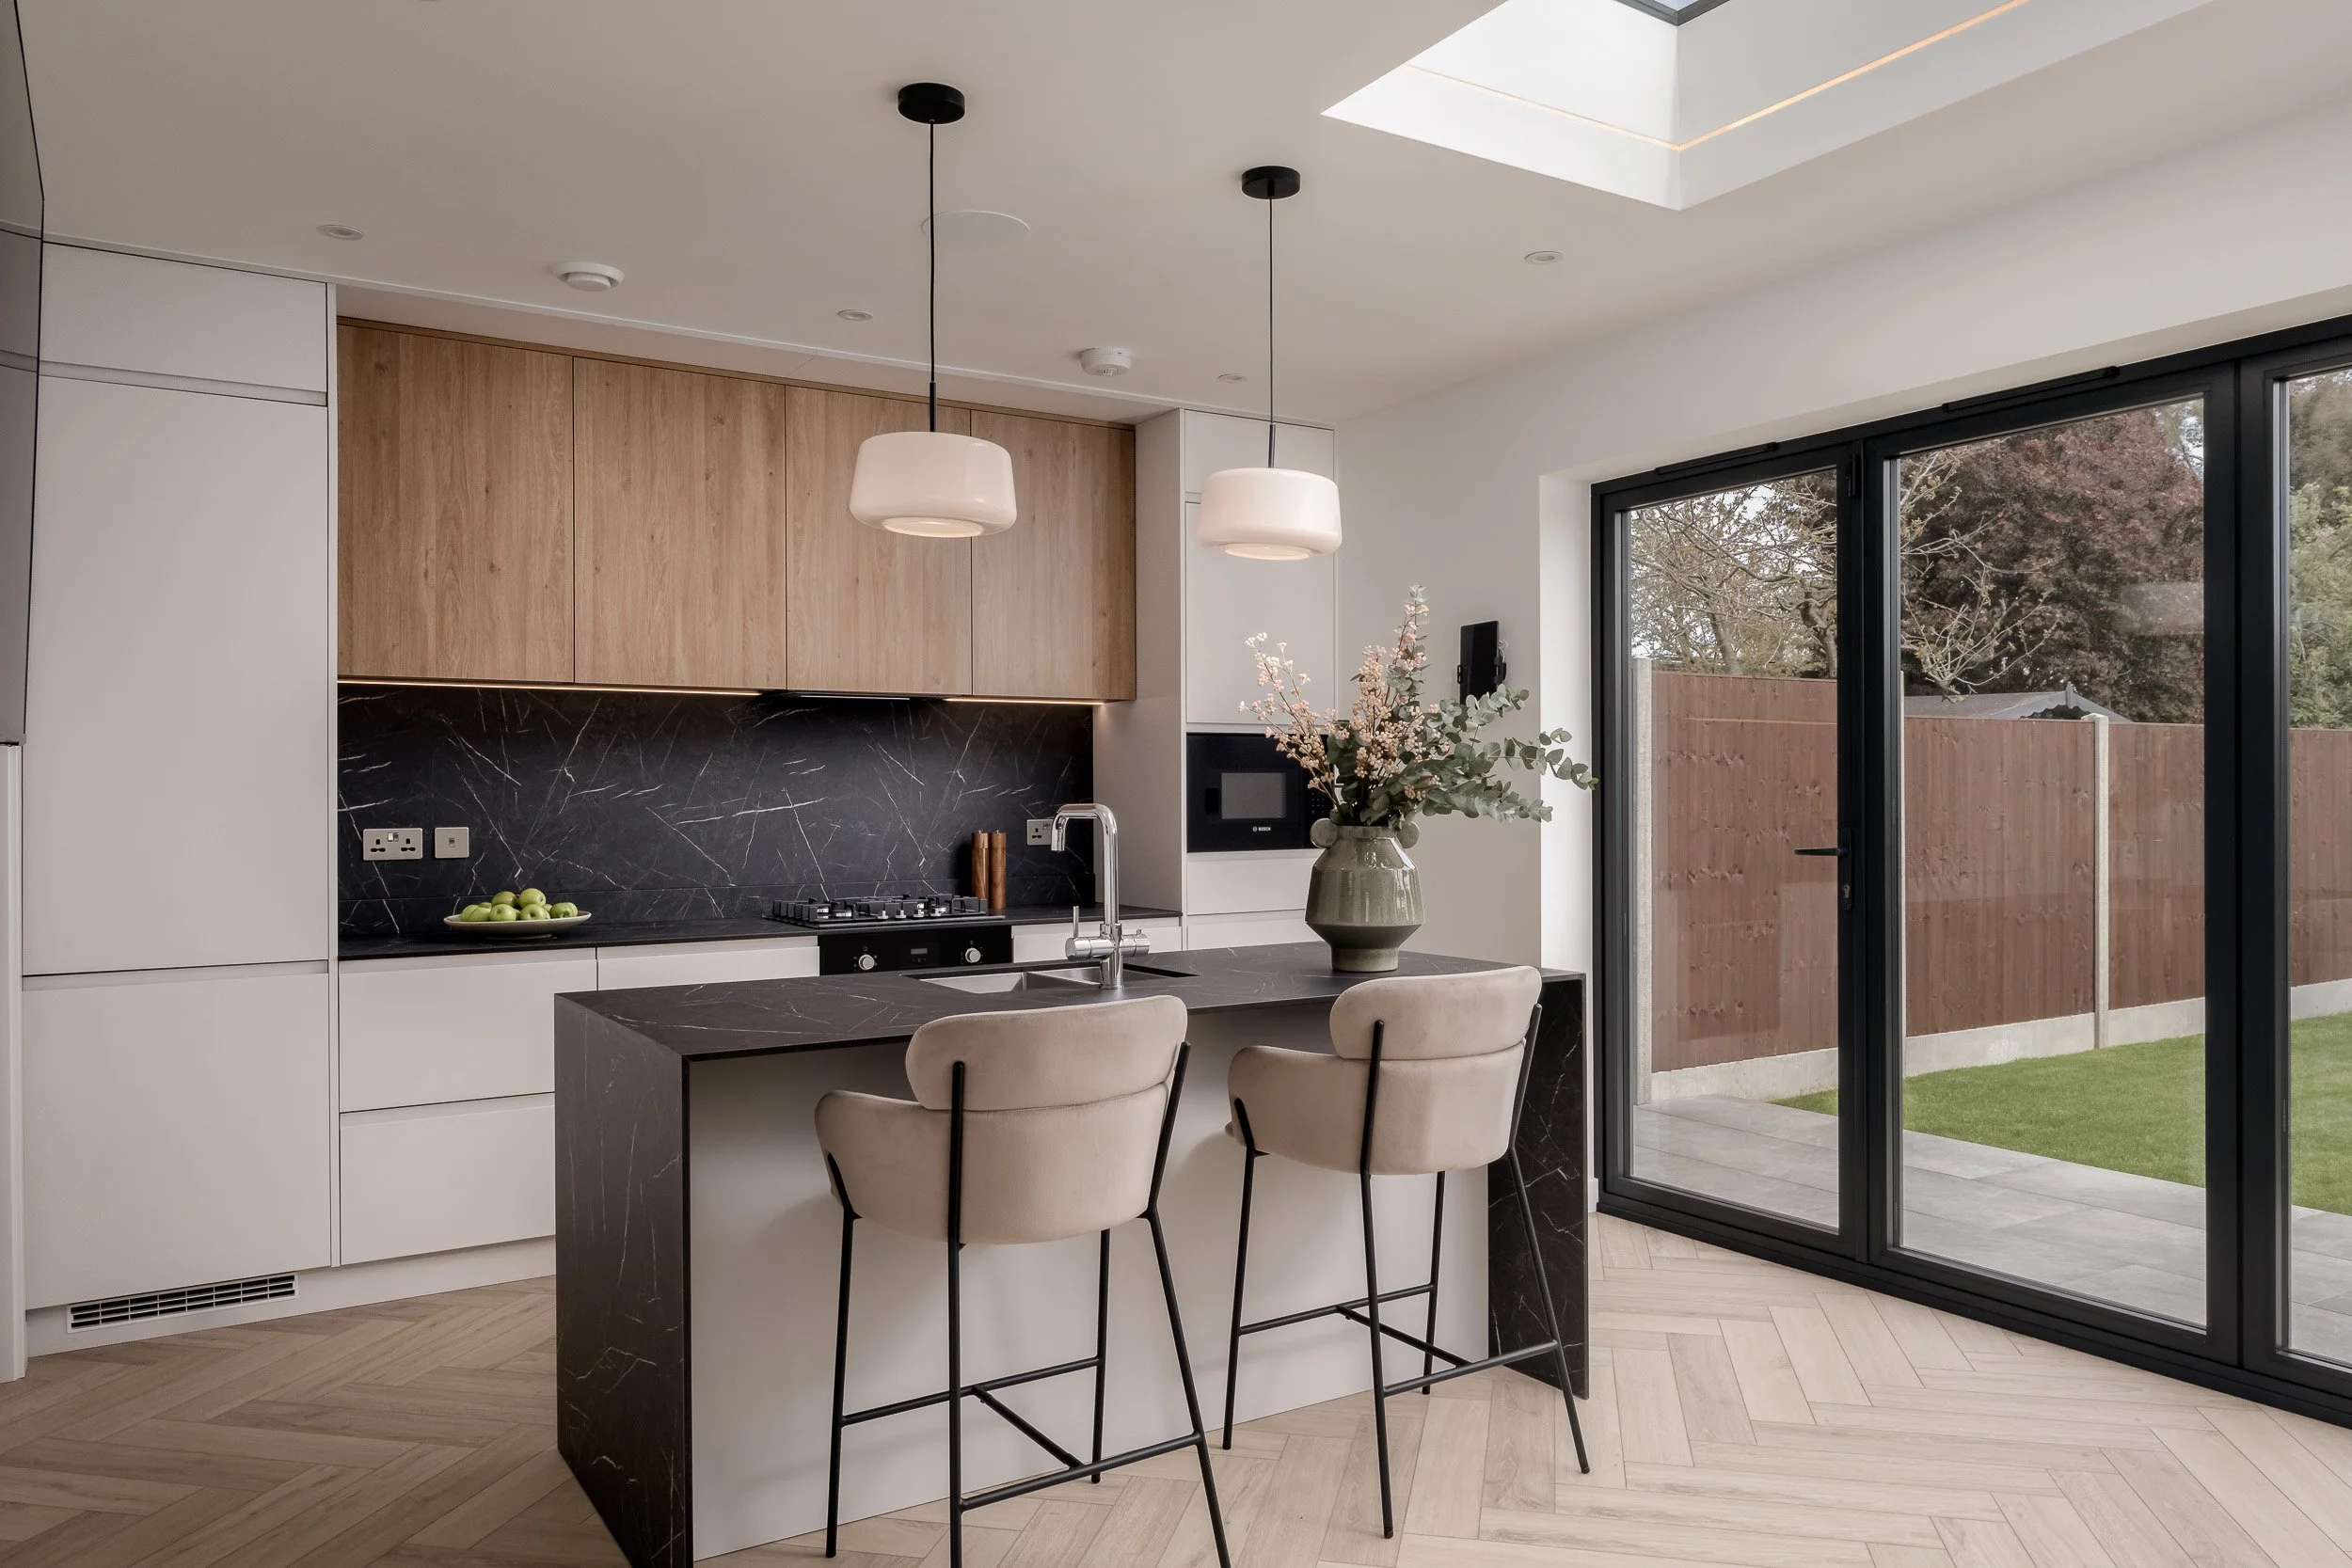
For kitchen, joinery and fitted-furniture companies: make the product impossible to overlook
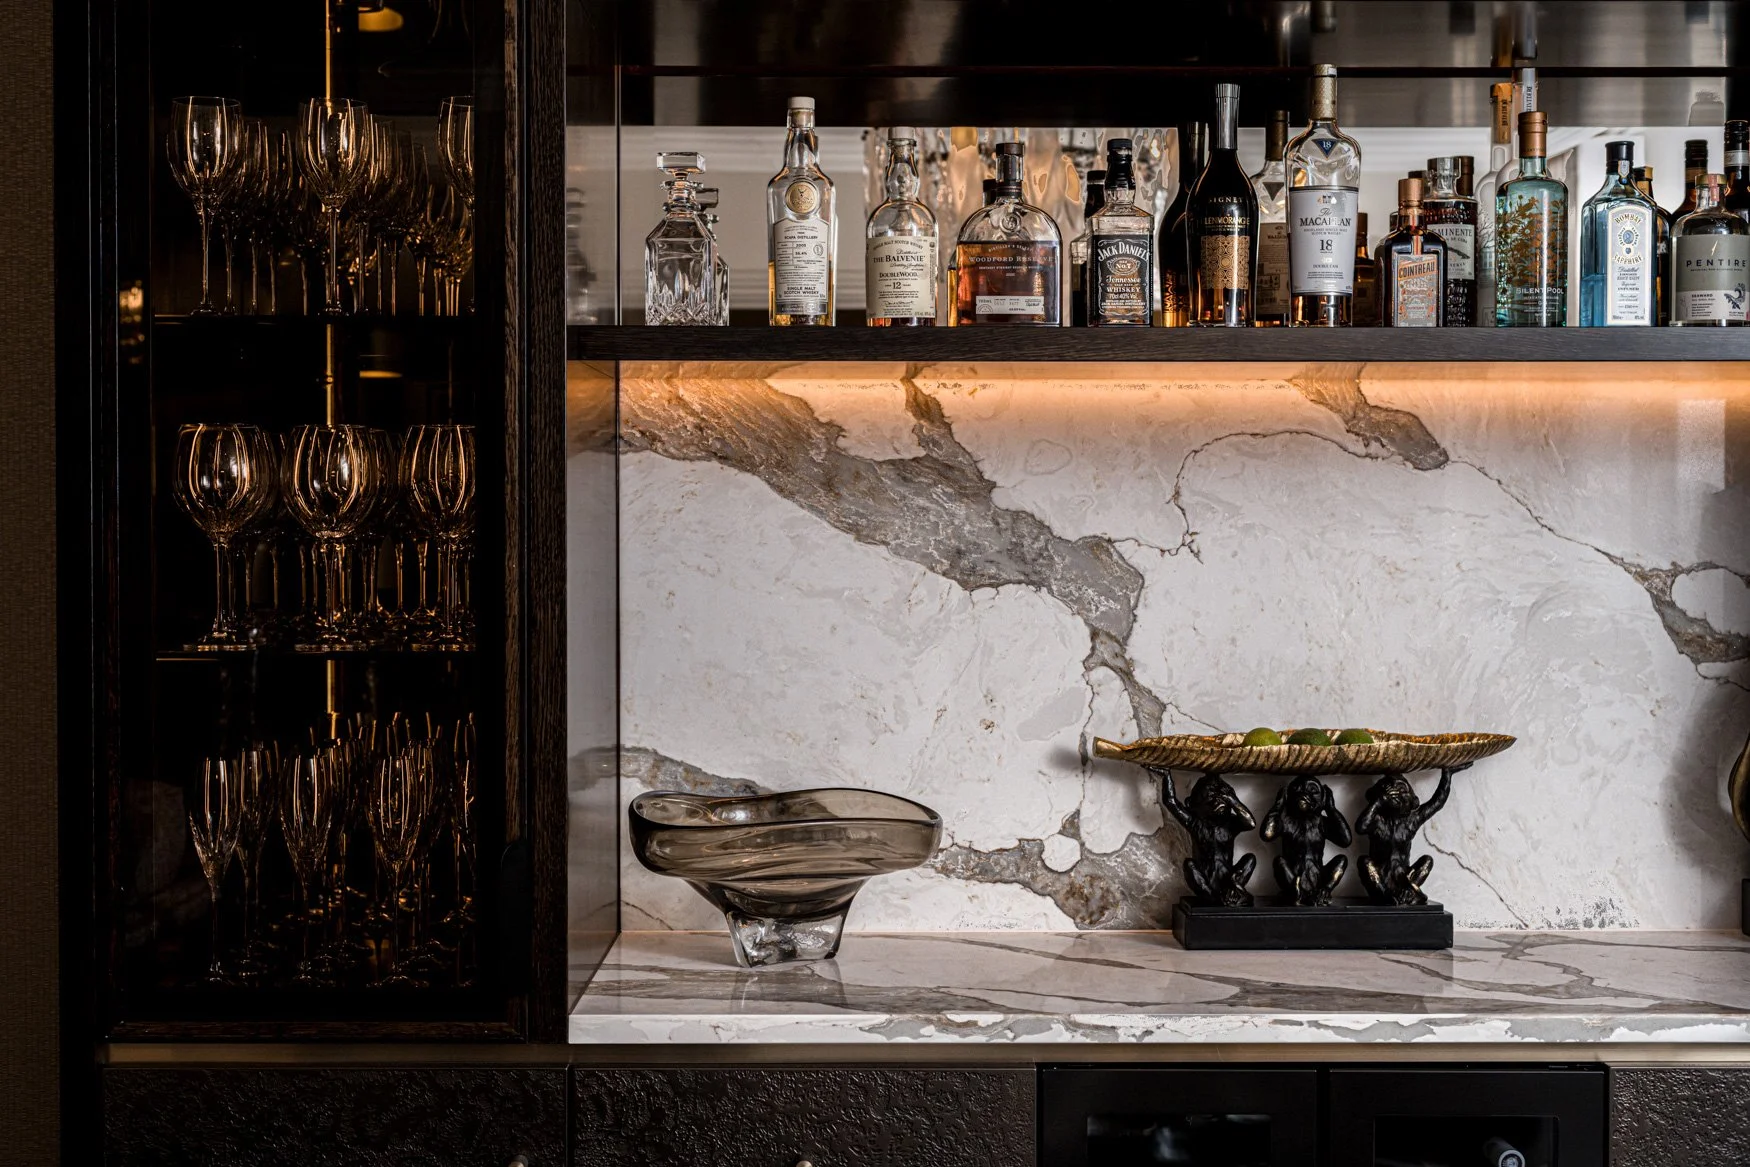
There is a particular risk when beautiful bespoke work sits inside a highly designed room.
Everyone becomes captivated by the complete interior, while the product the shoot was commissioned to promote becomes incidental.
For a kitchen or joinery company, preparation should identify exactly what future clients need to notice.
That might include:
cabinetry
door profiles
worktops
handles and hardware
veneer or specialist finishes
internal storage
mechanisms
integrated lighting
difficult junctions
bespoke dimensions
unusual design solutions
precision of installation
A wardrobe, for example, may need to be photographed closed within the complete room, partially open, internally, and then in closer detail.
The aim is not to create a formula.
It is to make the bespoke quality visible.
What would someone have to see in these photographs to understand why this is not an off-the-shelf product?
That is a far more useful brief than simply asking for “some nice photos of the room”.
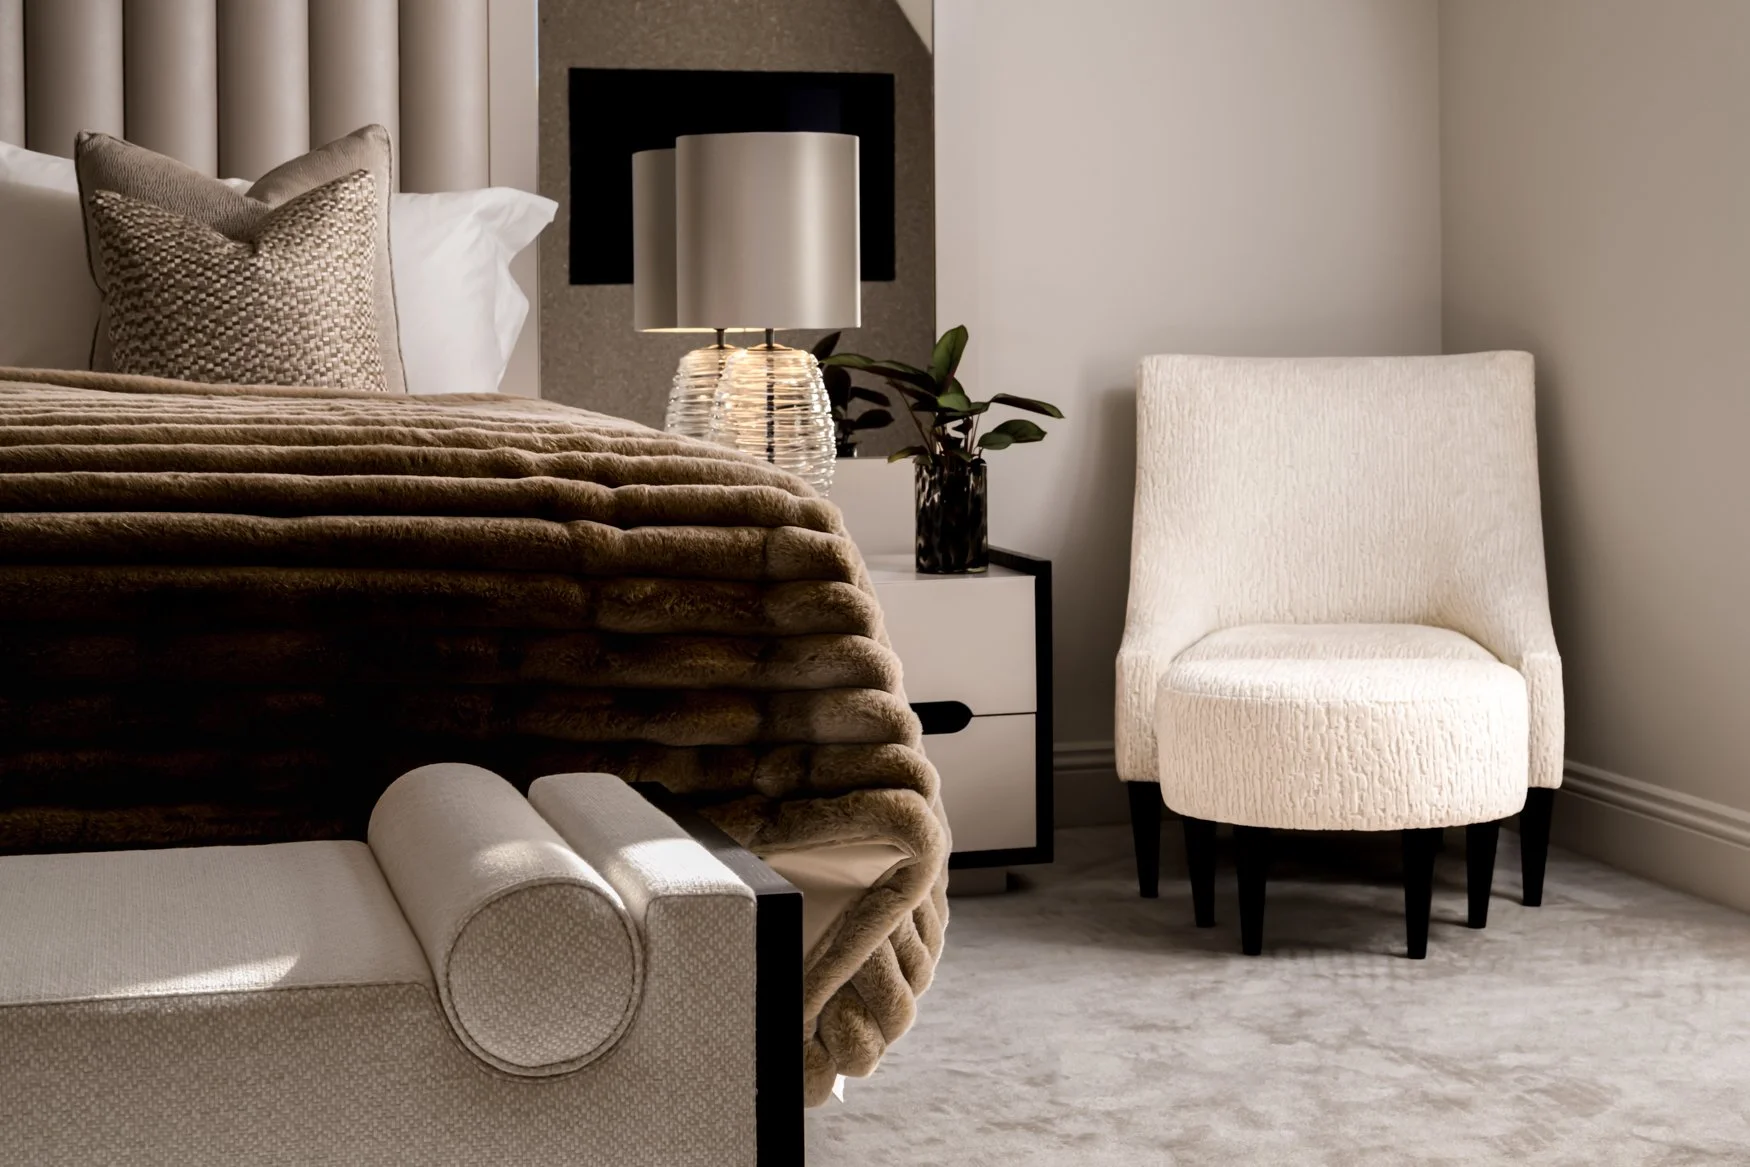
For furniture, product and material brands: protect the identity of the product
When a particular product is the commercial focus, colour and material accuracy become especially important.
If the hero is a particular:
timber
stone
paint
upholstery fabric
wallcovering
metal finish
door finish
furniture piece
tell the photographer exactly what it is.
Reference samples, product codes, paint names and textile information can all help establish how a material is intended to read.
Do not assume a photographer will automatically know that the cabinetry is a particular muted olive rather than grey, or that an upholstery fabric contains a subtle warm undertone that needs protecting during colour correction.
When something matters commercially, it should be identified before the editing stage.
One project may need several visual stories
A single shoot often needs to do more than one job.
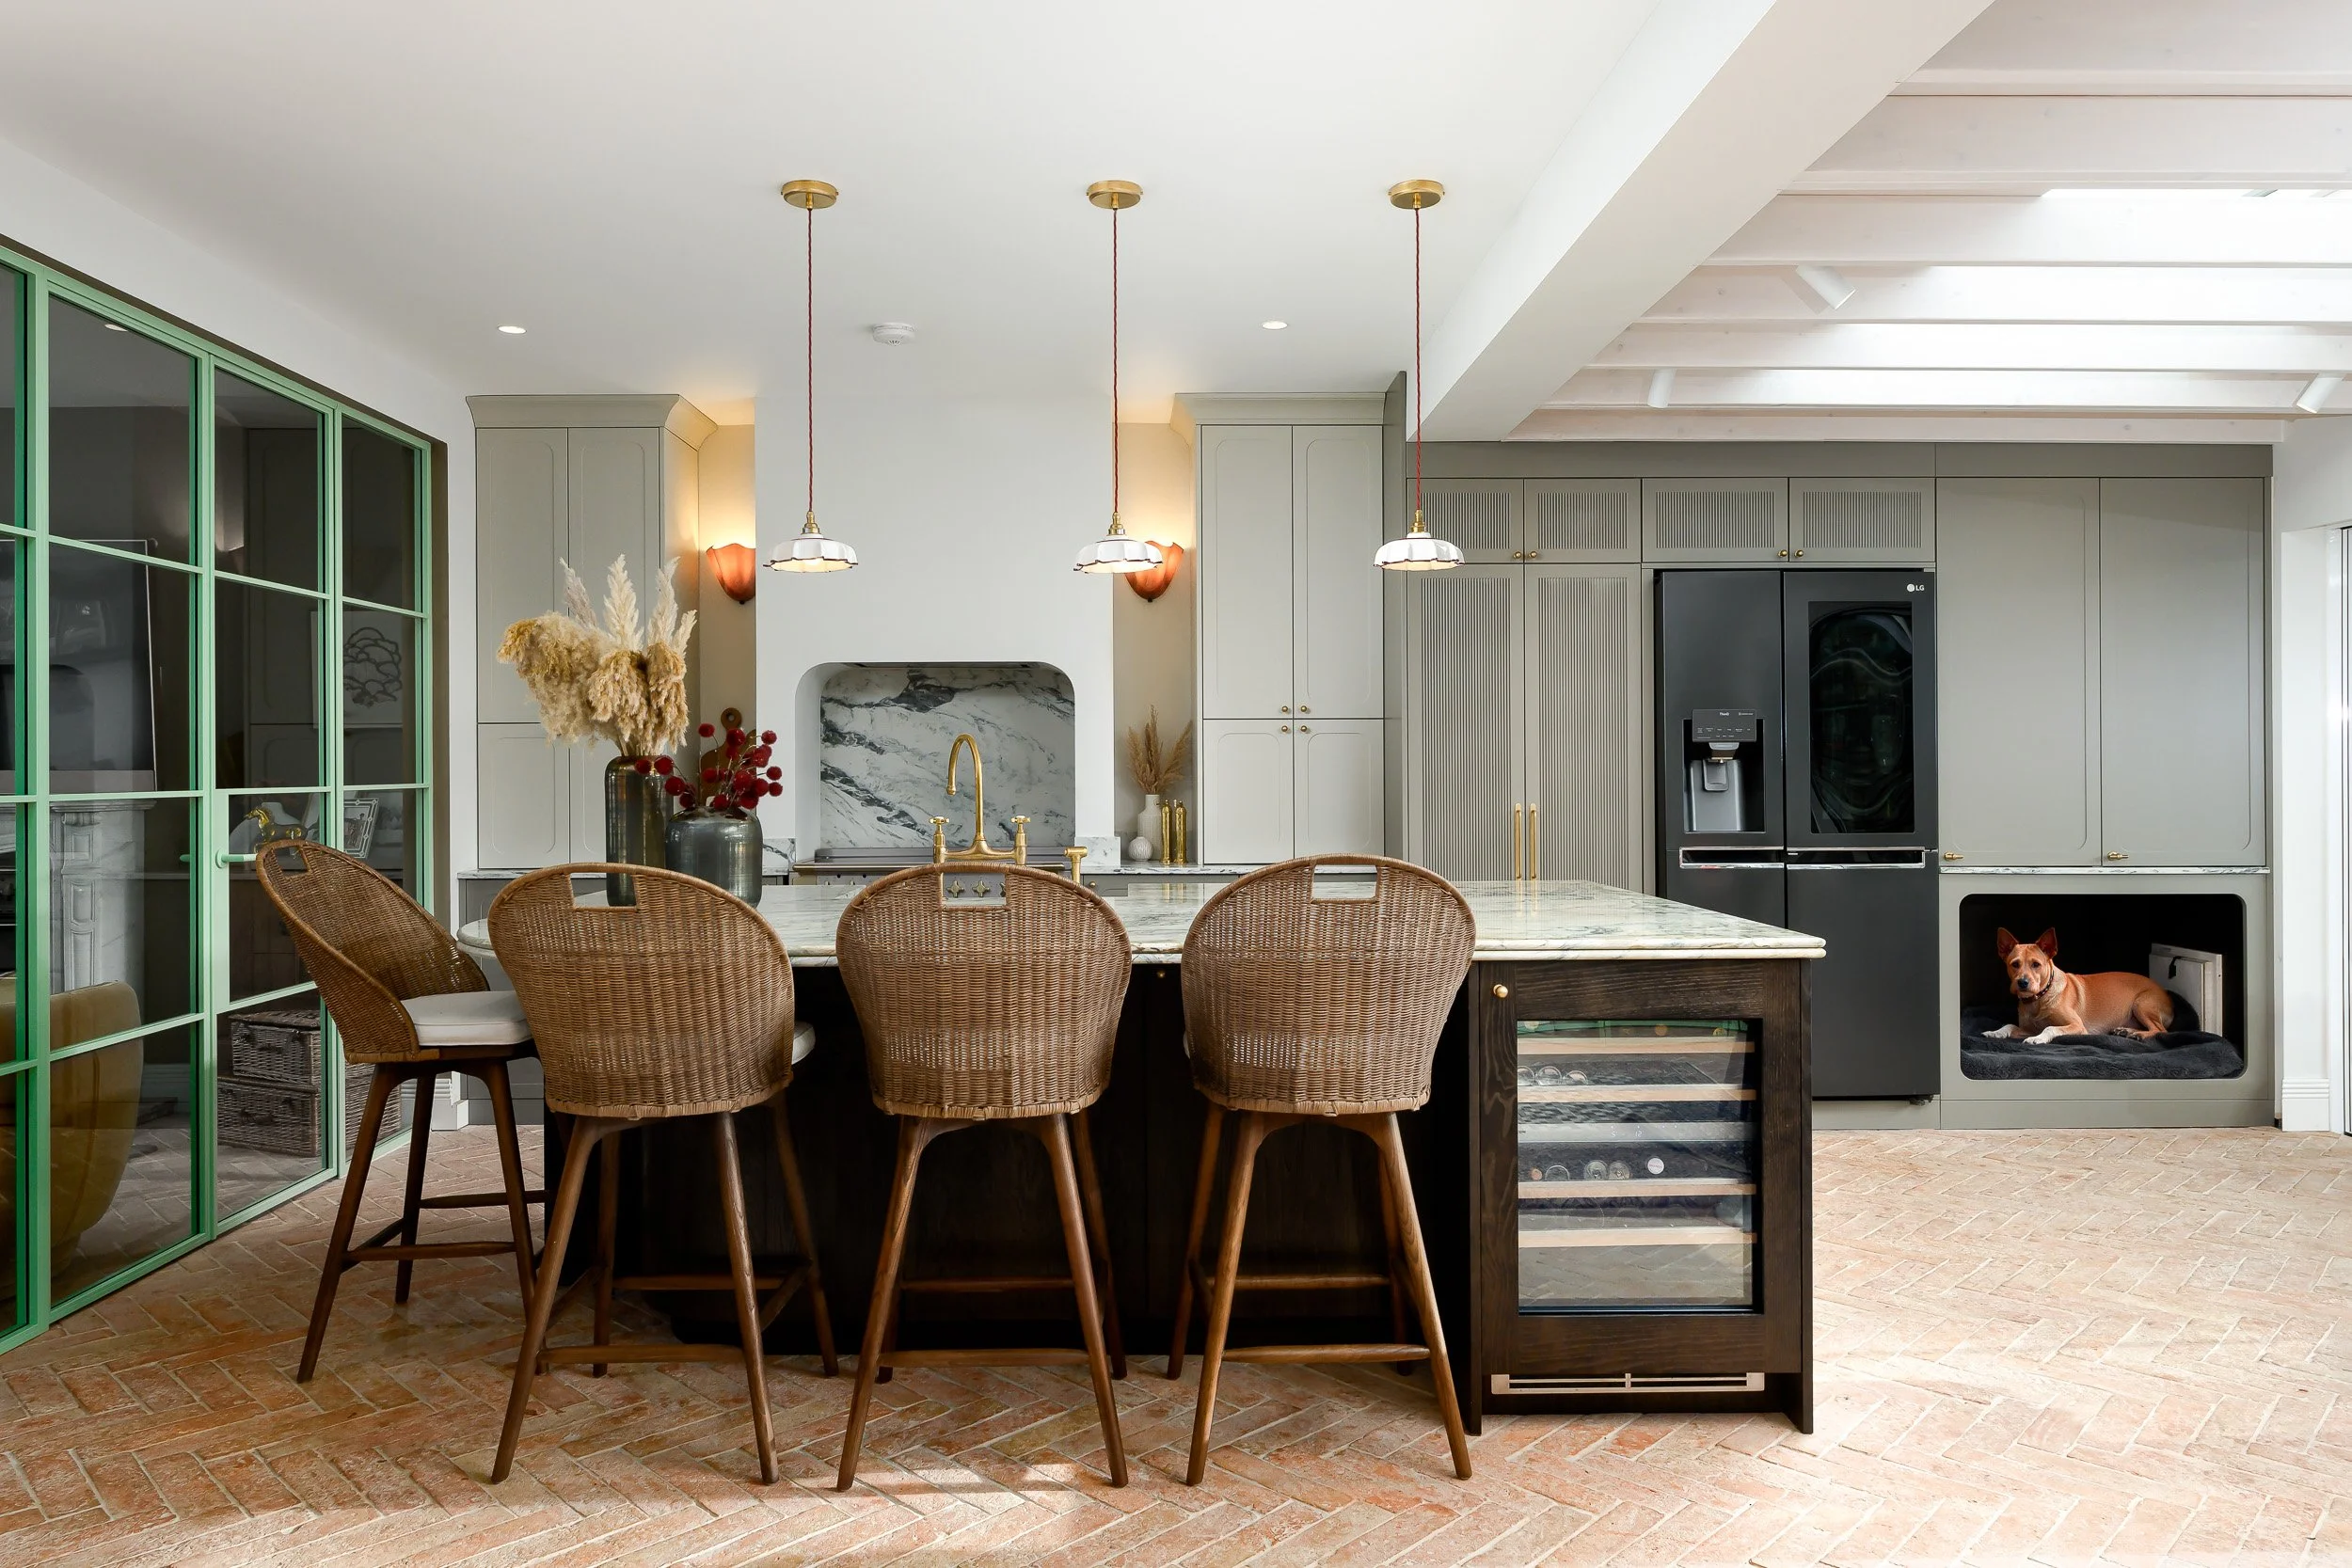
Consider a premium kitchen project.
The company may need:
The design story
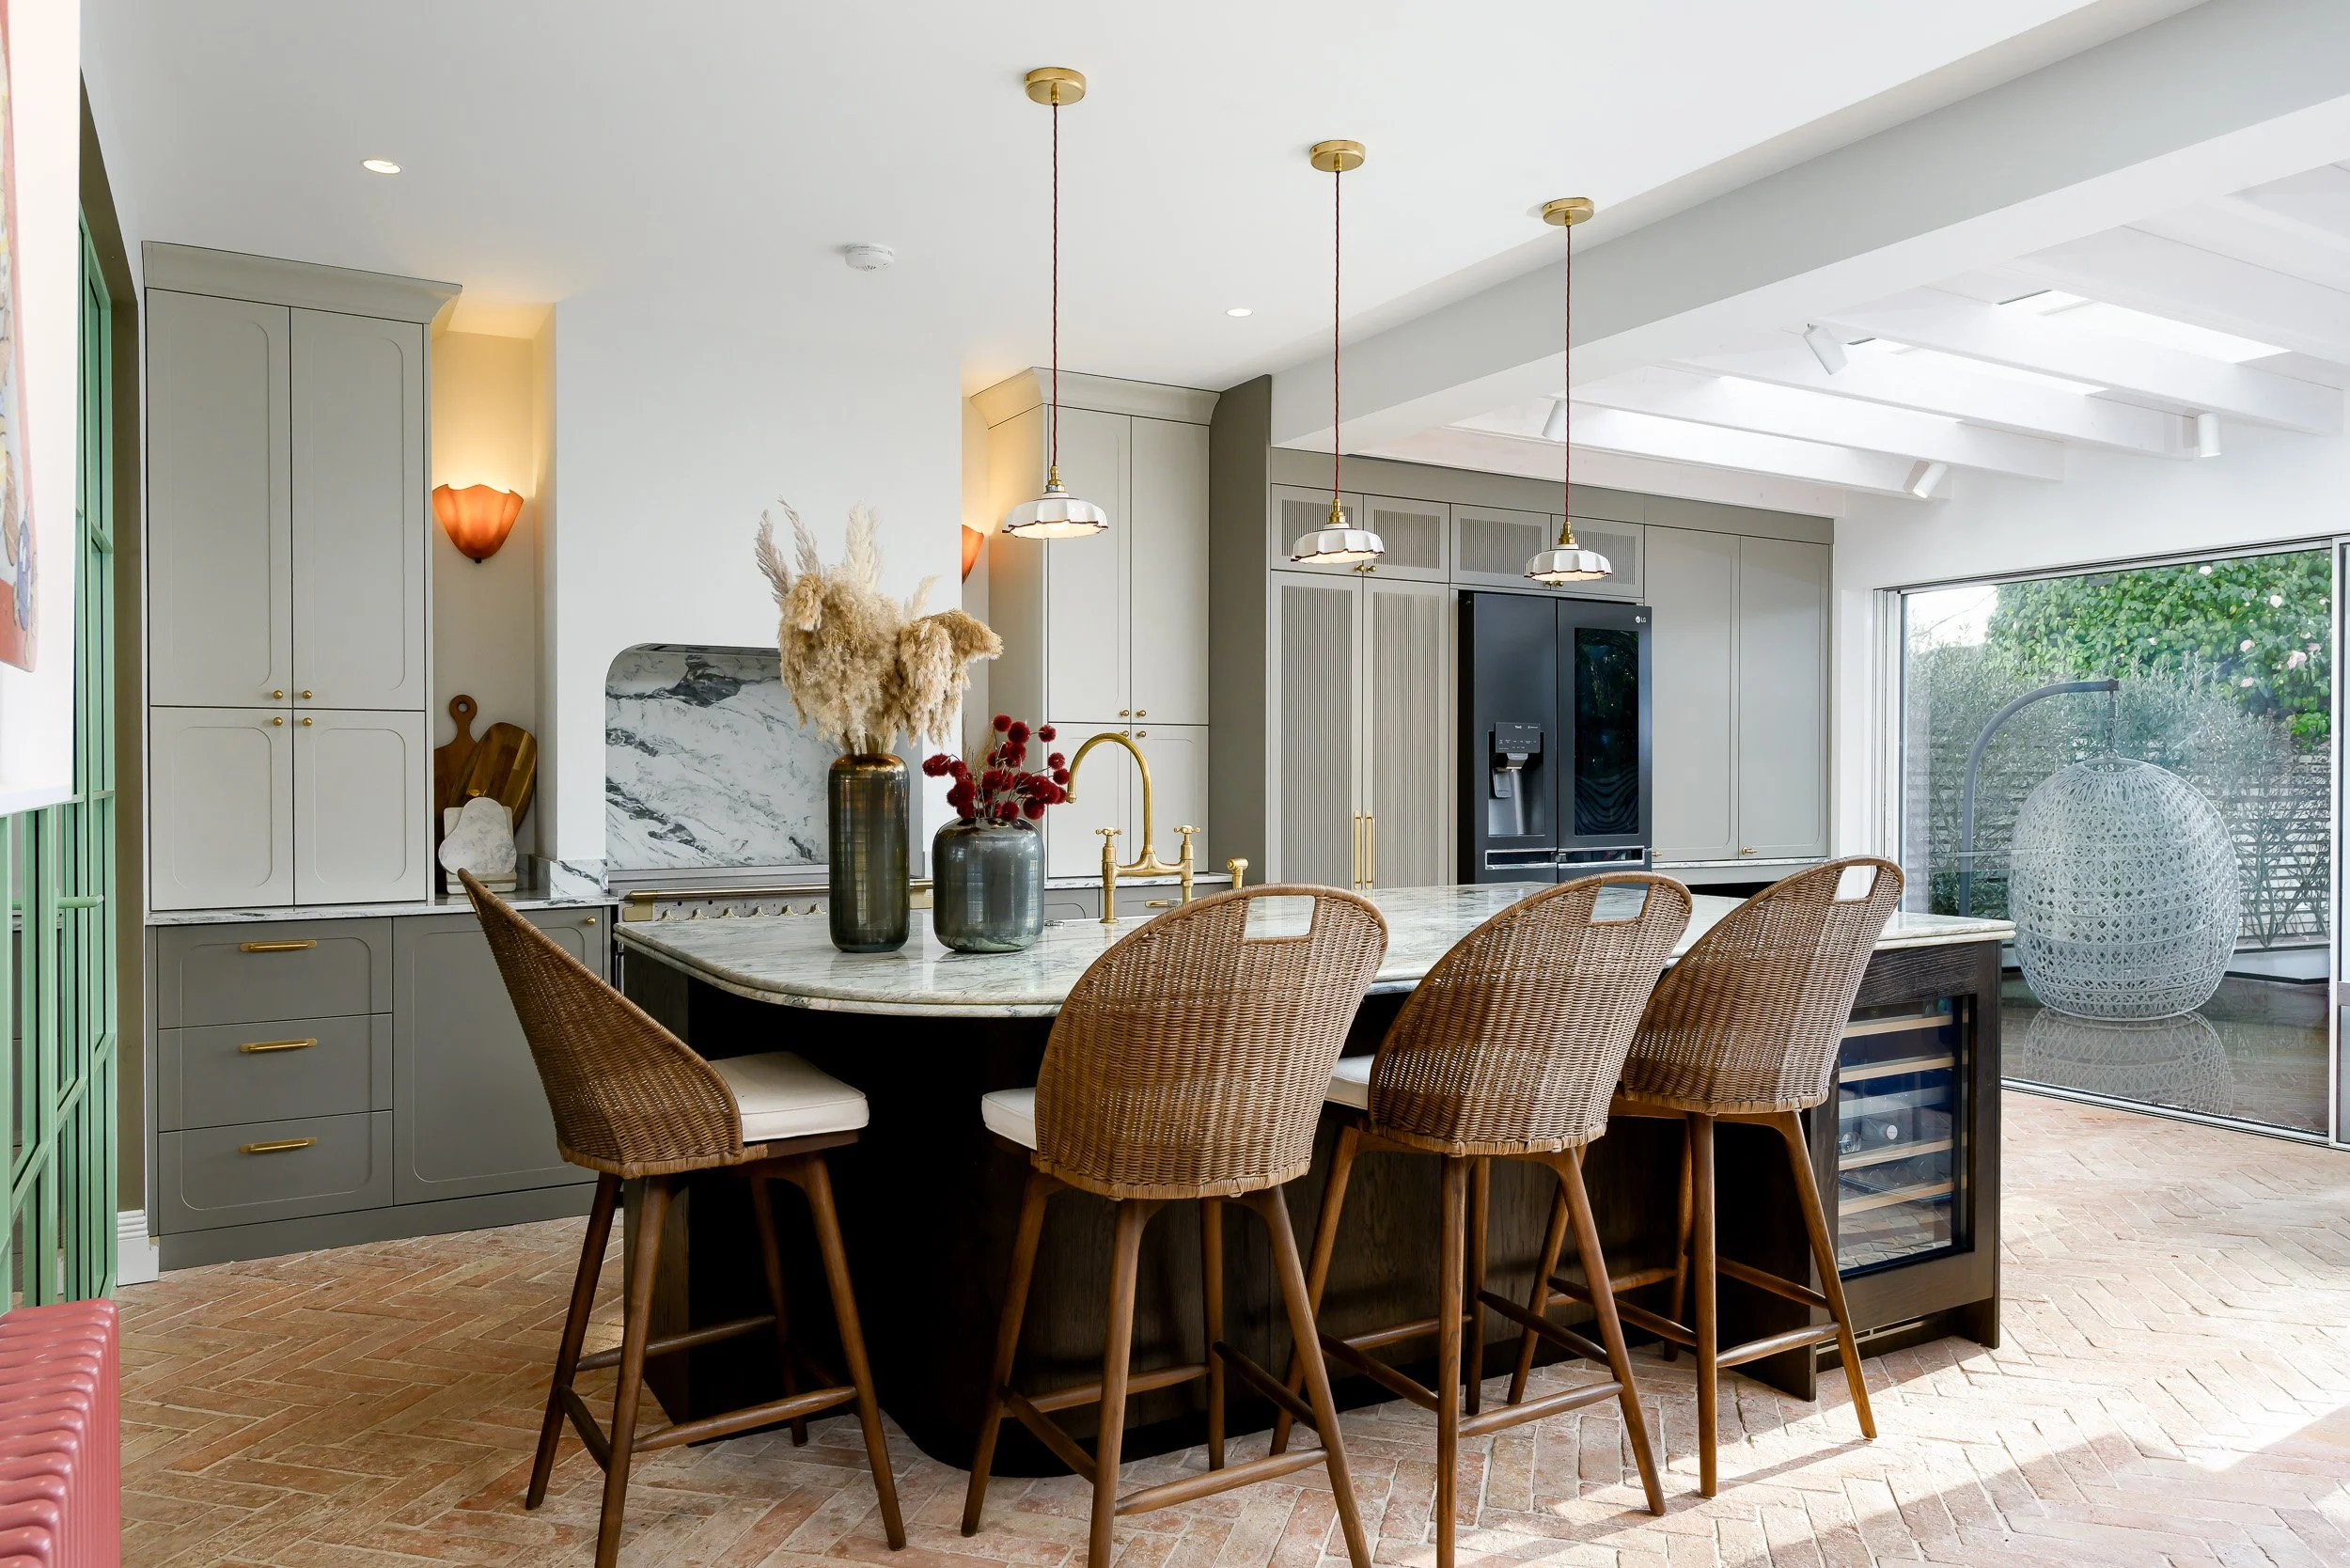
The complete kitchen in context, showing proportion, layout and its relationship to the surrounding architecture.
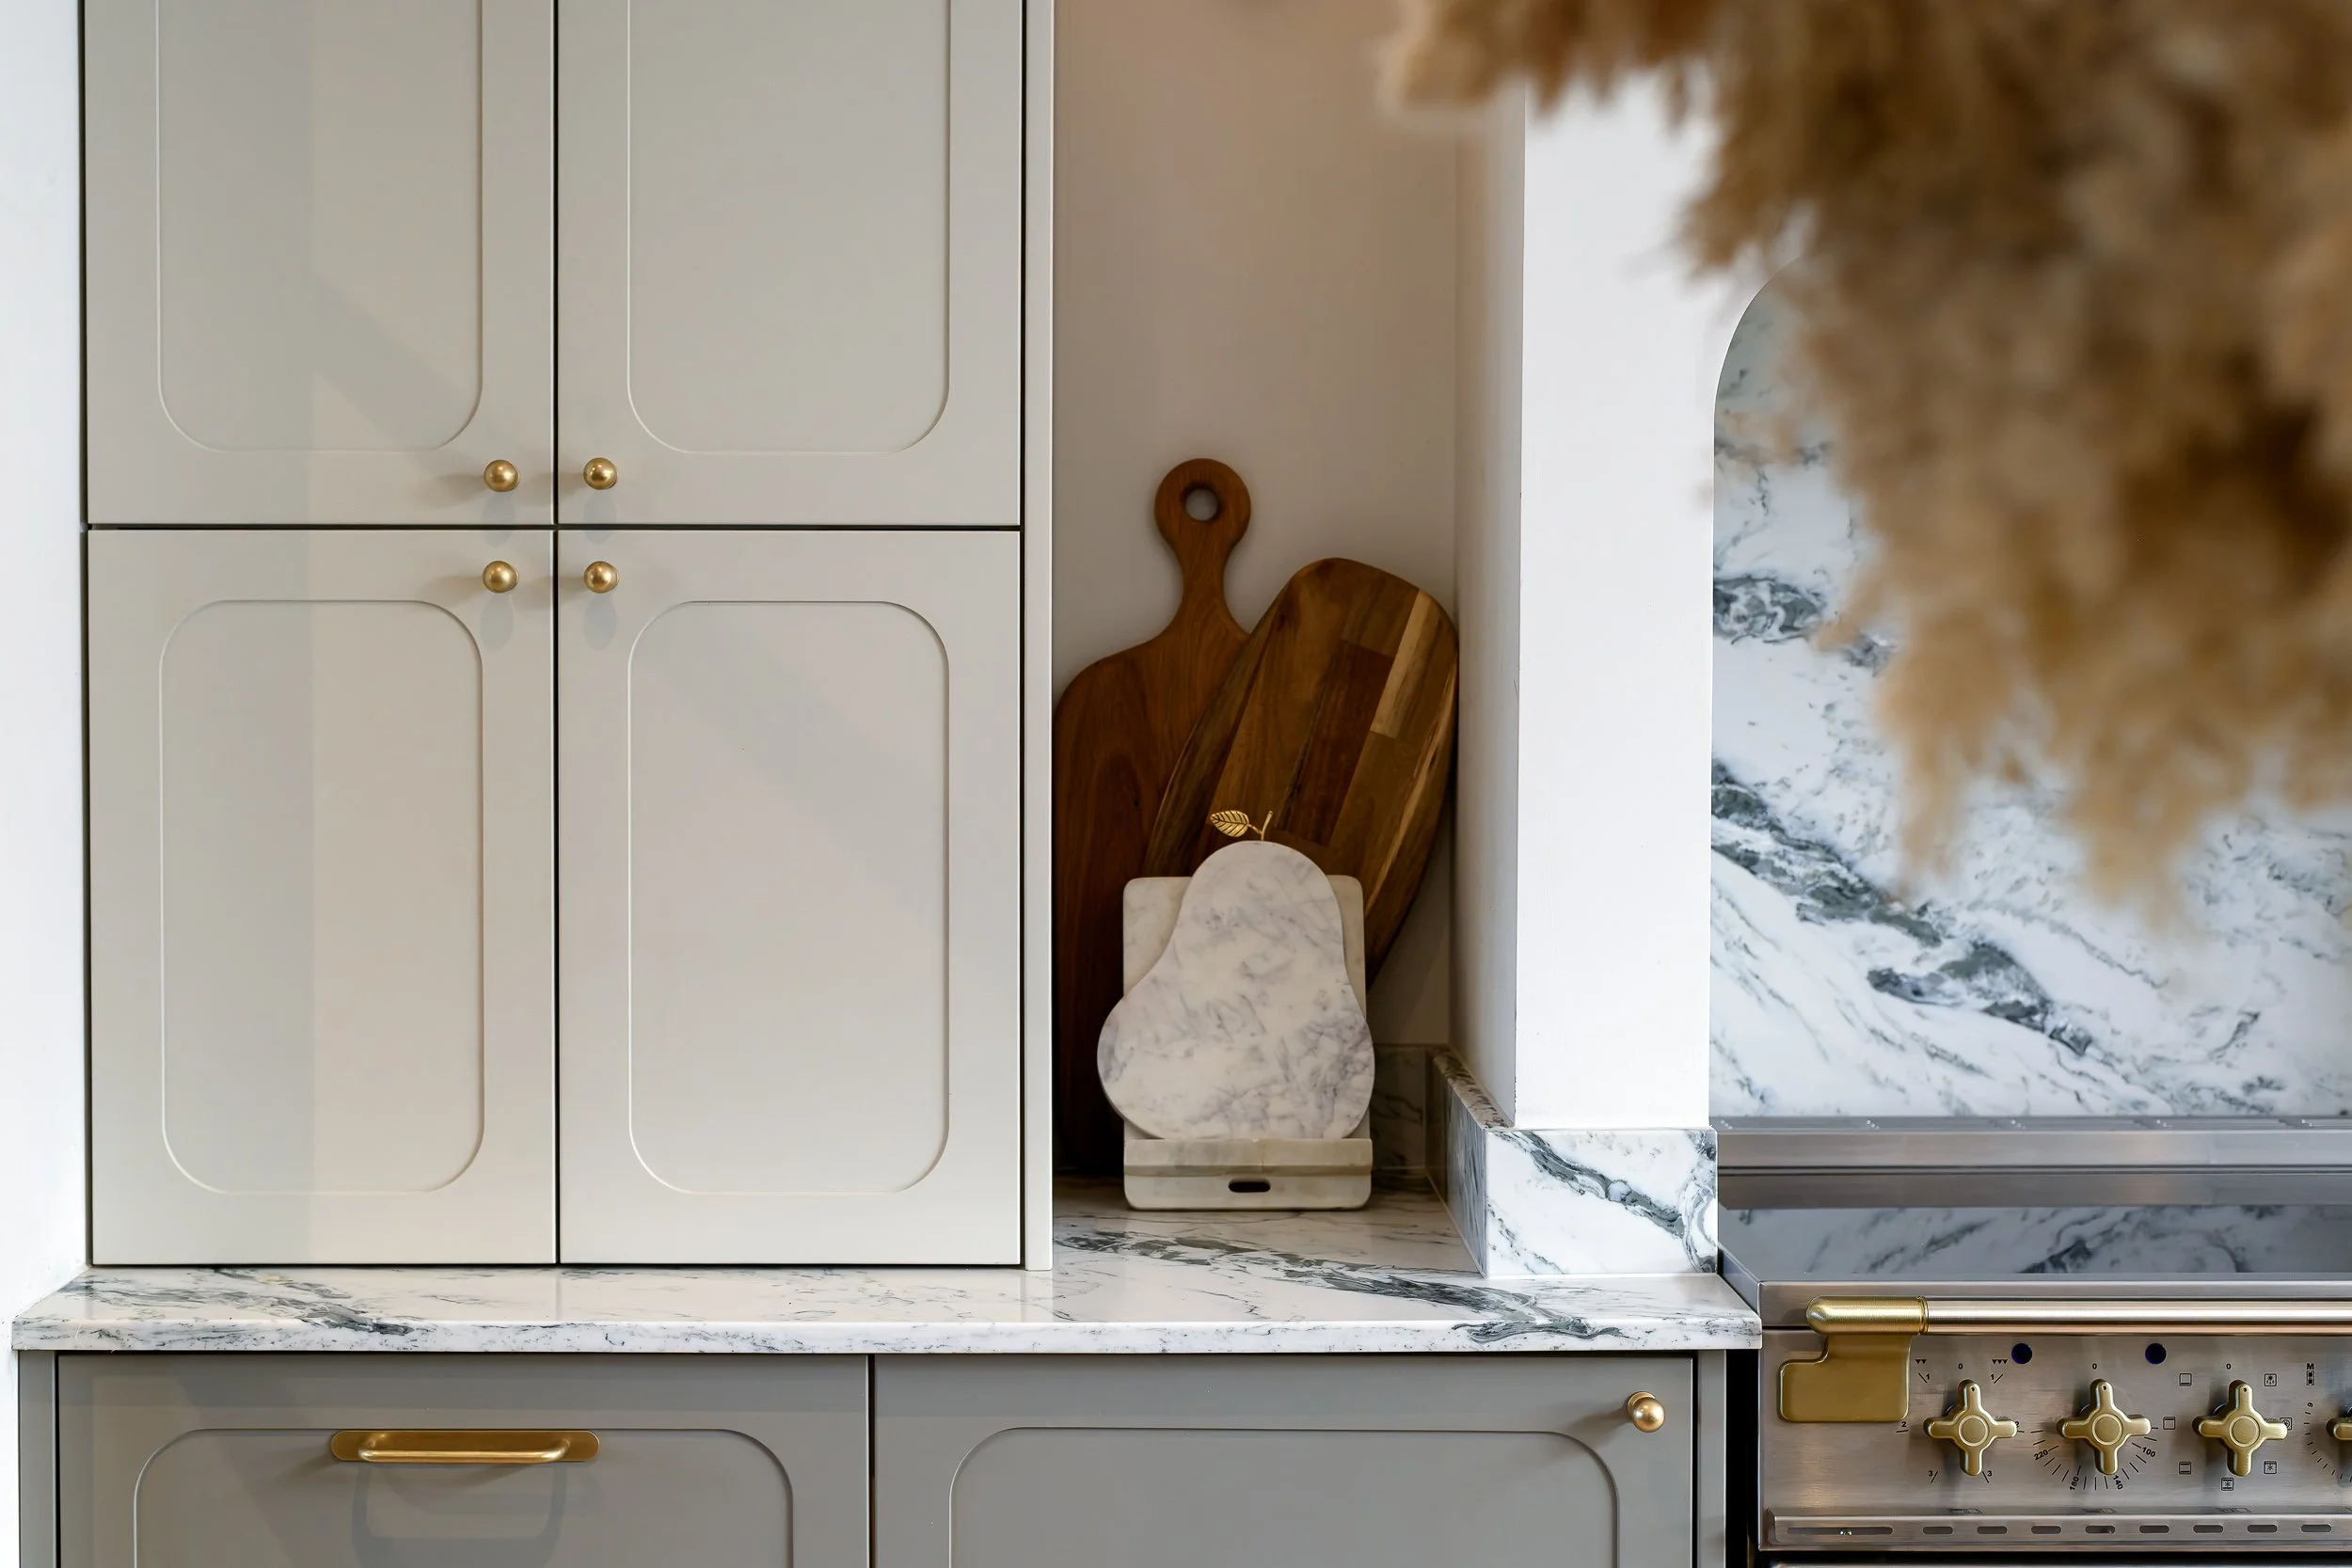
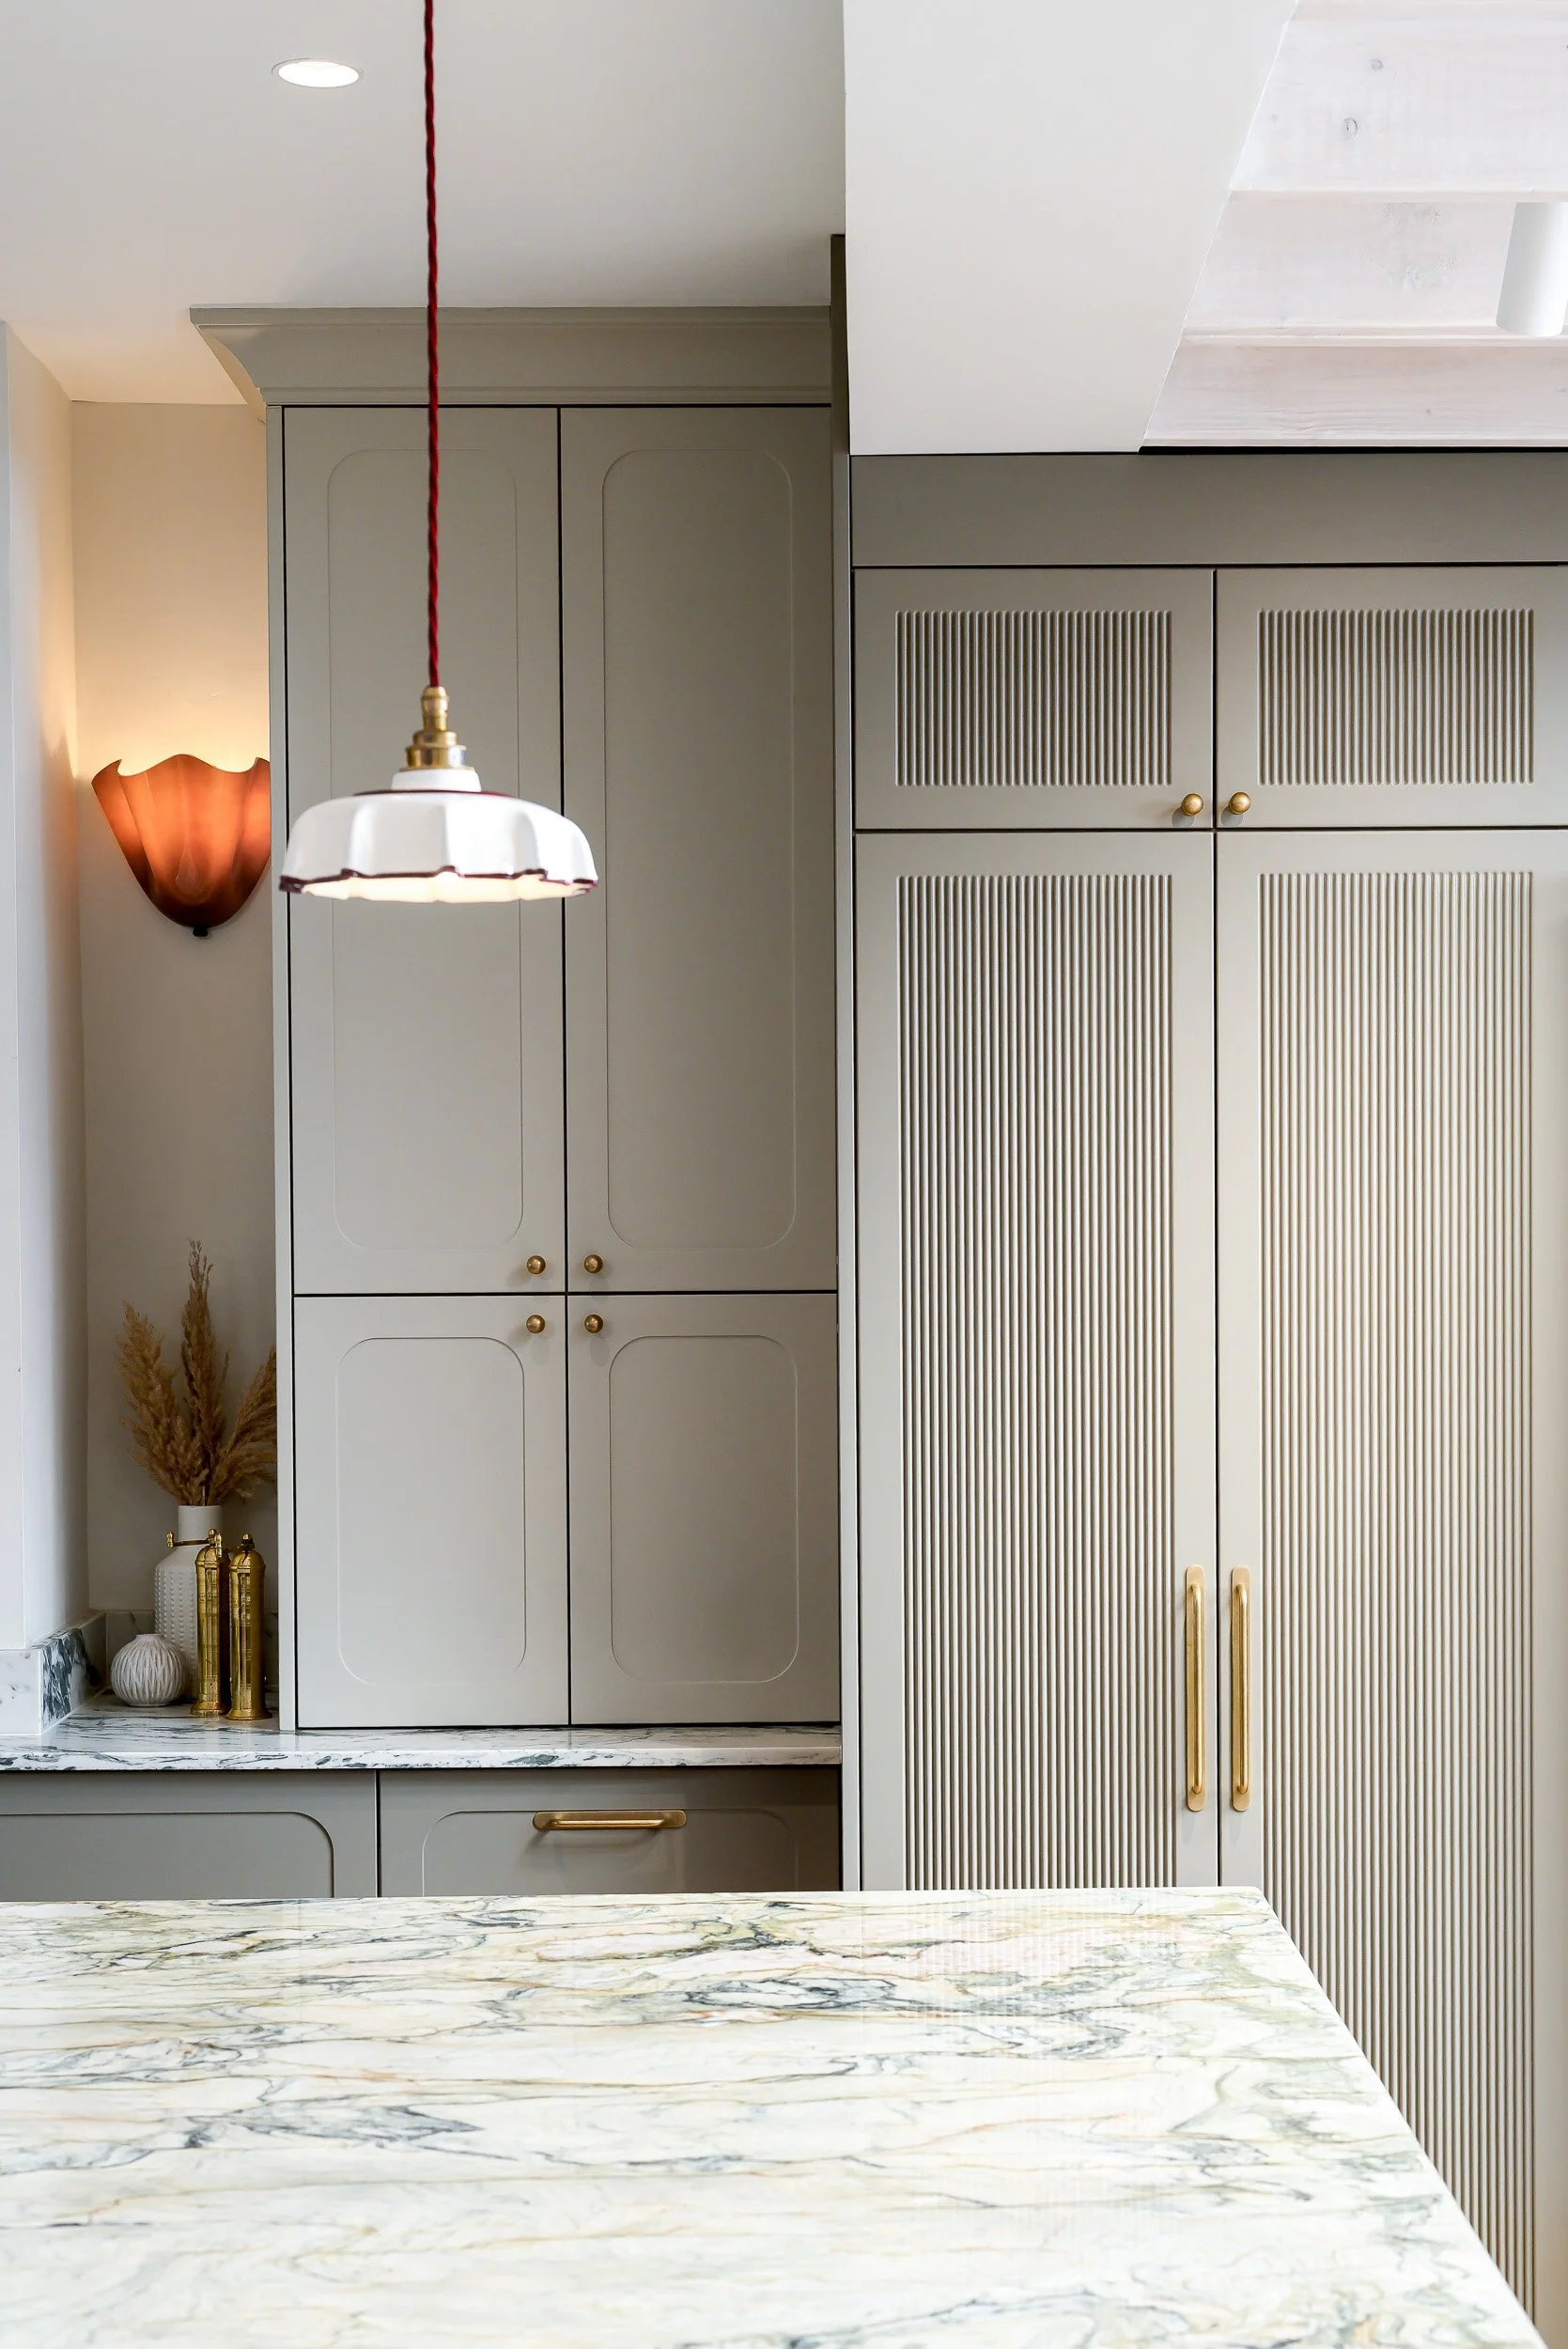
The product story
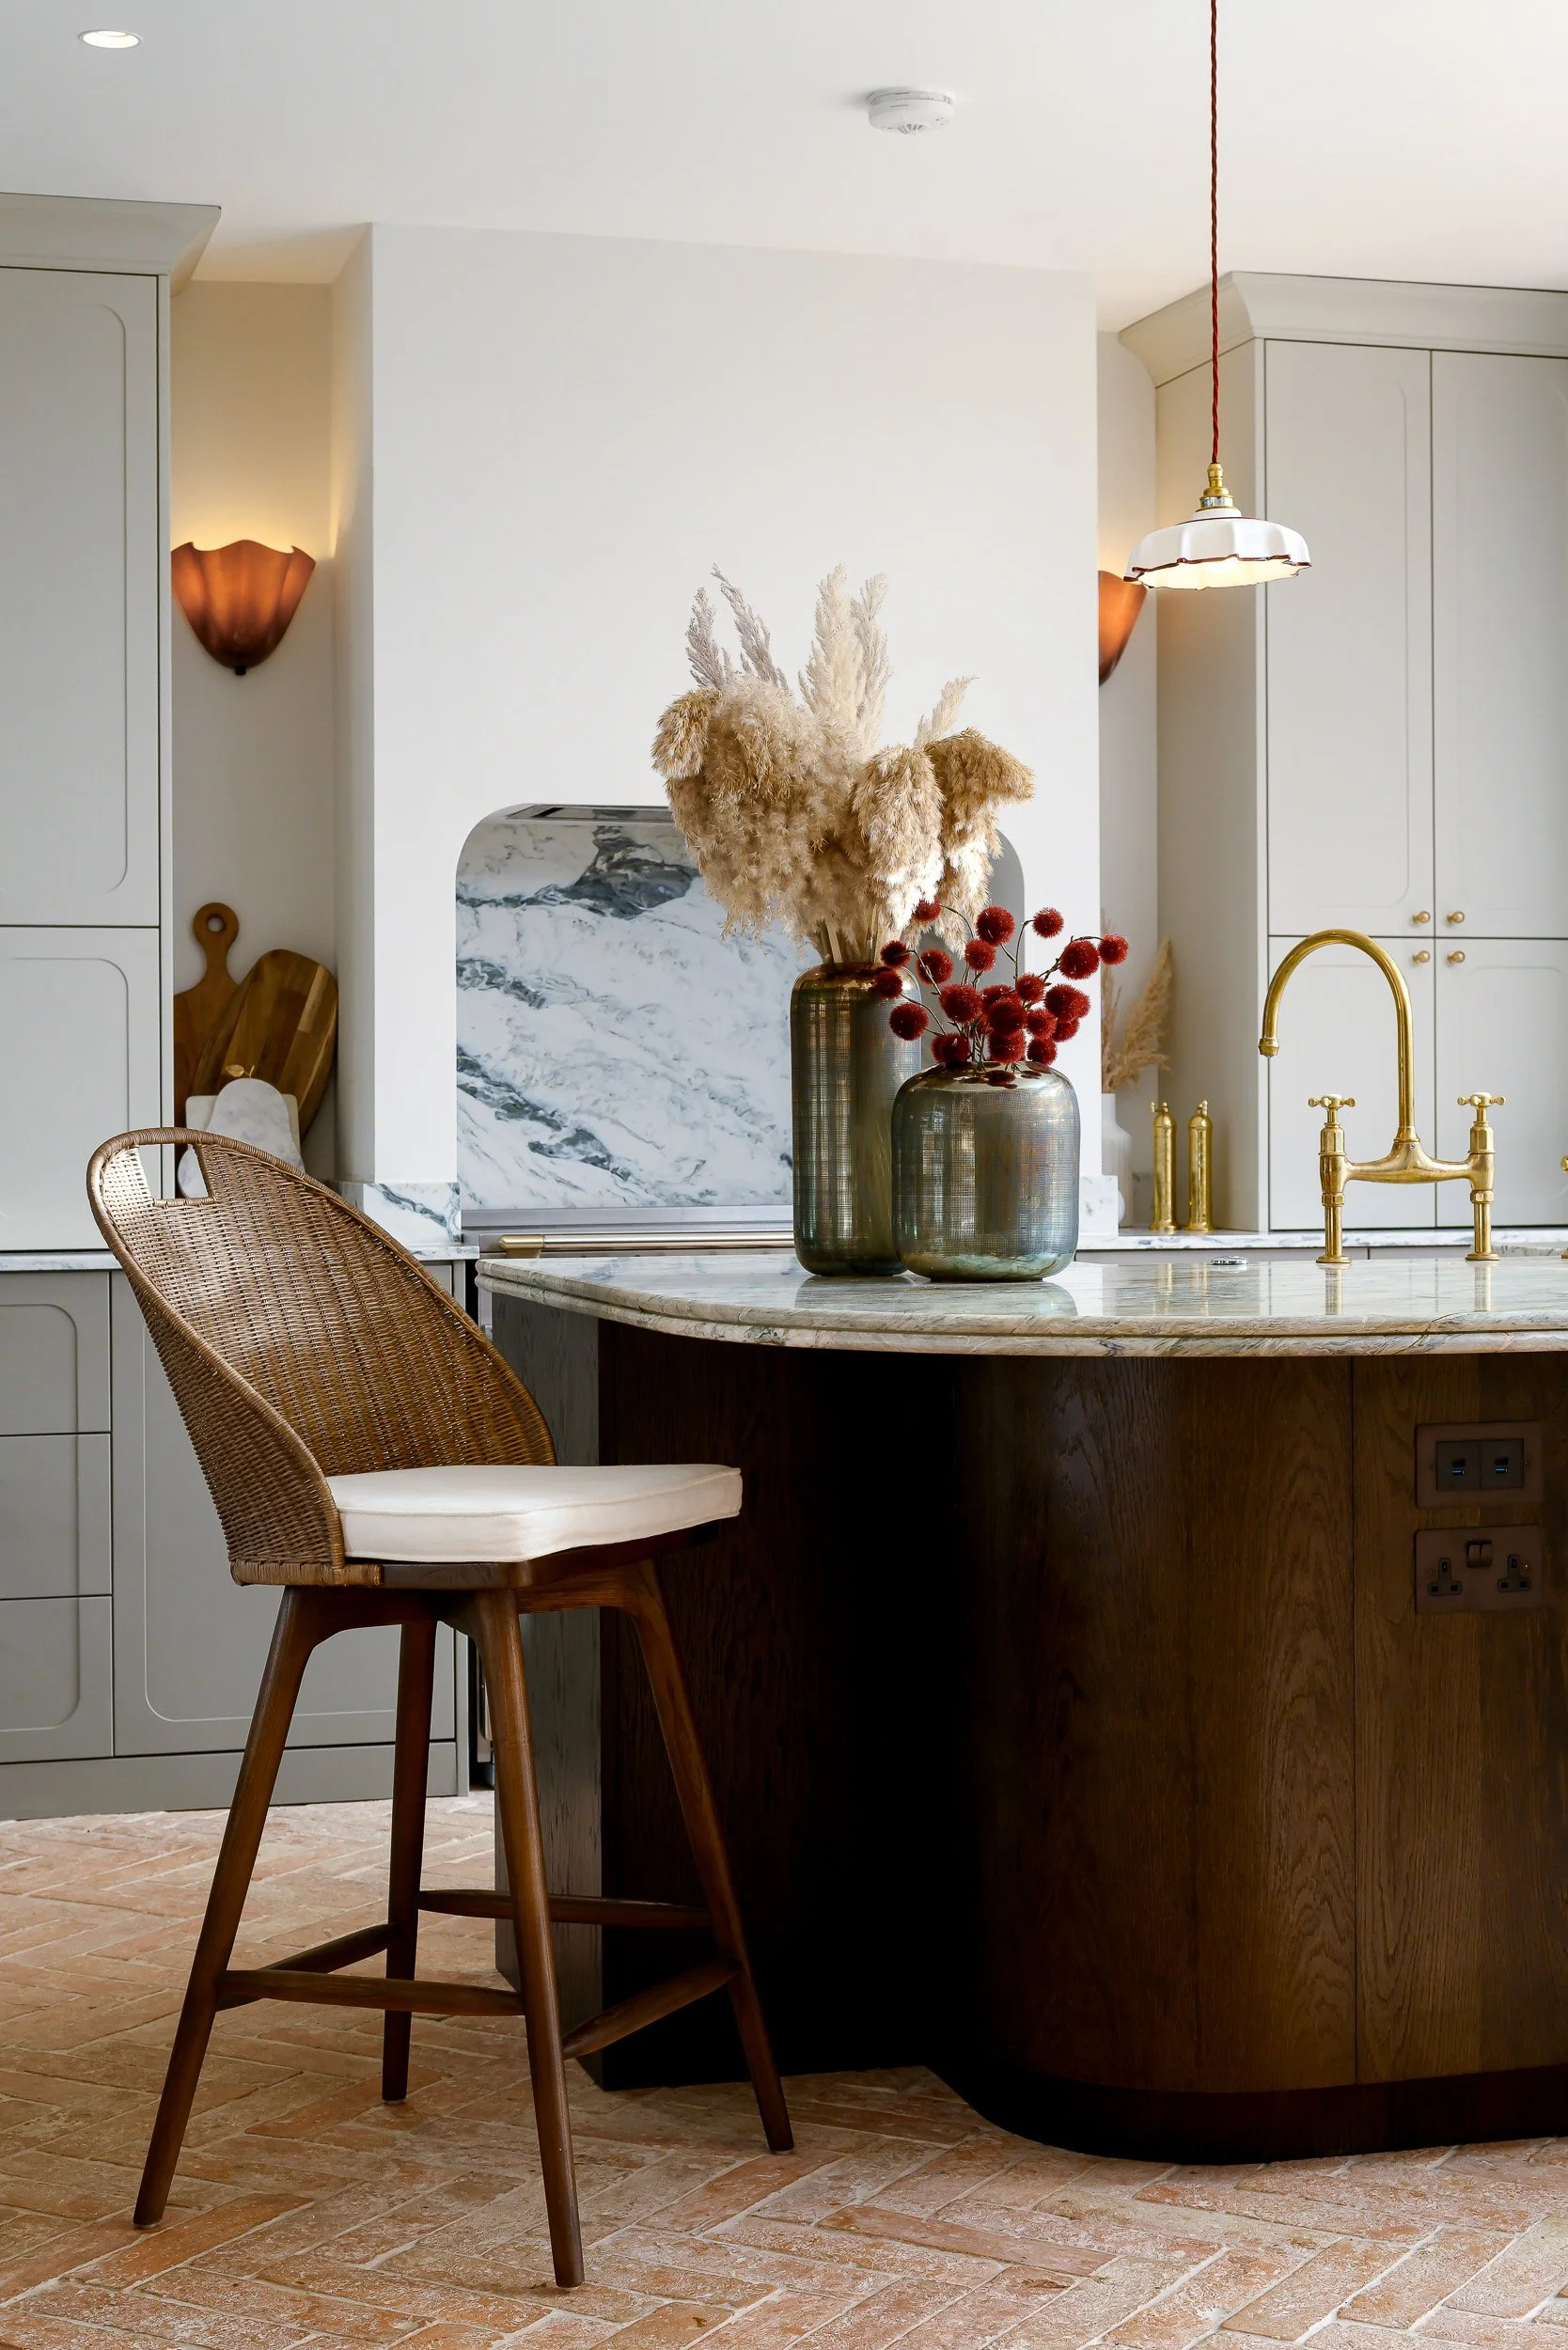
Cabinetry, worktops, hardware, finishes and storage.
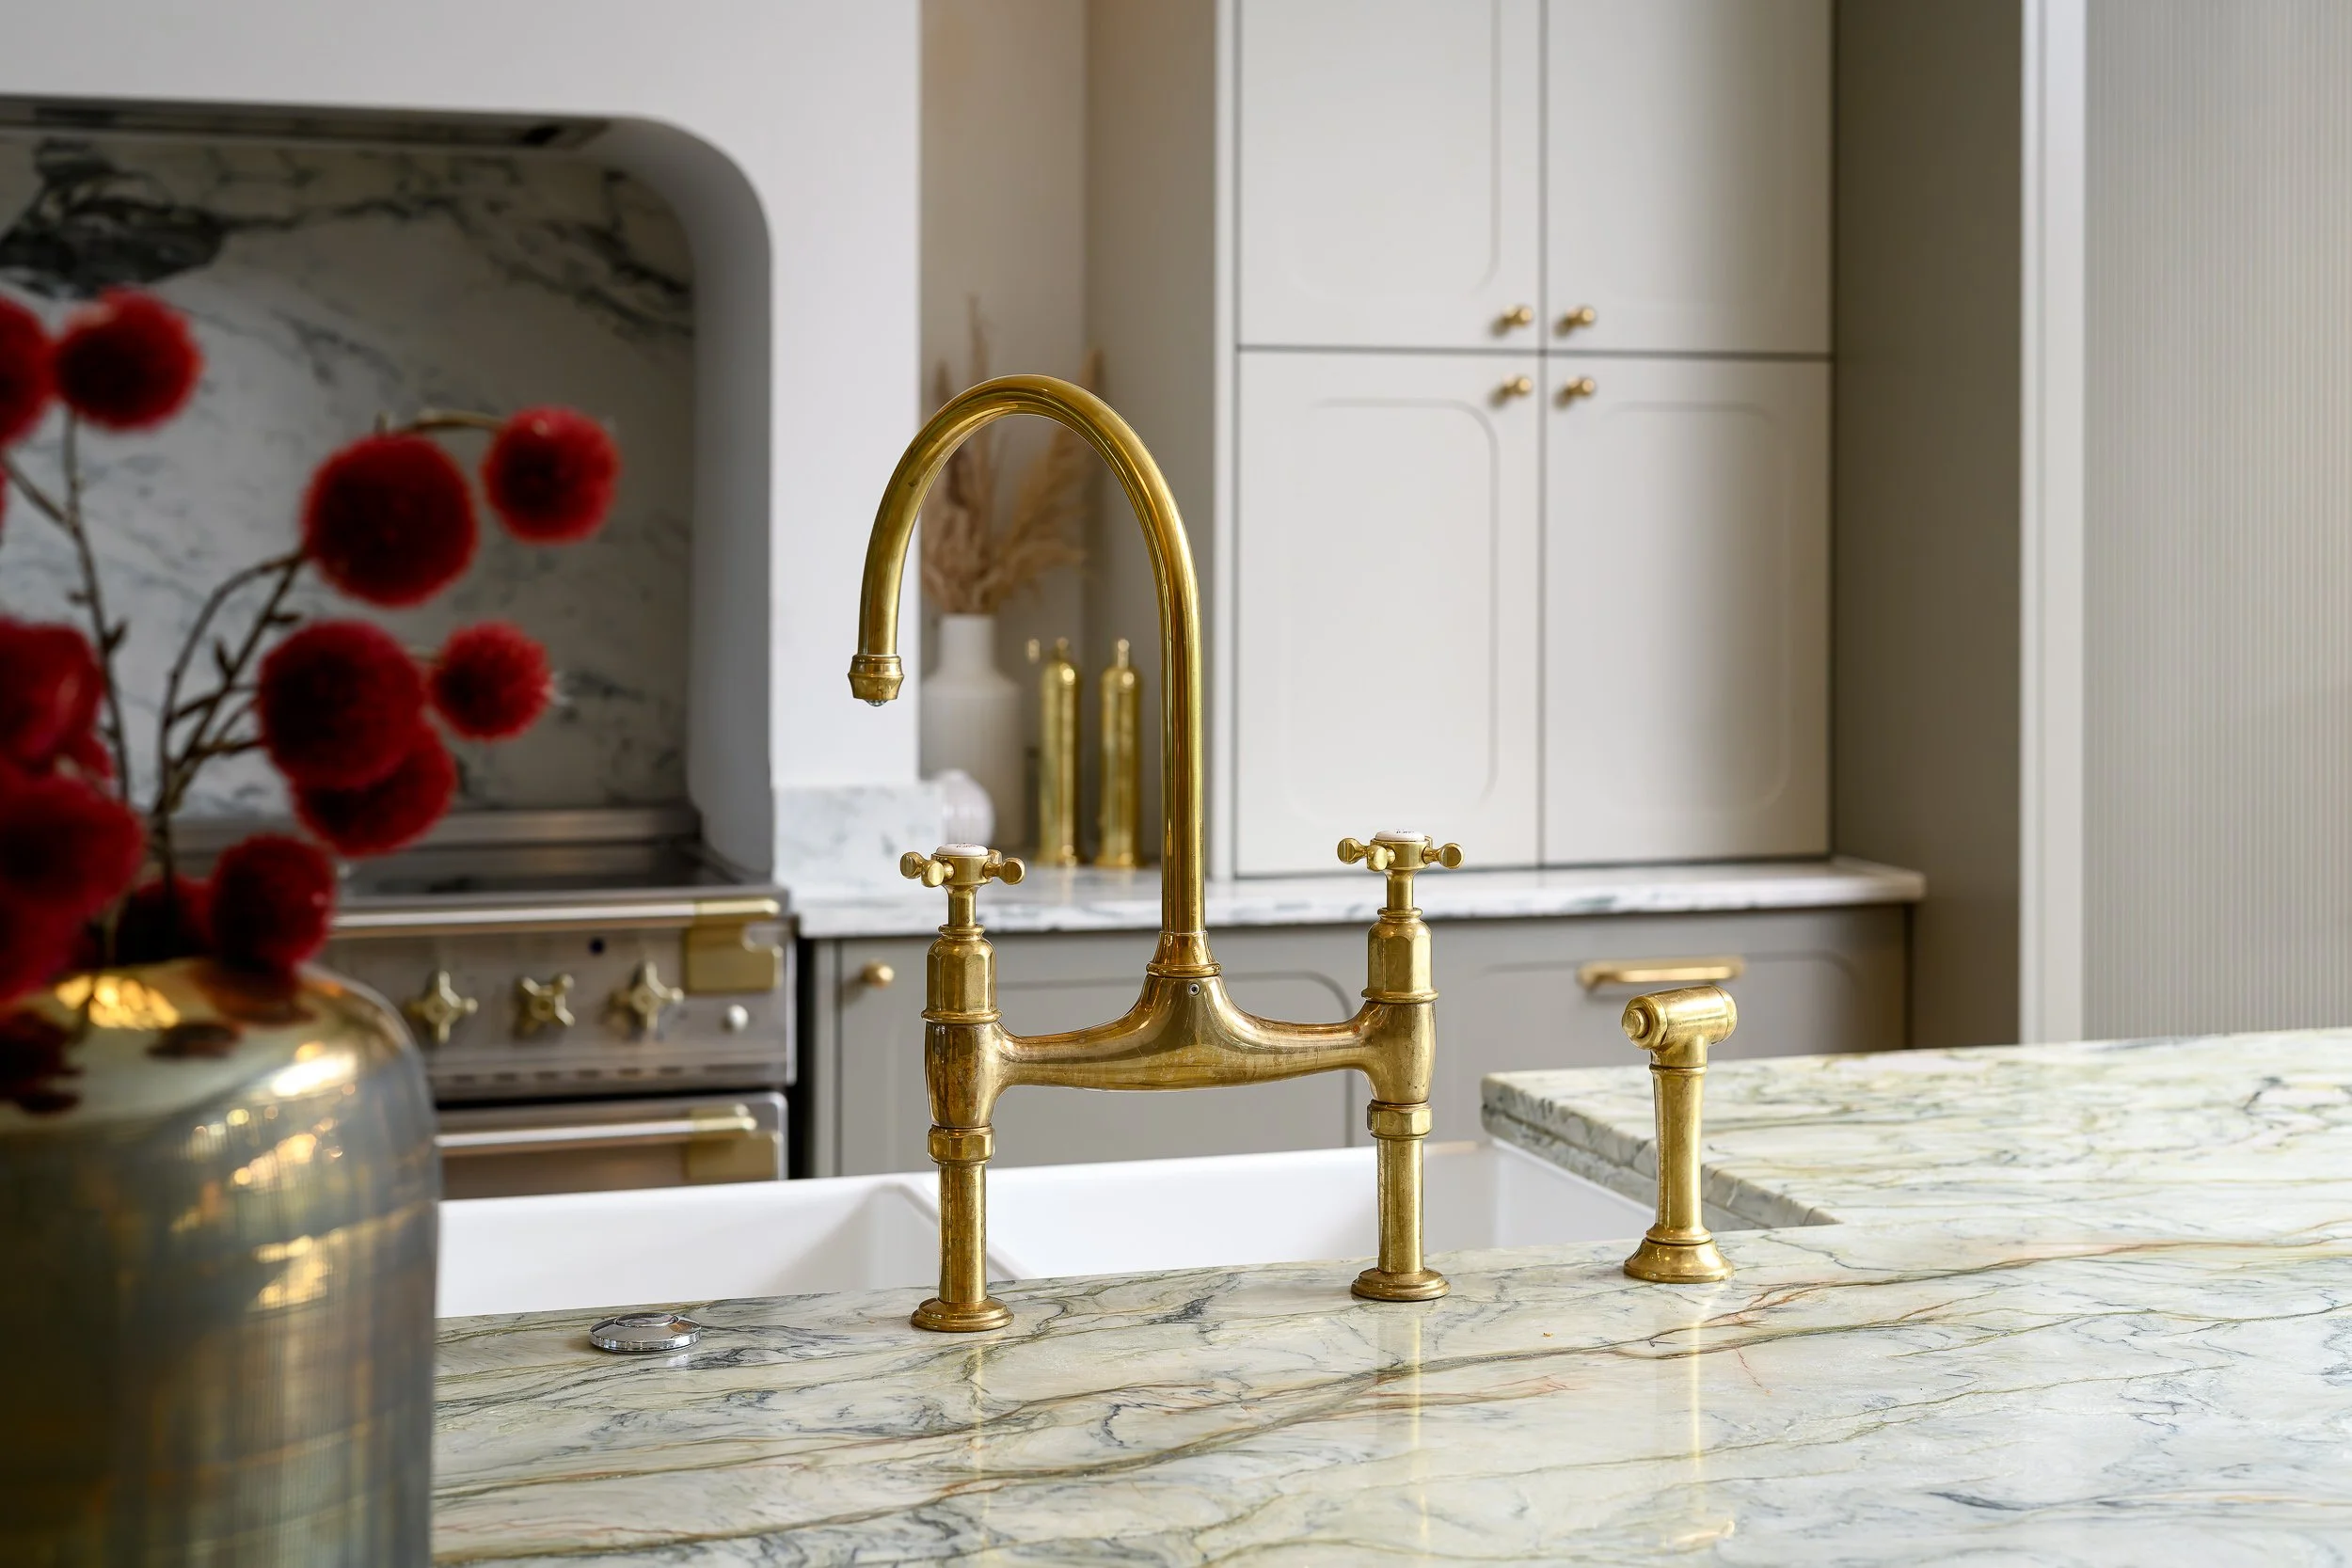
The craftsmanship story
Details that demonstrate bespoke manufacture, precision and quality.
The lifestyle story
Images that communicate how the space feels to live in and use.
Those stories are related, but they are not interchangeable.
The same principle applies to furniture, lighting, glazing, flooring and other design-led products.
A beautiful gallery is not enough if the part of the project the commissioning business actually needs to sell has become secondary.
Plan for where the photographs will appear
Preparation should also consider not only what will be photographed, but where those photographs will eventually live.
A website banner, magazine spread, award submission and vertical social post do not use composition in the same way.
If those requirements are understood beforehand, they can influence how the project is photographed.
For example:
a website hero image may need generous space for typography
an editorial spread may need to survive a gutter or full-bleed crop
social campaigns may benefit from deliberately composed vertical frames
project case studies need a rhythm of establishing images, details and transitions
award submissions may require specific orientations or a clear visual sequence
Cropping afterwards is normal.
Depending on it for everything is not ideal.
Important furniture, architectural lines or bespoke details can easily end up in the wrong place once a horizontal photograph is forced into a vertical format.
Strong commercial photography anticipates at least some of those eventual uses while the camera is still on site.
Confirm property permission, publication rights and confidentiality
Residential projects introduce another layer of preparation that should not be left until the images are ready to publish.
Before the shoot, confirm that the homeowner or property owner understands that professional photography will take place and how the resulting images may be used.
That may include:
the commissioning client's website
portfolio
case studies
social media
award submissions
PR and editorial
the photographer's portfolio
participating suppliers
other project contributors
Permission to photograph a property and permission for different businesses to publish photographs of it are not necessarily the same thing.
That distinction should be clear before photography is commissioned.
For private or sensitive properties, it may also be necessary to establish whether certain rooms or identifying details should remain private, whether an NDA applies, whether publication is subject to an embargo and whether third-party contributors can use the imagery.
This protects the value of the photography before time and budget have been invested in creating it.
I have written separately about homeowner permission for residential interior photography and the issues worth agreeing before a private property is photographed.
Consider joint commissions before the shoot
High-quality design projects rarely involve only one business.
A completed property may represent the work of:
an interior designer
architect
contractor
kitchen company
joinery specialist
furniture maker
lighting manufacturer
glazing company
flooring supplier
stone supplier
fabric or wallcovering brand
If several contributors need photography, establish that before the shoot rather than afterwards.
There are two advantages.
The first is creative.
Each business can identify what it needs the photography to show, so the brief can include the architect's spatial story, the designer's scheme, the contractor's workmanship and the joinery company's details within the same carefully planned shoot.
The second is financial.
A joint commission can allow several businesses to contribute towards one professionally produced shoot rather than each arranging separate photography of the same finished project.
That can materially reduce the individual investment while giving each participating business a more relevant set of images and clearly agreed usage rights.
It also avoids the familiar problem of a supplier contacting everyone afterwards to ask:
“Did anyone photograph our doors?”
“Is there a detail of our stone?”
“Can we see the internal storage?”
If it was never part of the brief, that image may not exist.
Licensing interior photography should therefore be discussed alongside the shared brief. A product appearing in a photograph does not automatically give its manufacturer unrestricted rights to use that image.
Joint commissions work best when both the photography requirements and the usage are clear from the beginning.
Decide whether the project is photographically ready
A project being physically unfinished and a project being unsuitable for photography are not always the same thing.
Of course, the ideal situation is to photograph once the work is complete.
Commercial reality is often more complicated.
Furniture may be delayed.
Artwork may not have arrived.
Part of the landscaping may still be underway.
One room may remain unfinished.
A small piece of joinery may still need adjustment.
This does not automatically mean the entire assignment should be postponed.
The important thing is to understand what is incomplete and whether it compromises the story we actually need to create.
I have photographed projects where certain areas were still being finished while the commercially important spaces were ready.
With careful planning, completed areas can often be prioritised and camera positions chosen strategically without pretending that unfinished sections do not exist.
What makes this difficult is not imperfection.
It is surprise.
If there are unfinished areas, missing items or temporary elements, flag them before the shoot so they can be planned around properly.
Prepare the space without stripping away its character
A premium interior does not necessarily photograph better when every object is removed.
The objective is not to sterilise the project.
It is to remove what distracts from the design while preserving what gives the space depth, context and personality.
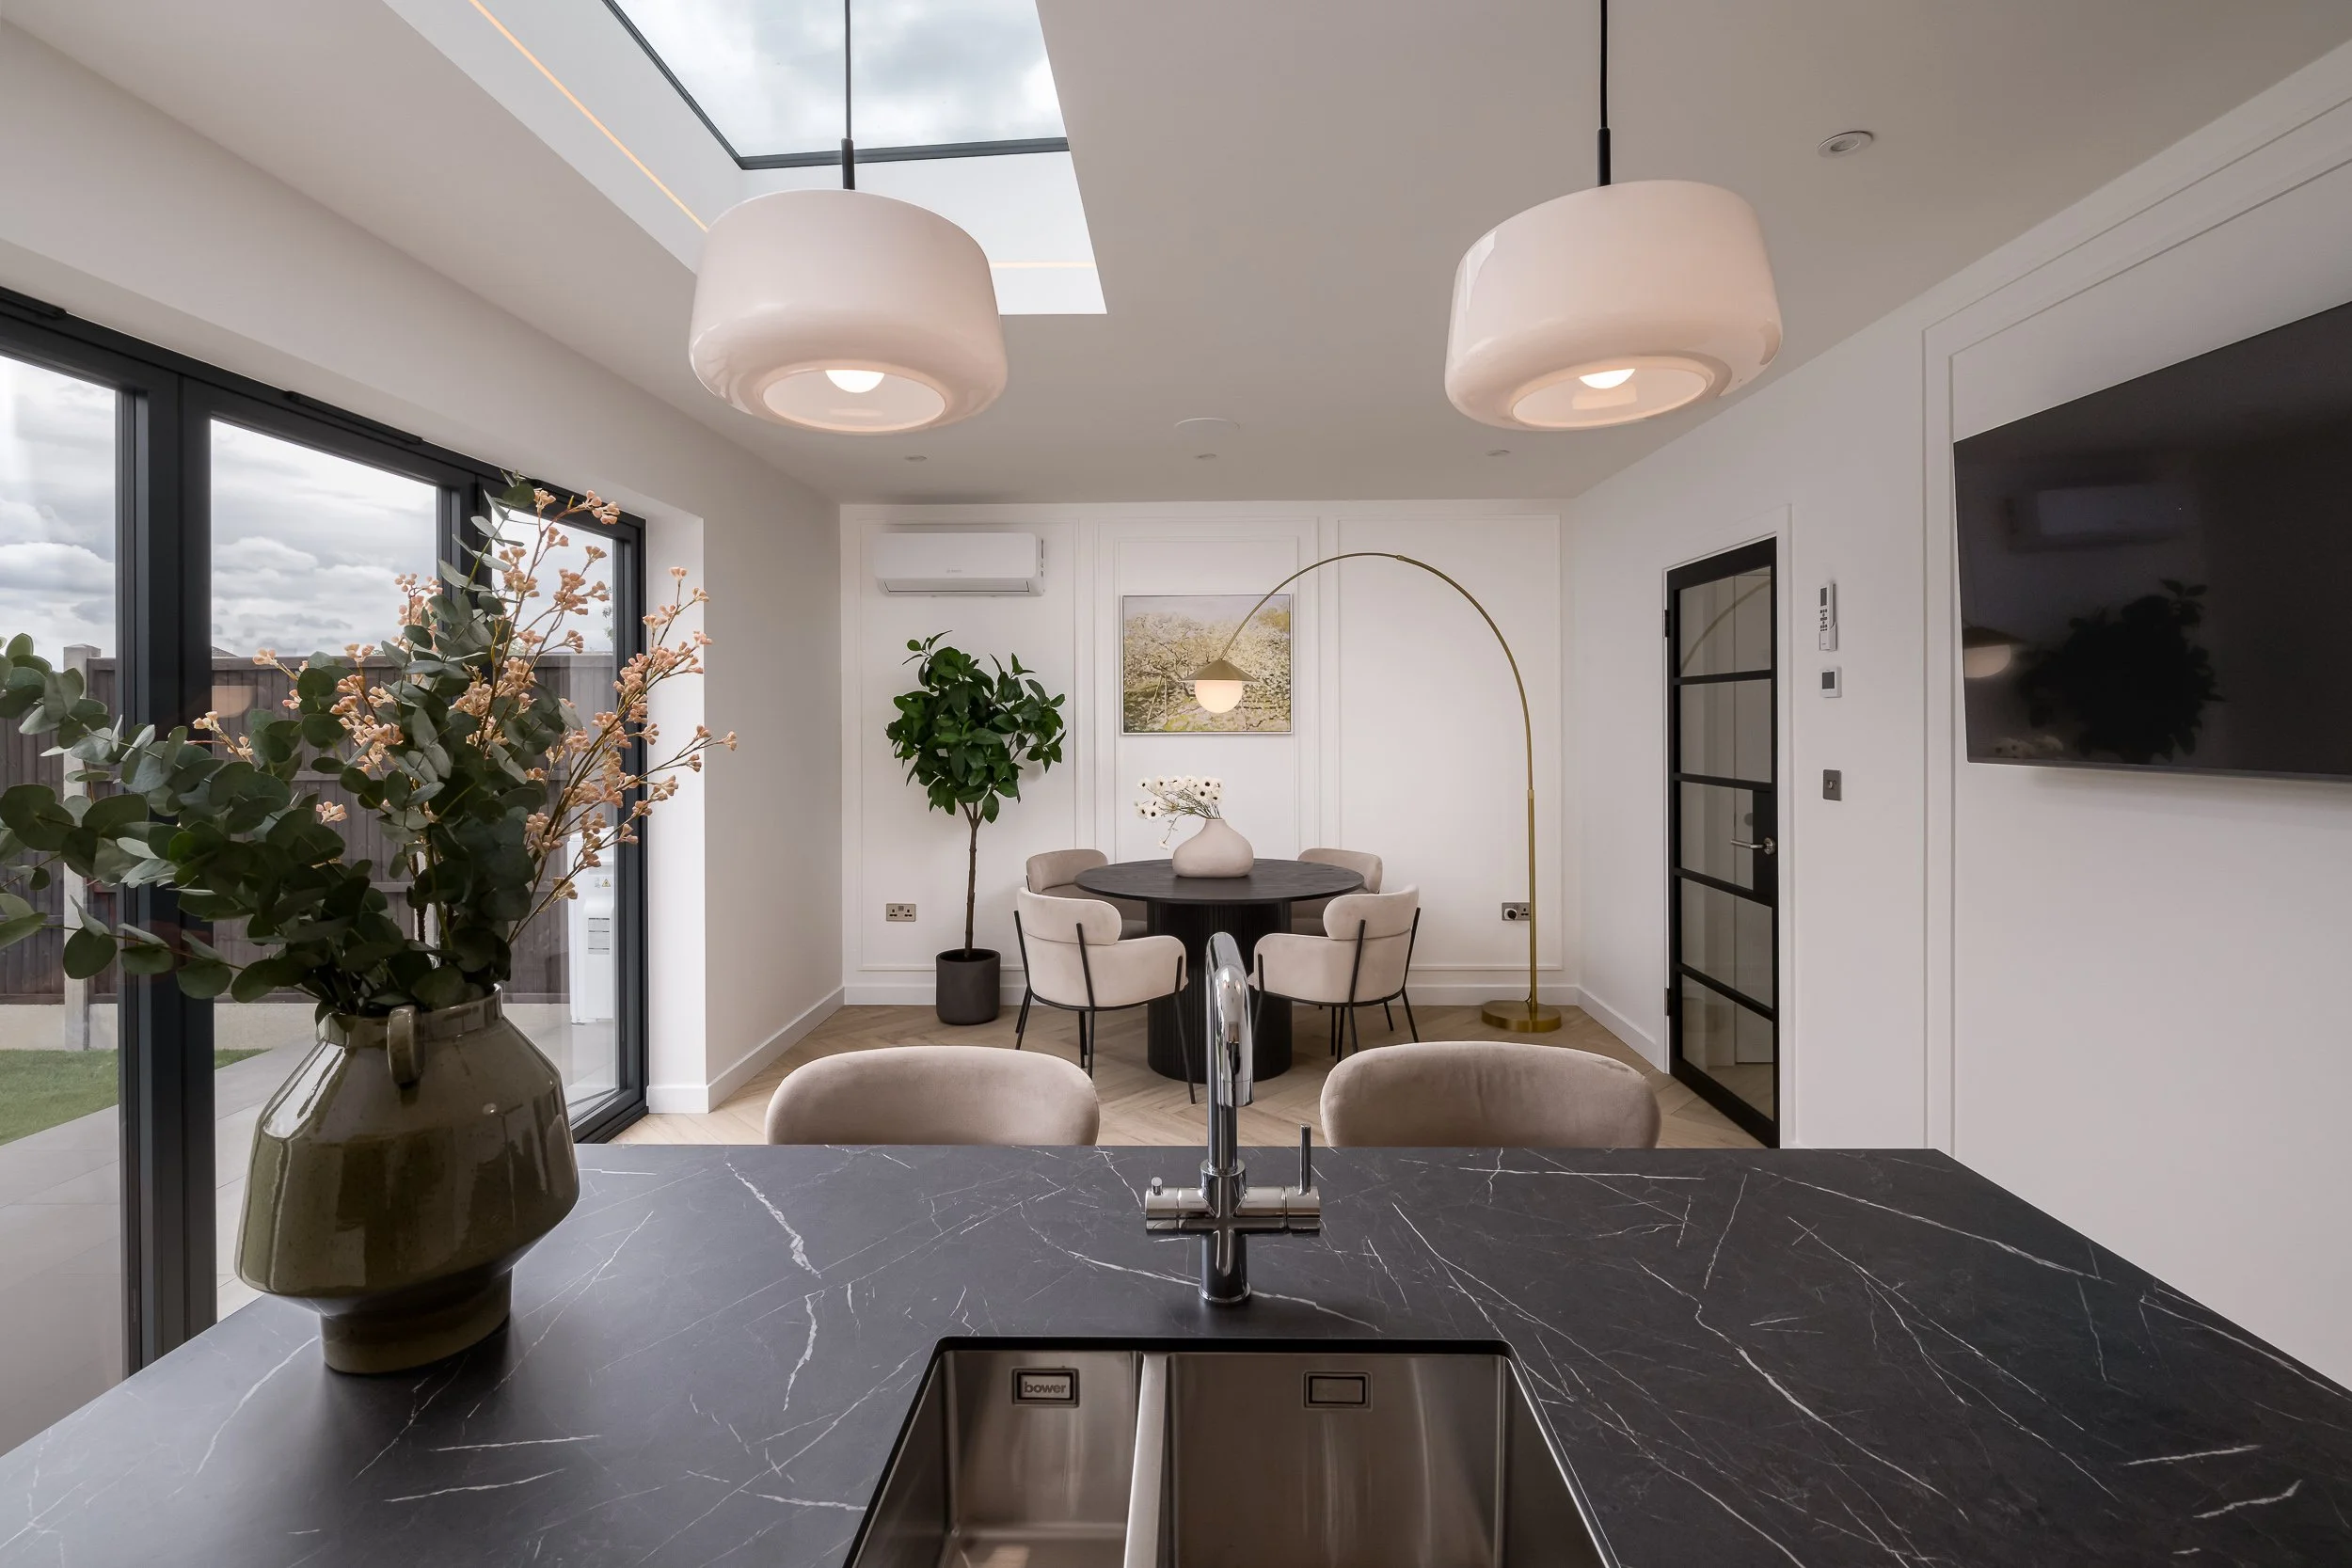
Books, ceramics, artwork, textiles, florals, tableware and sculptural pieces can all help a composition.
They can also compete with it.
This is why some flexibility on shoot day matters.
A room that feels perfectly balanced in person may require small adjustments through the camera.
A vase may need moving.
A group of objects may need simplifying.
Furniture may need shifting slightly.
Something may need to disappear entirely.
These are not attempts to redesign the interior.
They are photographic decisions that help a three-dimensional space translate cleanly into two dimensions.
Create one holding area for everything that should not appear
There is also a very practical side to decluttering that is easy to underestimate.
Everyday objects have to go somewhere.
Dog beds, laptops, chargers, children's toys, coffee machines, cleaning products, paperwork, coats and bags cannot simply disappear.
Without a plan, they often get moved from one room to another all day — only to appear again in the next camera angle.
On larger residential shoots, it can be extremely useful to nominate one holding area before photography begins.
That might be:
a garage
utility room
secondary bedroom
storage room
another area that will not be photographed
Items removed from the working spaces can then stay there until the photography is complete.
It sounds like a small logistical decision.
On a substantial project, it can save a surprising amount of time and prevent constant reshuffling between frames.
Think beyond the room being photographed
Interior and architectural photography frequently reveals more than expected.
The camera may see:
through a doorway
into the next room
along a corridor
through glazing
in mirrors
across open-plan spaces
outside through large windows
That means boxes in a neighbouring room can become part of a hero composition.
So can coats in the hall, a hose in the garden or construction materials reflected in glass.
A useful principle is:
“If the camera can discover it from another angle, it is part of the set.”
Preparation should therefore include adjoining areas, sightlines, reflections and exterior spaces that may appear in the frame.
For architectural projects, the relevant context may extend considerably further than the room itself.
Plan the shoot day, not only the photographs
On larger or more complex projects, sequencing the day matters.
Light is one consideration, but it is not the only one.
The order of the shoot may need to account for:
cleaners finishing particular spaces
a stylist working ahead of the photographer
trades completing final details
homeowners or occupants still using parts of the property
access to exterior areas
when certain rooms can be cleared
deliveries
furniture or props being moved
when important elevations receive useful light
still photography and motion being captured together
Sometimes the room with the best morning light is still full of tools.
Another room may need to be photographed first because the homeowner needs it back later in the day.
A stylist may need to stay one space ahead.
An exterior may need to be photographed the moment weather conditions improve.
Good shoot planning balances the visual priorities with what is actually happening in the property.
On a substantial interior project, that sequencing can make the difference between spending the day reacting to problems and working through the property with purpose.
Plan for British weather rather than expecting perfect weather
For interior and architectural photography in London and across the UK, waiting for a universally “perfect” weather day is rarely a practical strategy.
Overcast conditions are not automatically a problem.
Soft, diffused daylight can be excellent for interiors, particularly where accurate colour, material detail and controlled window light matter.
Direct sun can create stronger architectural shadows and atmosphere, but it can also produce glare, difficult reflections and extreme contrast.
The appropriate light depends on the project.
Interior mood lighting may also form part of the visual story, particularly where a lighting scheme is an important design feature.
Exterior photography sometimes requires more flexibility.
If an elevation, garden or exterior architectural relationship is a major part of the commission and conditions are genuinely unsuitable, it may be better to plan those images separately than compromise the entire body of work.
Professional light management is not about pretending London has Mediterranean weather.
It is about understanding what the available conditions can give the project and planning accordingly.
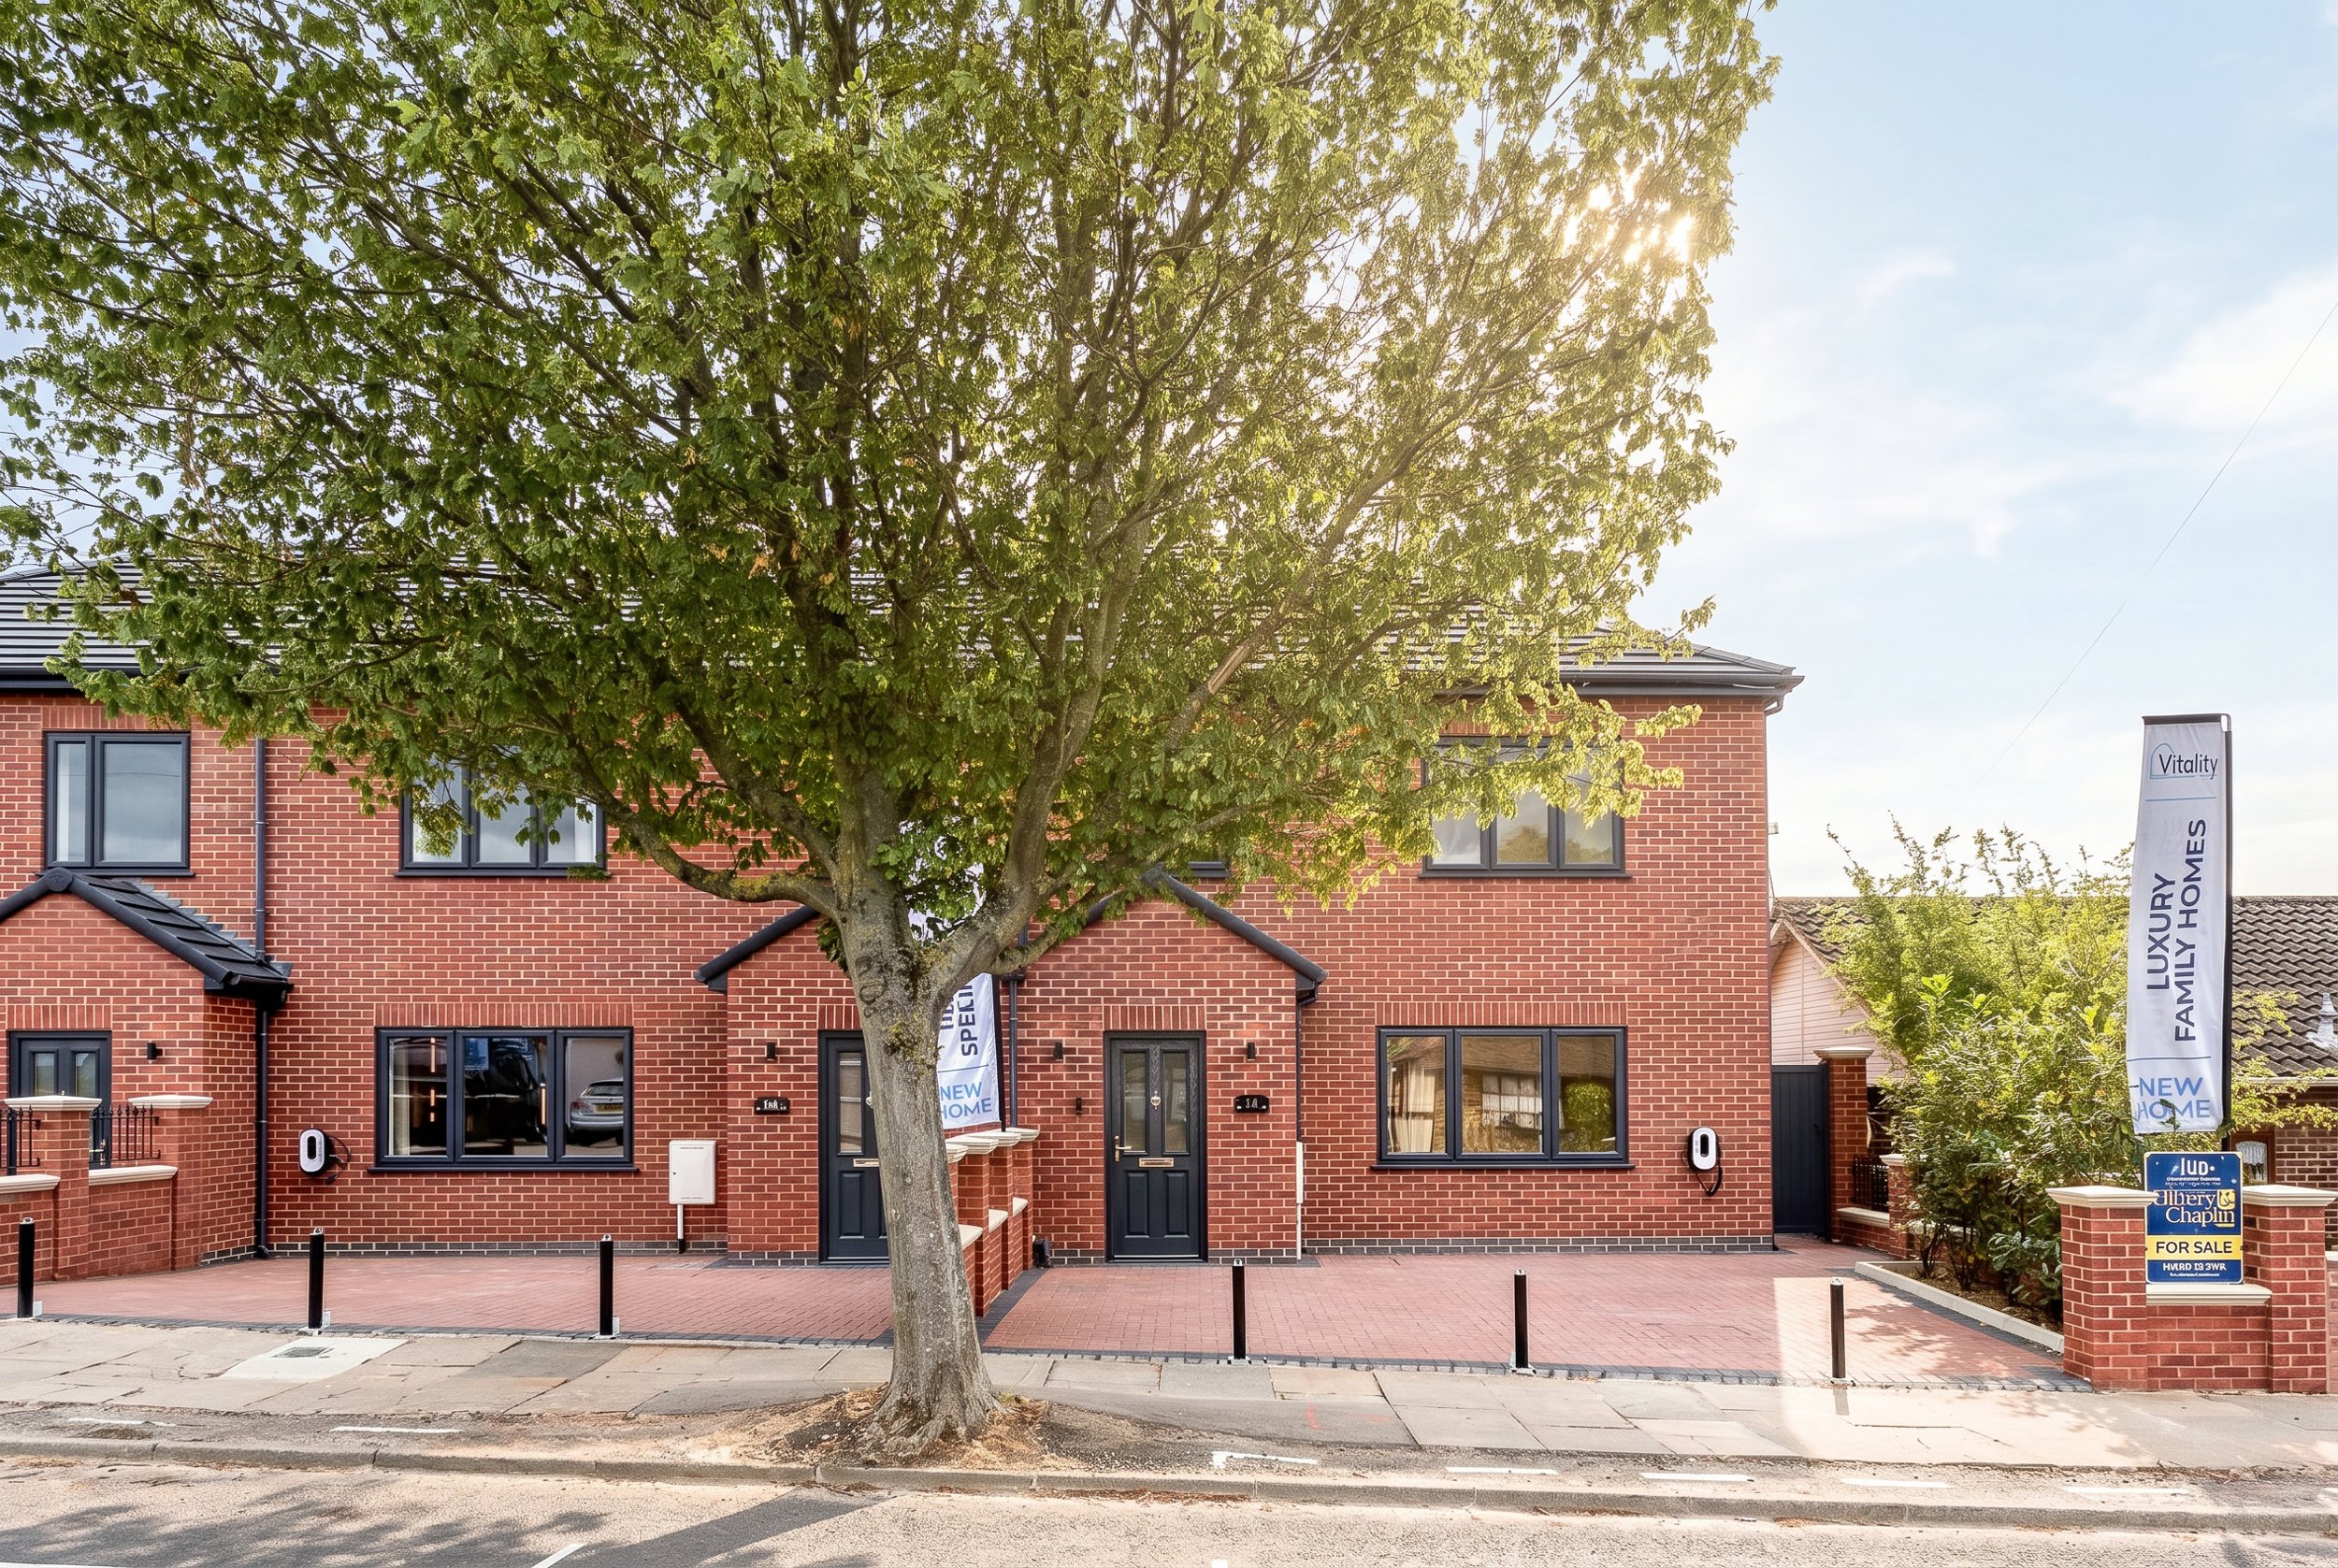
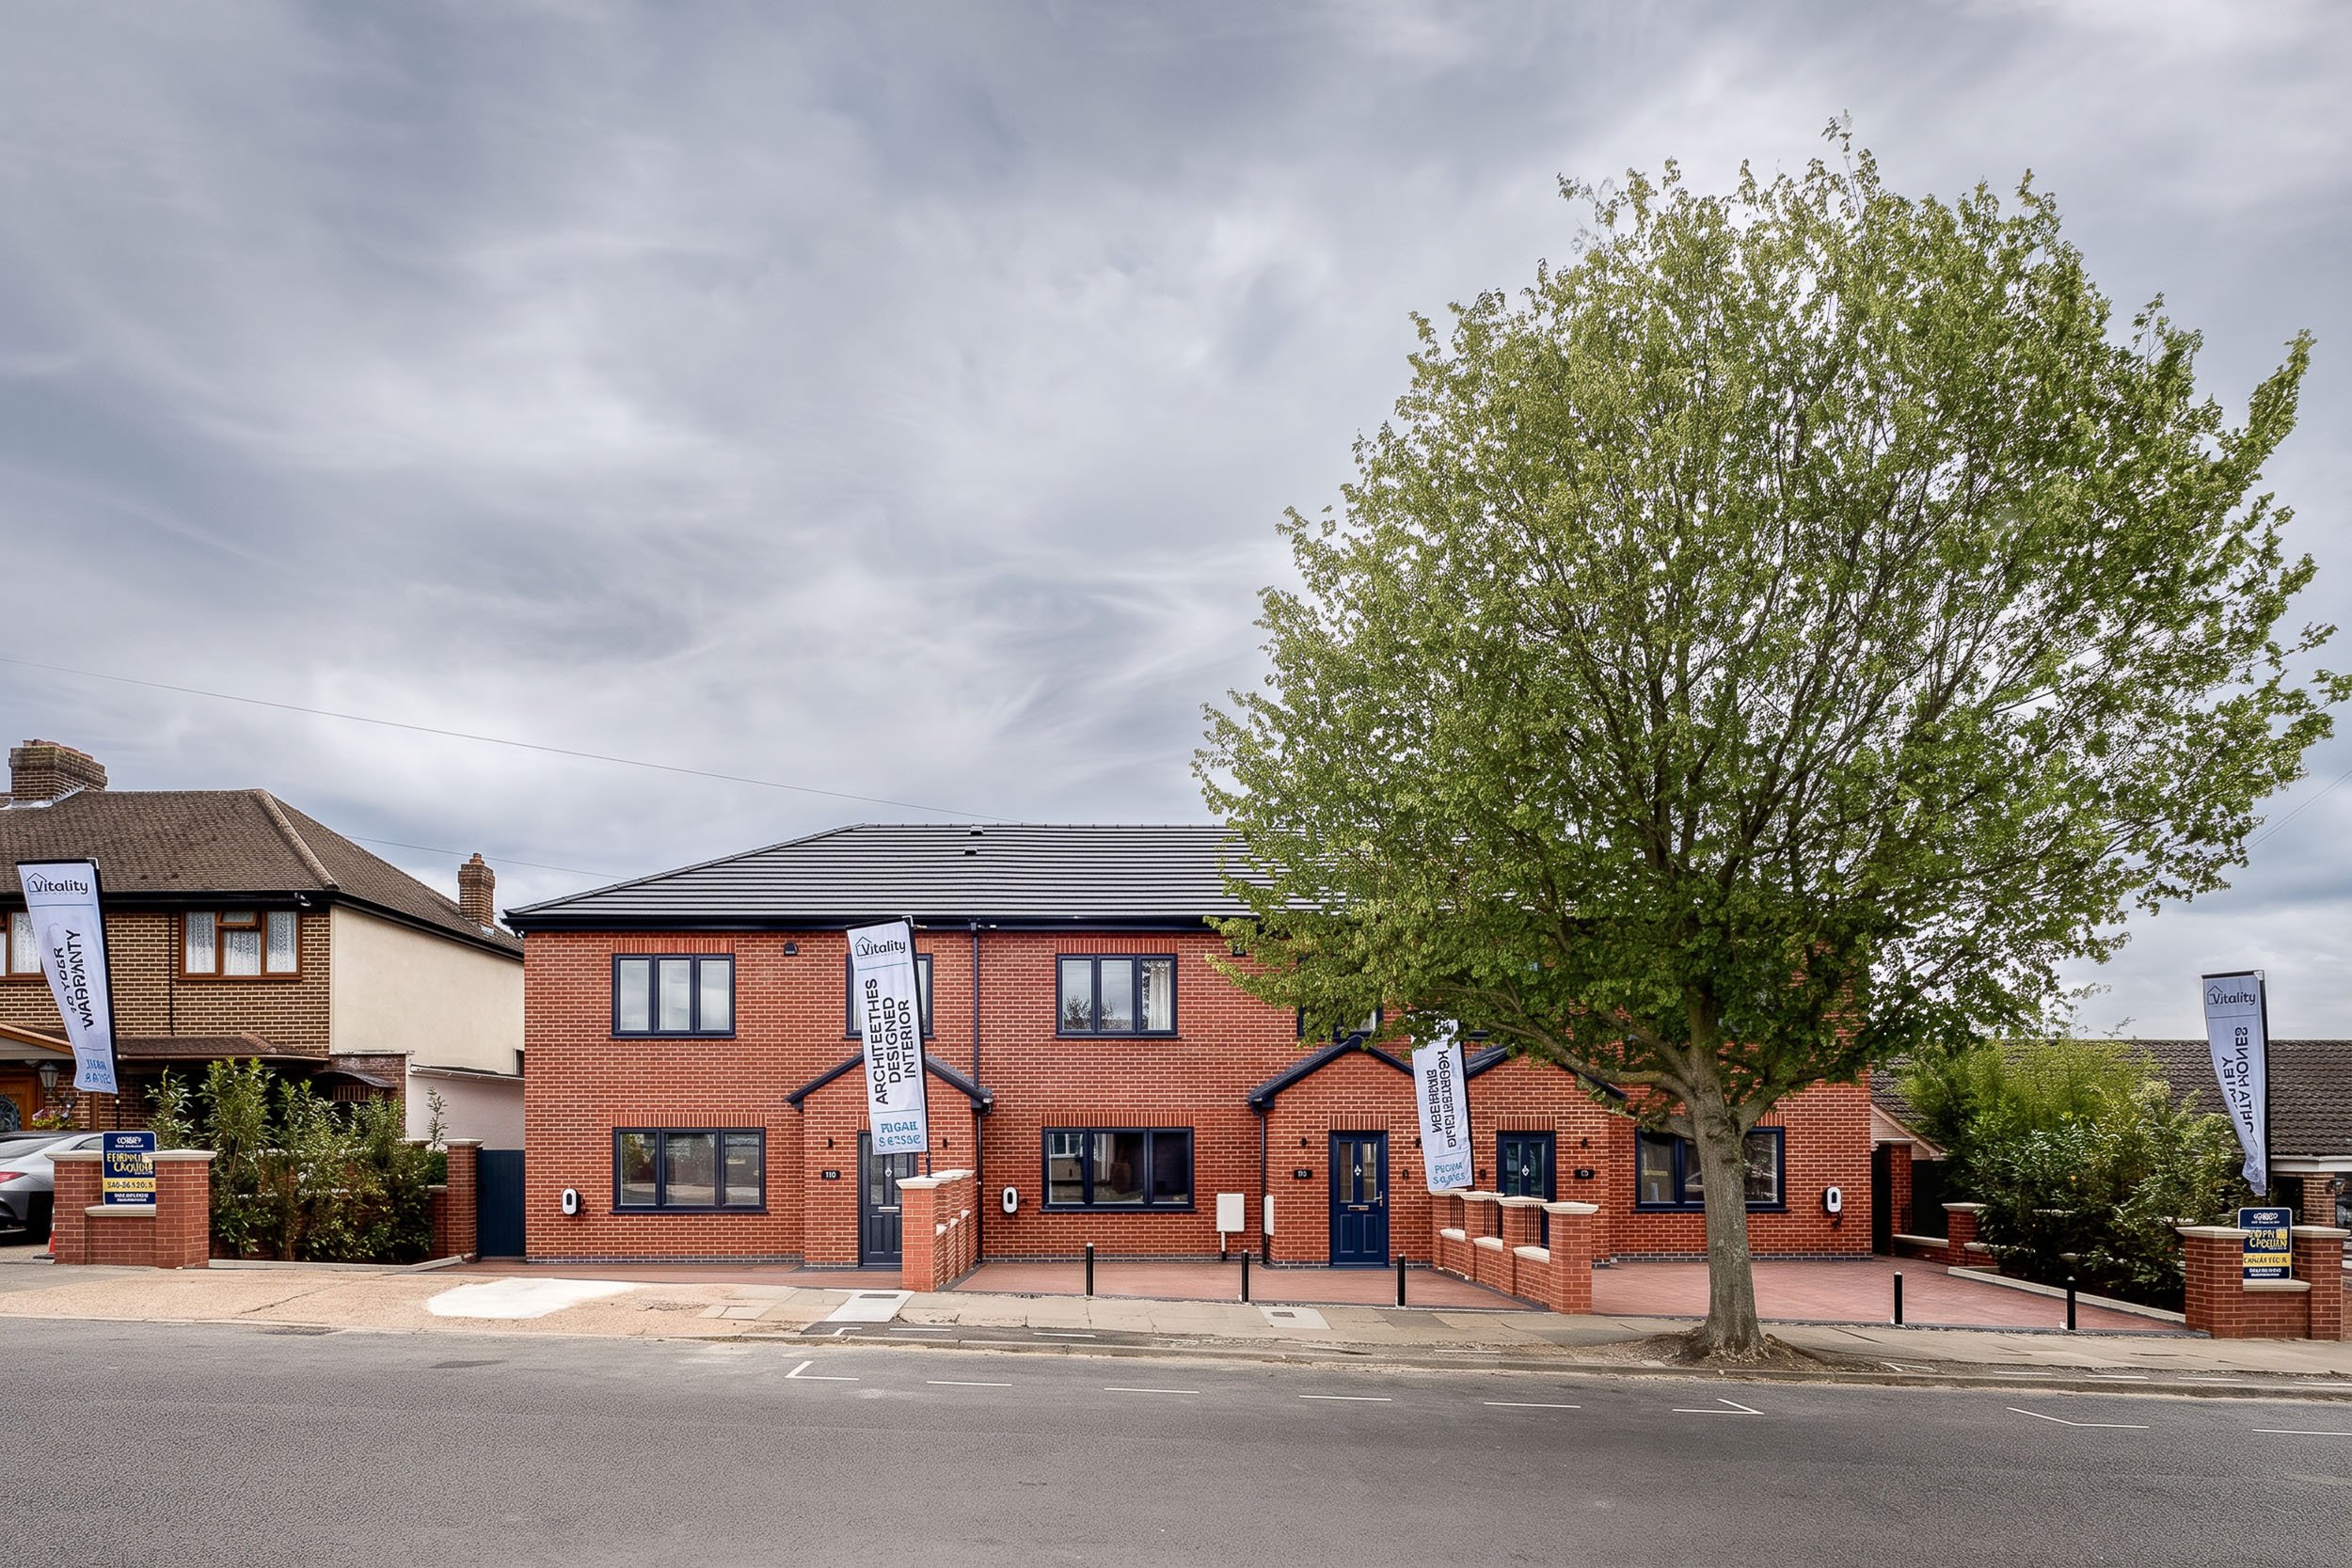
Decide whether styling or staging would materially improve the result
Professional styling should not be added automatically to every project.
Many interior designers already understand how to style their own work extremely well.
Additional styling may become valuable when:
a property is empty
the homeowner has moved out
important furniture has not arrived
existing accessories do not support the intended design language
the project needs a stronger editorial treatment
the photographs are being created for significant PR or award use
In those situations, styling is not simply decorative.
It can strengthen the commercial value of the finished photography.
Where appropriate, I can also work with staging specialists who supply props and accessories for the shoot, style them within the project and remove them afterwards. Selected items can sometimes be purchased if the client wants to retain them.
Styling should serve the project rather than becoming something every professional photoshoot is expected to have.
If you need motion, prepare for movement as well as still frames
Still photography and motion content can be created during the same project, but they do not always need the same preparation.
A static photograph captures one carefully controlled moment.
Motion reveals what happens before and after it.
That means details that might remain hidden in a still image suddenly matter.
For a joinery company, motion might show:
pocket doors opening
integrated storage
drawers and mechanisms
lighting activating
a pivot door moving
concealed elements being revealed
For an interior designer, short motion sequences can communicate flow between spaces, changing perspectives, textiles moving naturally or the experience of entering a room.
For architecture, movement through the building can make circulation and scale easier to understand.
Continuity becomes important too.
If an object changes position between clips, a light is switched on in one frame and off in the next, or people repeatedly move through the background, the sequence can become difficult to edit cleanly.
Where sound is being recorded — for example an interview, testimonial or ambient sequence — noise from trades, cleaning equipment or other activity also needs consideration.
If both stills and motion are required, planning them together generally produces stronger results than treating video as something to capture quickly after the photography has finished.
It also creates a more versatile content library for websites, social media and future campaigns.
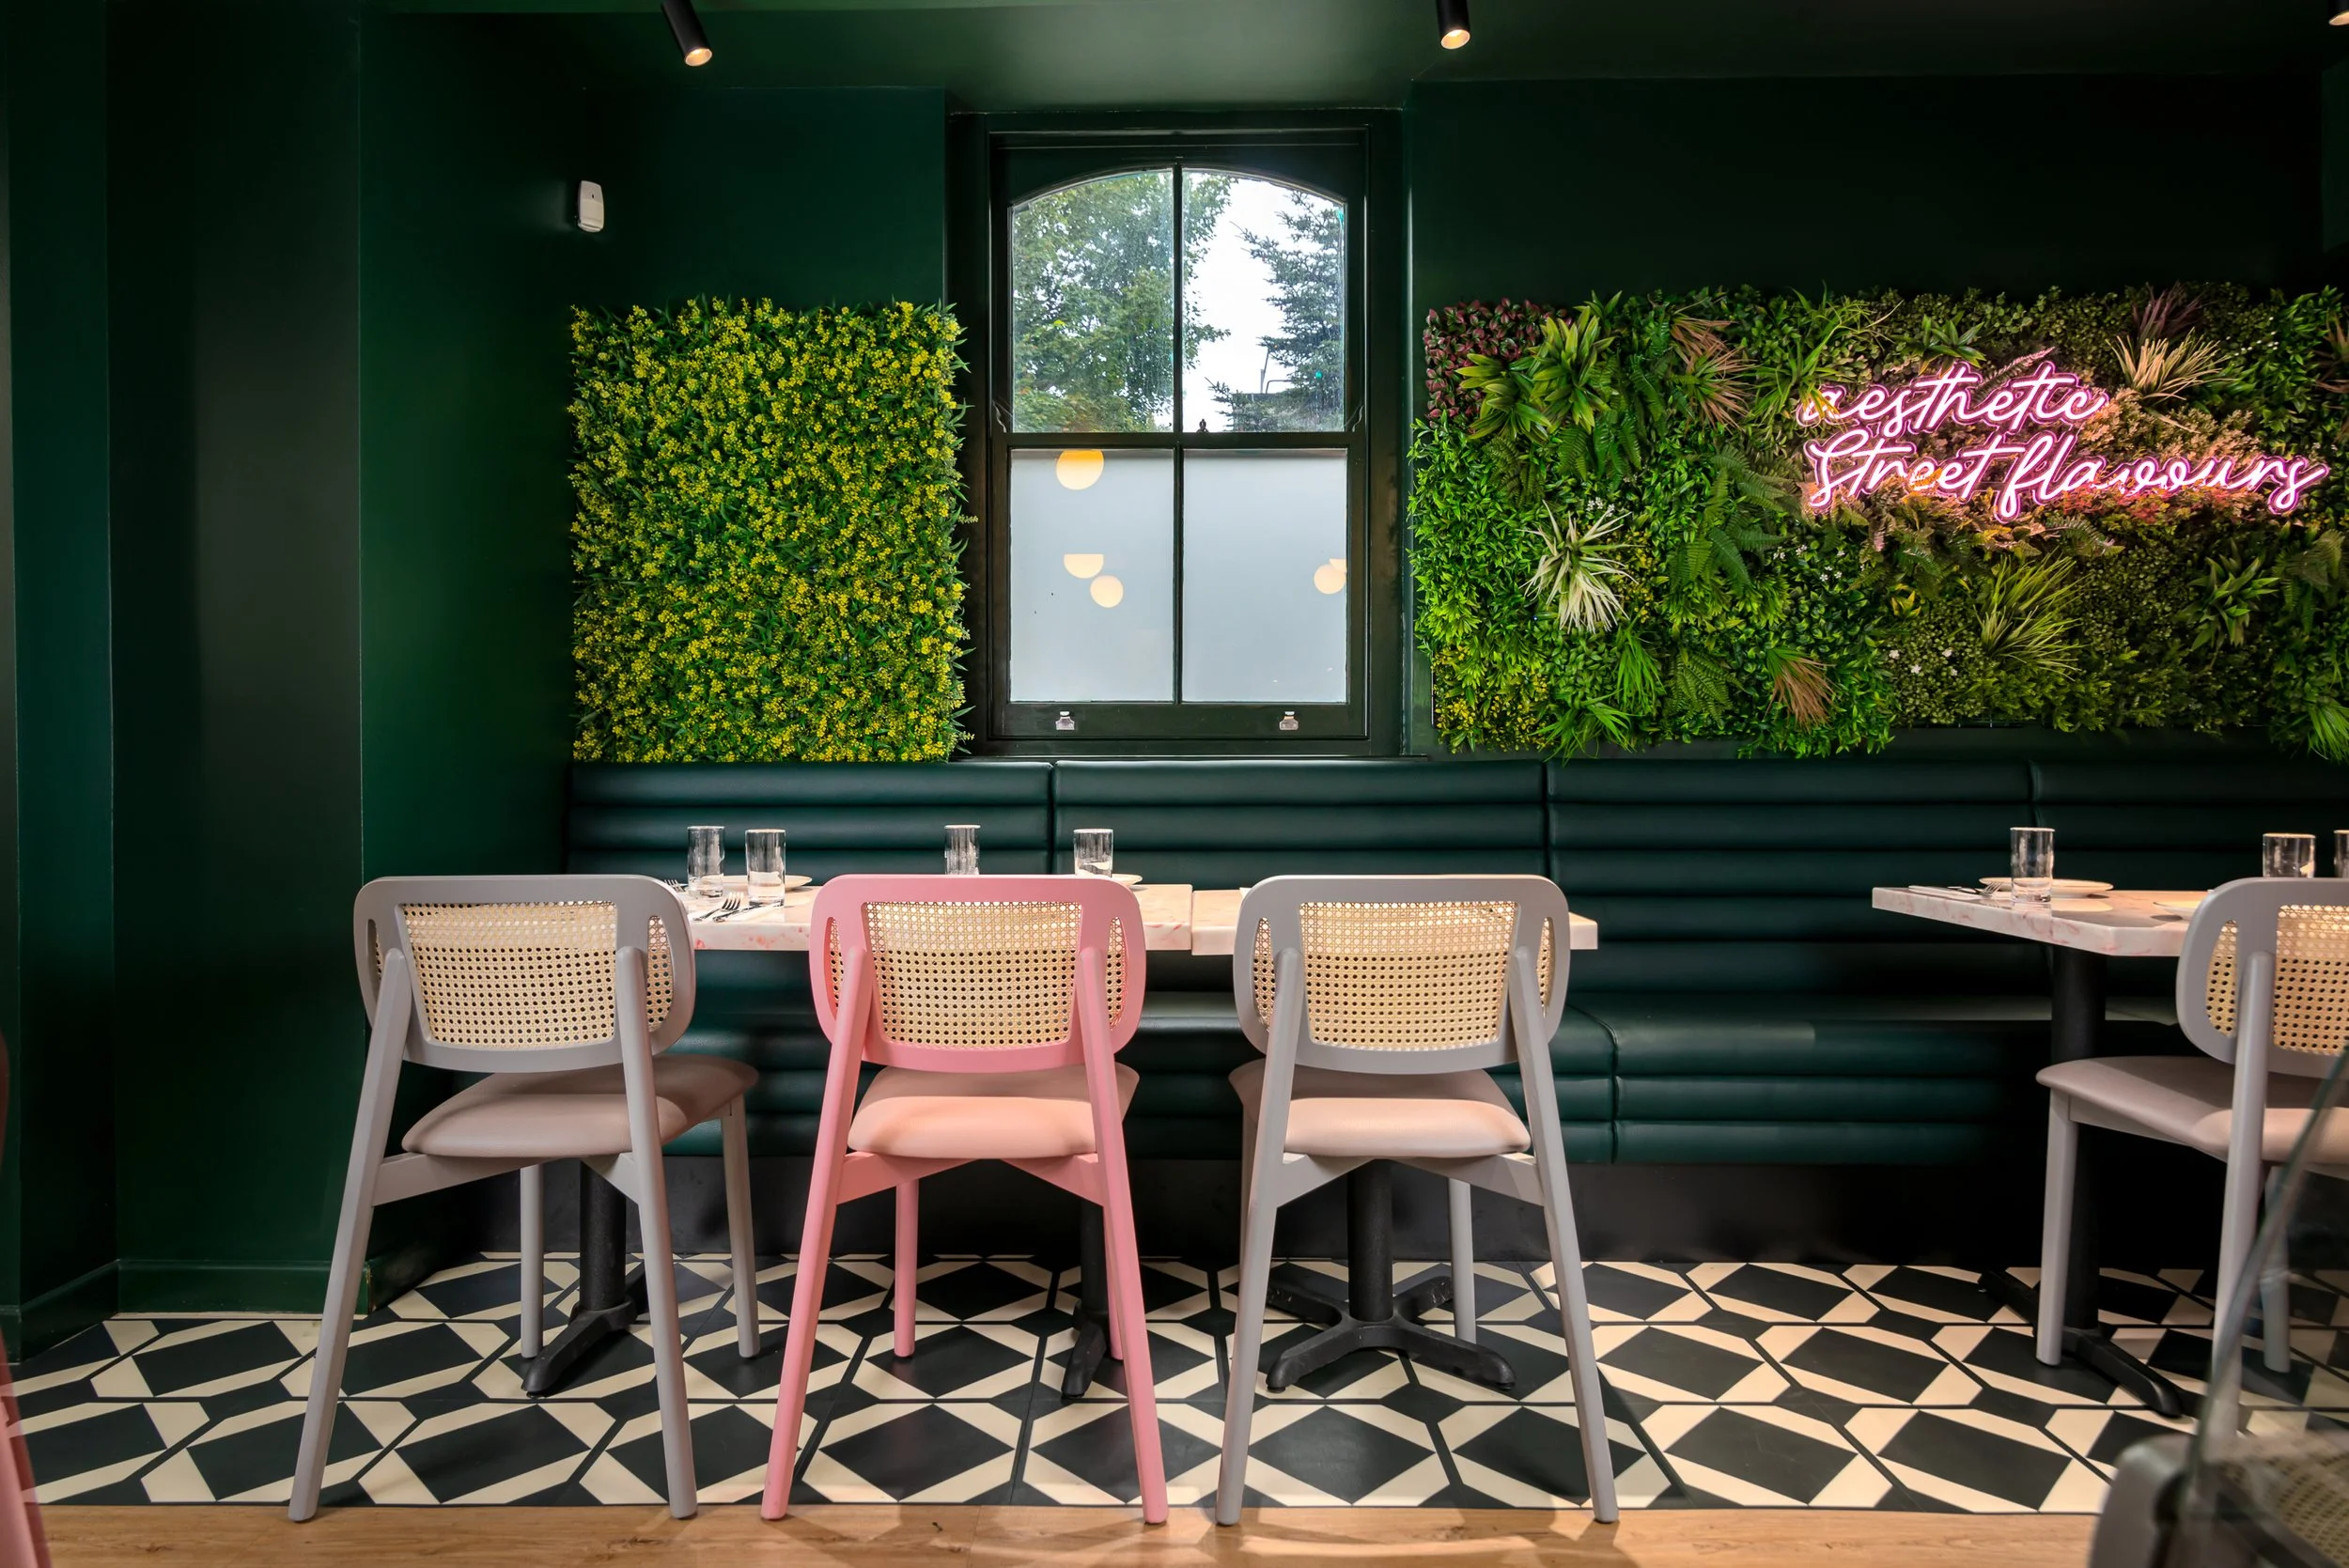
Know what should be fixed physically and what can reasonably be handled in post-production
Professional retouching is part of the process.
It is not a substitute for preparing the project properly.
Small temporary distractions can sometimes be handled efficiently afterwards.
Other issues are better resolved physically before the photograph is taken.
That includes things such as:
protective film
labels
temporary cables
construction dust
packaging
unfinished paintwork
watermarks on glass
incomplete sealant
temporary fittings
There is a simple efficiency test.
If something takes thirty seconds to move in real life but needs to be removed from fifteen photographs afterwards, fixing it physically is usually the sensible choice.
There is also a more important principle:
“Retouching should refine the photograph, not manufacture workmanship that was never there.”
Give your photographer commercial priorities rather than controlling every frame
An interior design shoot checklist or shot list can be useful.
It becomes counterproductive when it attempts to prescribe the entire shoot.
What is more valuable is a clear understanding of priorities.
Tell the photographer:
which spaces matter most
which features are commercially important
what was bespoke
what was difficult to achieve
which suppliers need coverage
whether an image is required for a specific award or publication
whether particular details must be documented
which formats matter
whether motion is required
Then allow room for interpretation.
Once photography begins, the project often reveals possibilities that were not obvious beforehand.
Light shifts.
Reflections change.
A connection between rooms becomes visible.
A detail that appeared secondary during the walkthrough becomes one of the strongest images in the final set.
A specialist photographer should bring judgement to the project, not simply execute a list.
The brief should tell us what matters.
It does not need to dictate every frame.
Give the photographer the information behind the design
A photographer cannot communicate the significance of something they do not know is important.
Useful project information may include:
design intent
important architectural interventions
bespoke features
unusual construction challenges
manufacturers
makers
suppliers
product names
paint references
wallpaper
textiles
stone
timber
specialist finishes
lighting
custom furniture
materials requiring accurate colour reproduction
This information often changes what receives attention during the shoot.
A detail may look visually subtle but represent months of development or a technically difficult solution.
A material may resemble another finish on camera while carrying a very different commercial meaning.
The photographer does not need an architectural thesis.
But they should understand what the client considers valuable.
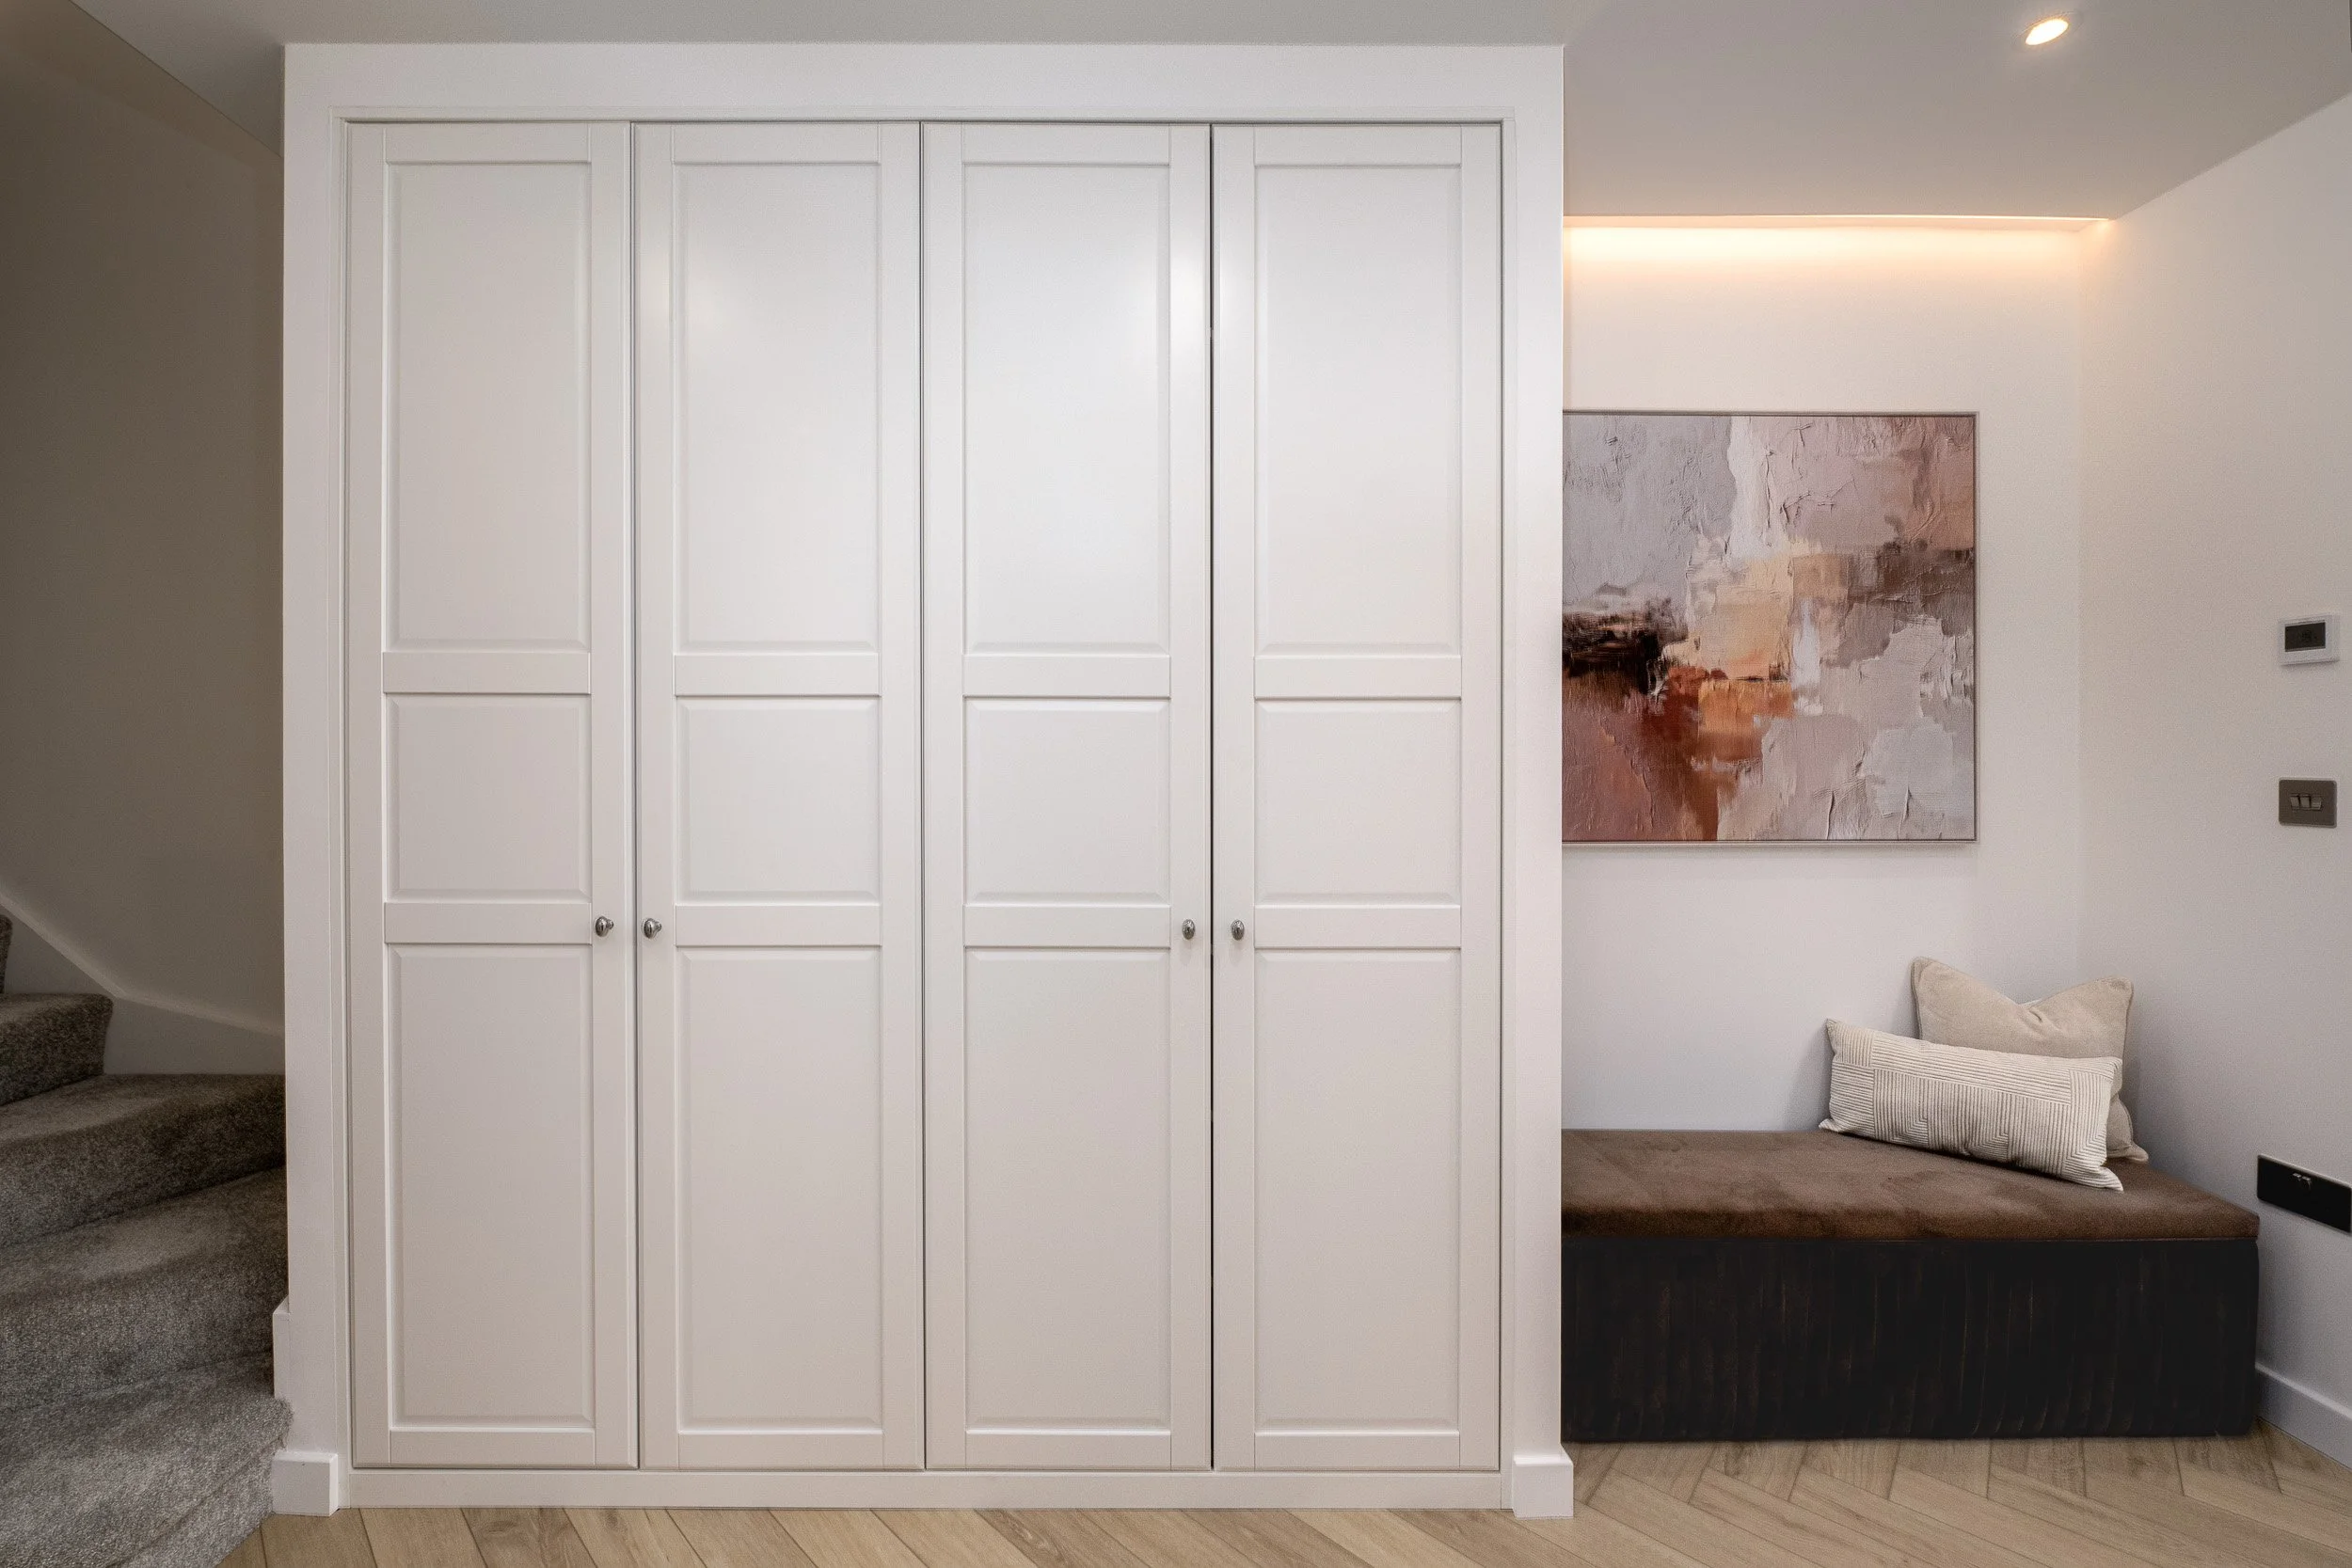
Think about PR and awards before you publish everything
Project photography often has a much longer life than the initial website update or social post.
The same images may later support an award entry, editorial pitch, press feature, credentials document or major case study.
If PR or awards matter, establish any relevant image requirements before the shoot and consider the release strategy afterwards.
Certain hero images may be worth holding back while a project is being pitched rather than publishing the entire gallery immediately.
Today's marketing photography may become tomorrow's award-entry, press and credentials photography.
Your strongest project photographs are assets.
Their release can be strategic too.
Think about the final image library, not only the shoot
The commercial value of professional photography continues after the camera is packed away.
How the files are selected, organised and delivered affects how easily a business can actually use them.
My workflow can include a proof gallery so clients can review the wider shoot and prioritise their final selections before retouching.
The finished library can then be prepared around the intended use of the photographs rather than delivered as one undifferentiated folder.
Depending on the commission, that may mean distinguishing between:
high-resolution master files
web-ready imagery
horizontal and vertical assets
different spaces or project areas
product or detail photography
images relating to particular contributors
social or campaign-ready selections
Press, websites, presentations and social platforms do not always need the same file preparation.
Where additional crops or formats have been planned as part of the brief, those can be created with the original composition in mind rather than improvised later.
The goal is simple:
“The final image library should support how the business actually works.”
A folder of beautiful photographs has value.
A properly organised visual asset library that can support marketing, PR, awards and future pitches has considerably more.
Consistency matters beyond one project
There is another advantage when a designer, architect or brand photographs projects consistently over time.
Each individual project needs its own visual identity.
But the portfolio as a whole should still feel like it belongs to the same business.
Consistency in colour interpretation, image quality, approach to light, composition and post-production can gradually create a more coherent body of work across a website, credentials deck and social channels.
That becomes increasingly valuable as the portfolio grows.
Six excellent projects photographed with six completely unrelated visual approaches can still make a brand look fragmented.
A considered photographic relationship over time allows the work to evolve while maintaining a recognisable level of quality and visual continuity.
For established design businesses, that consistency becomes part of the brand itself.

How I prepare for a professional interior or architectural shoot
Before I photograph a project, I establish what the images need to do, who they need to speak to and what parts of the work deserve particular attention.
That can mean understanding the architecture and the light.
Identifying bespoke details and materials.
Planning around publication formats.
Coordinating styling, access, trades and other people still working within the property.
Understanding whether several contributors need imagery.
Planning stills and motion together.
Or making sure a particular product, material or finish is represented accurately.
I also consider how the shoot needs to work in practice: what is ready, what needs to happen first, how the light changes, how the space will be cleared and where different image formats fit into the day.
The preparation gives us direction.
It should never remove the space for observation once the shoot begins.
Because the strongest project photography does more than show what was built or designed.
It becomes evidence of the quality, thinking and value behind the work.
If you are preparing a completed interior project for professional photography, you can view my Interior Design Photography work or get in touch to discuss your project.